I will have to go way back in time for this story about my first Corally kit which I bought last week. Sorry for babbling about irrelevant personal stuff again (you can scroll a couple chapters down for the build). As I’ve said many times before the force that keeps pushing me forwards in RC hobby is curiosity and feelings. This has proven to be a very bad combination on several occasions and has caused me to try car kits which may not have been such a good idea when thinking afterwards (I never talked about the Mighty Thunder… did I? Well I won’t). But now back to the story… When I was a young boy (in the 90’s..) there were a few things about RC which I remember clear as day. When my older brother was driving in the local RC club, I spent my time watching what was going on in the pits. The strongest memory of a product which bacame like a synonym for quality (for me as a young boy at least) was the 4mm barrel spring banana connectors from Corally which were simply called ”Corally connectors” those days and everybody knew what they were. In my mind they were almost as valuable as their weight in gold or even more because they were so great. I may even still have a few of those originals left somewhere in my RC archive. Anyway the force has always been strong around Corally brand in my mind 😀 No kidding simple mind works in simple ways…
So it is no wonder that when Corally announced the release of the new 10th scale buggy in 2018, I was immediately hooked (I need to have one of those). Corally did not have an importer in Finland (meaning no spare parts near either) in that time which made me wait for a while before I could get my hands on one of those buggies. As many Finnish hobbyists know Finnish summer is very short and just does not have as much snow as in winter. Waiting for spares to arrive is pure agony when season is already short to begin with. Now in 2020 the situation changed and when Corally was finally available in Finland (EuroRC) I just had to get one kit for myself. So after this looong prologue lets dig deeper to the SBX-410 kit itself.
The build starts…
Corally has changed their looks from the 90’s quite a bit (from the neon colors). The Box is stylish black/red/white and there is a dude showing a thumb up on the side. My kit’s box had been re-sealed a couple of times during its storage. This was because the kits have clearly been updated during that time and some parts and new pages have been added to instruction manual.


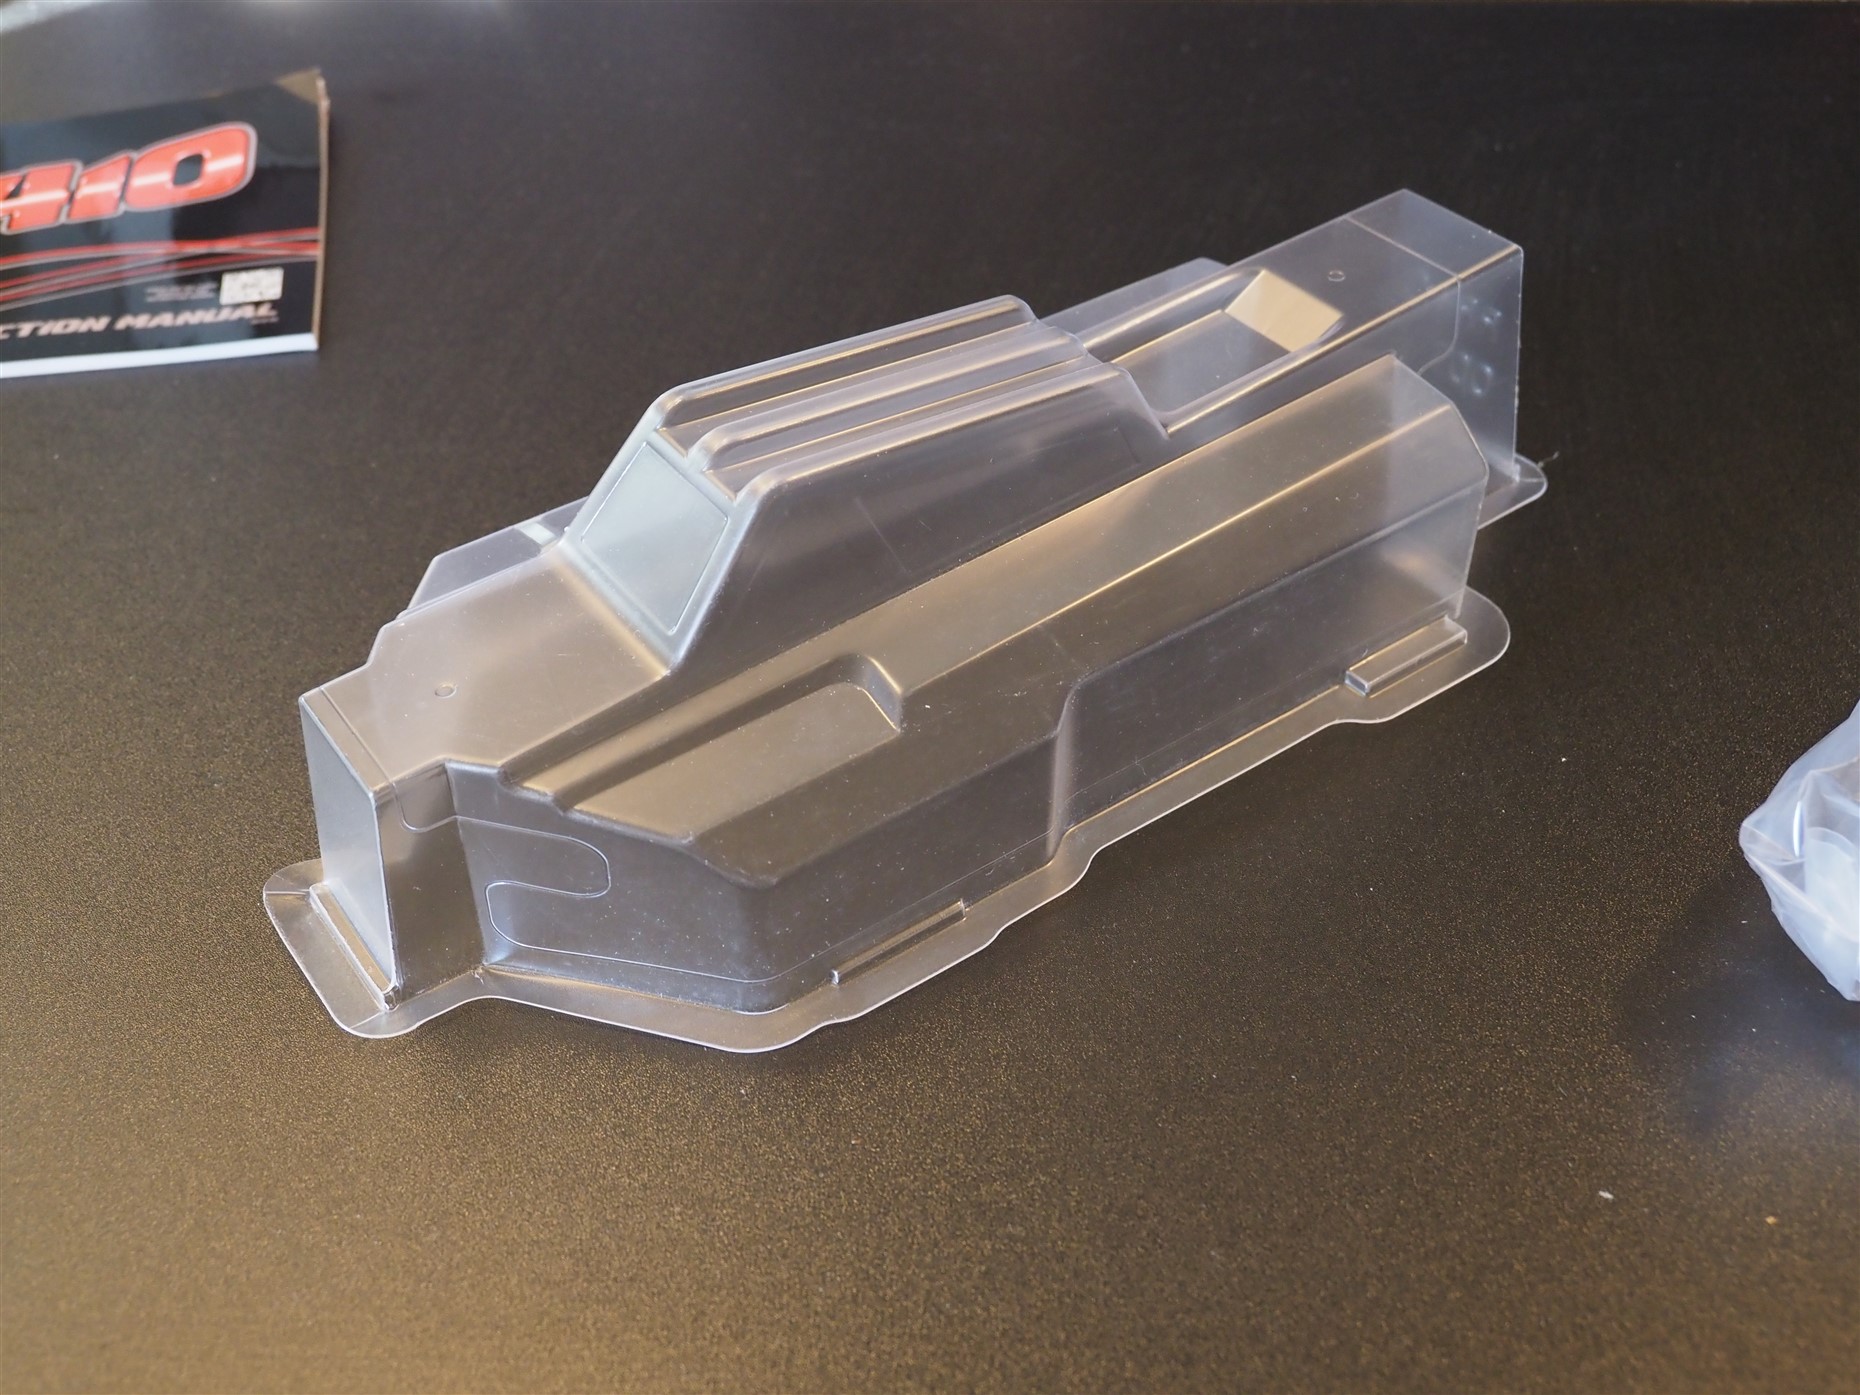
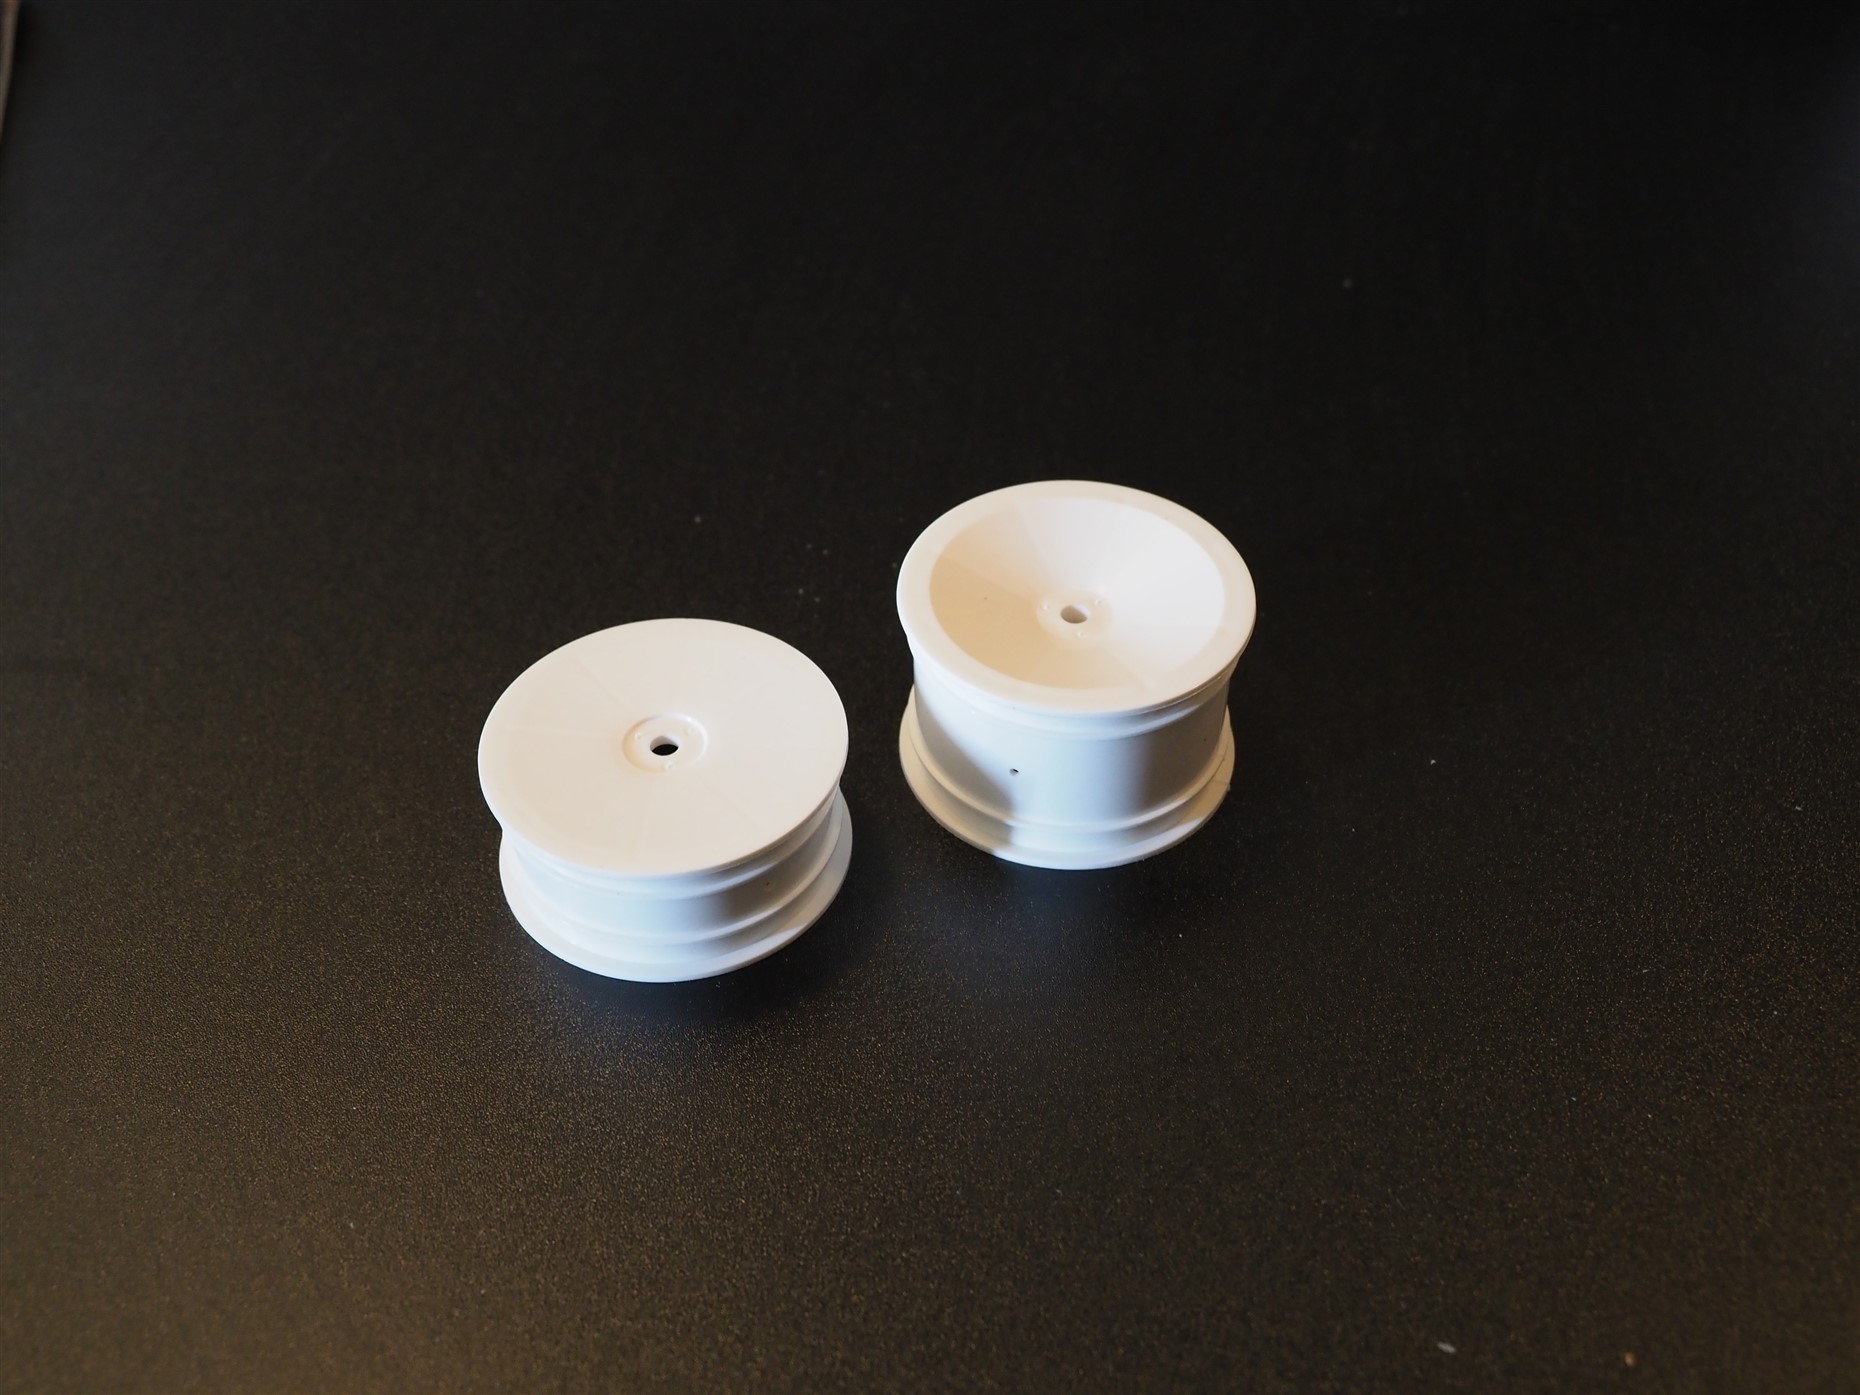
First I dug out the body and the wheels. The body because designing the paint scheme takes a long time (good idea to start it early) and the wheels because I wanted to compare them to older ones I already had in the storage. The body is quite square and bulky like all 4wd buggies are these days, but it ain’t a nothing compared to Tekno, so not a horrible design at all. The wheels are very flexible and have the ”normal” 12mm hex, so I’ll most likely be able to run with my old tires with this one.

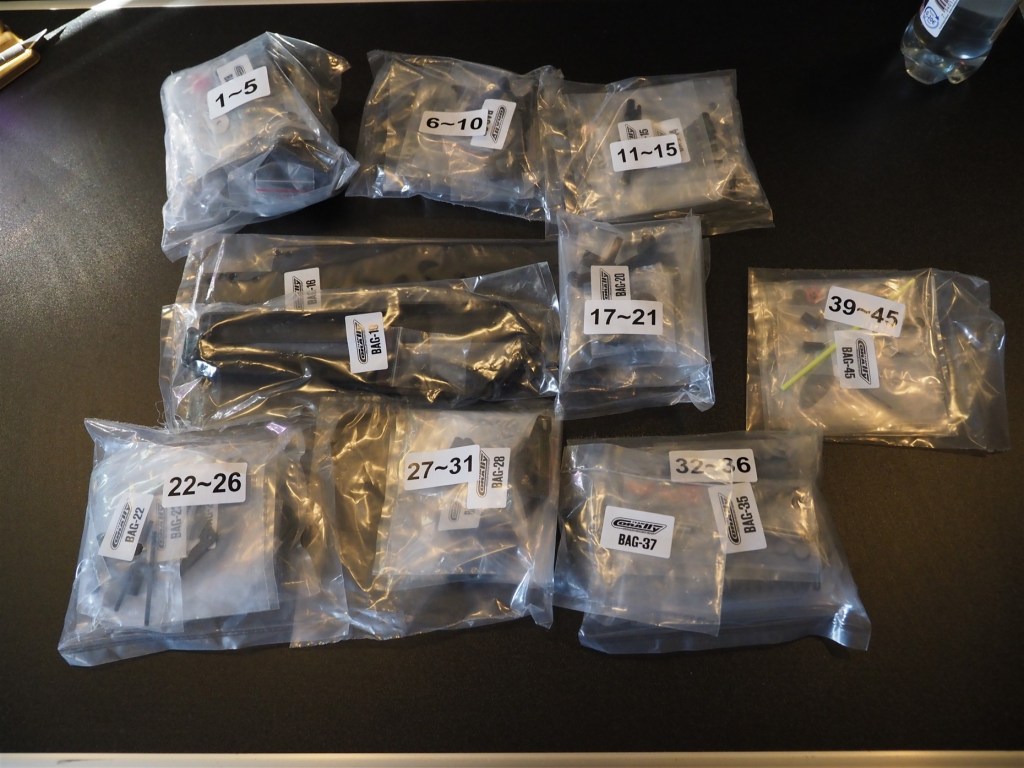
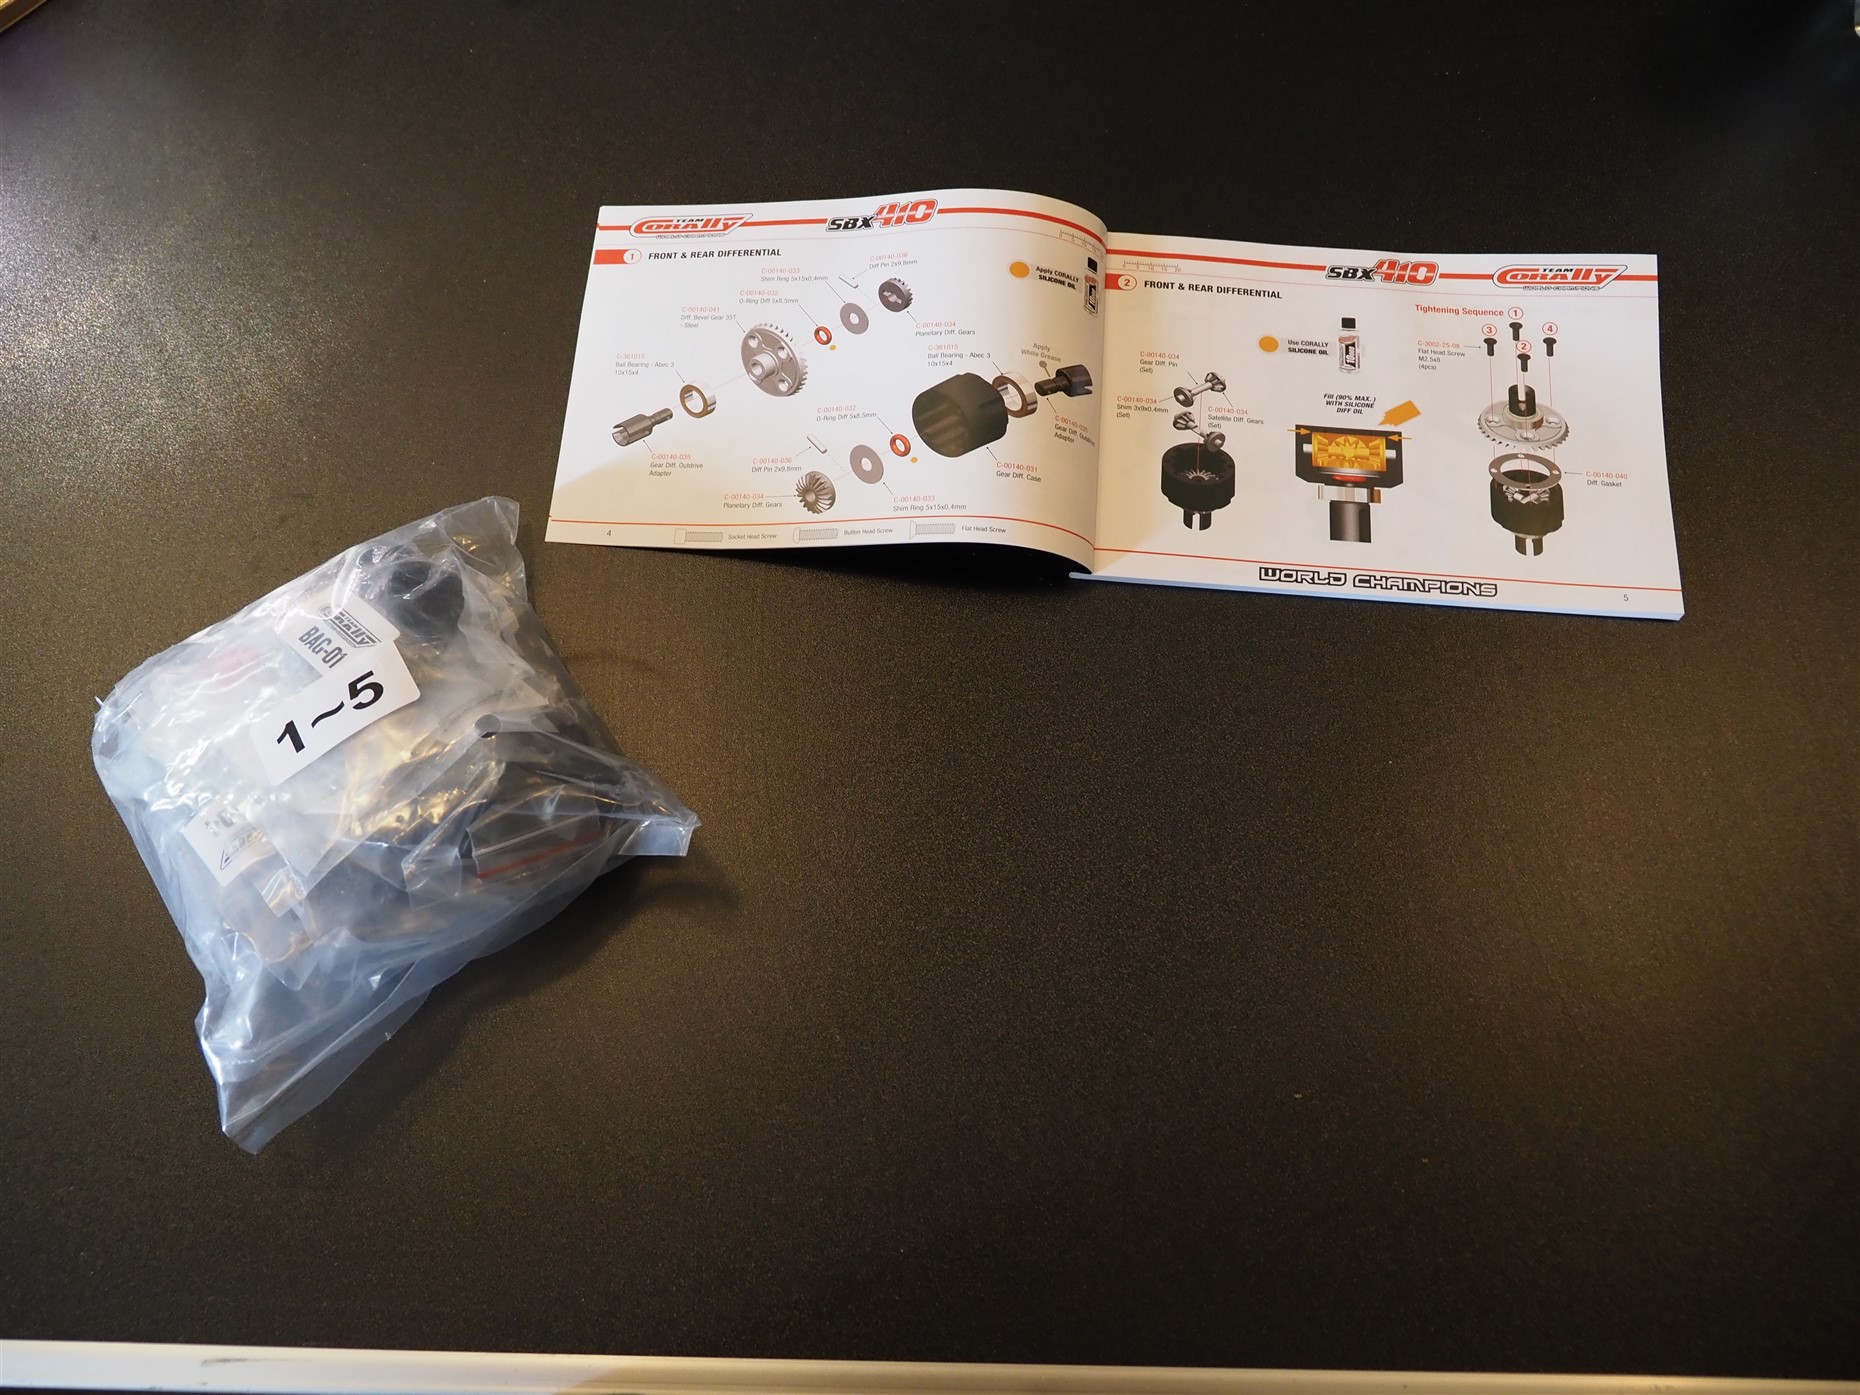
All the parts are in their own bags which have labels on top of them to tell you which steps they include. Basically quite a tidy package and easy to build when you can do one big bag at a time. One excellent point I noticed was that the manual and part bags do not jump back and forwards. All the parts you need for each step were in the bag you opened and you did not need to search for screws or shimms from other bags (this was great). The kit’s manual is clear to read and has a couple of nice touches. On the top of page you can find a mm scale (ruler) which you can use to choose screws of the right length and at the bottom of the page there are pictures of the different screw heads, so you can check which kind of screw you should look for. There are also QR codes in the manual for when some additional products are needed like glue or thread locker. Easy and useful. Just point the code with your phone’s camera and it opens the Corally’s page to show the correct product you should use.
One thing I missed or that puzzled me a bit was that kit does not include oils. I find it kind of weird since even the Xray kits have oils with the kits. For me this was not a problem since I have bunch of them in my pit bag but if someone is building his (or her) first kit this might be problem.


Then to the build itself.
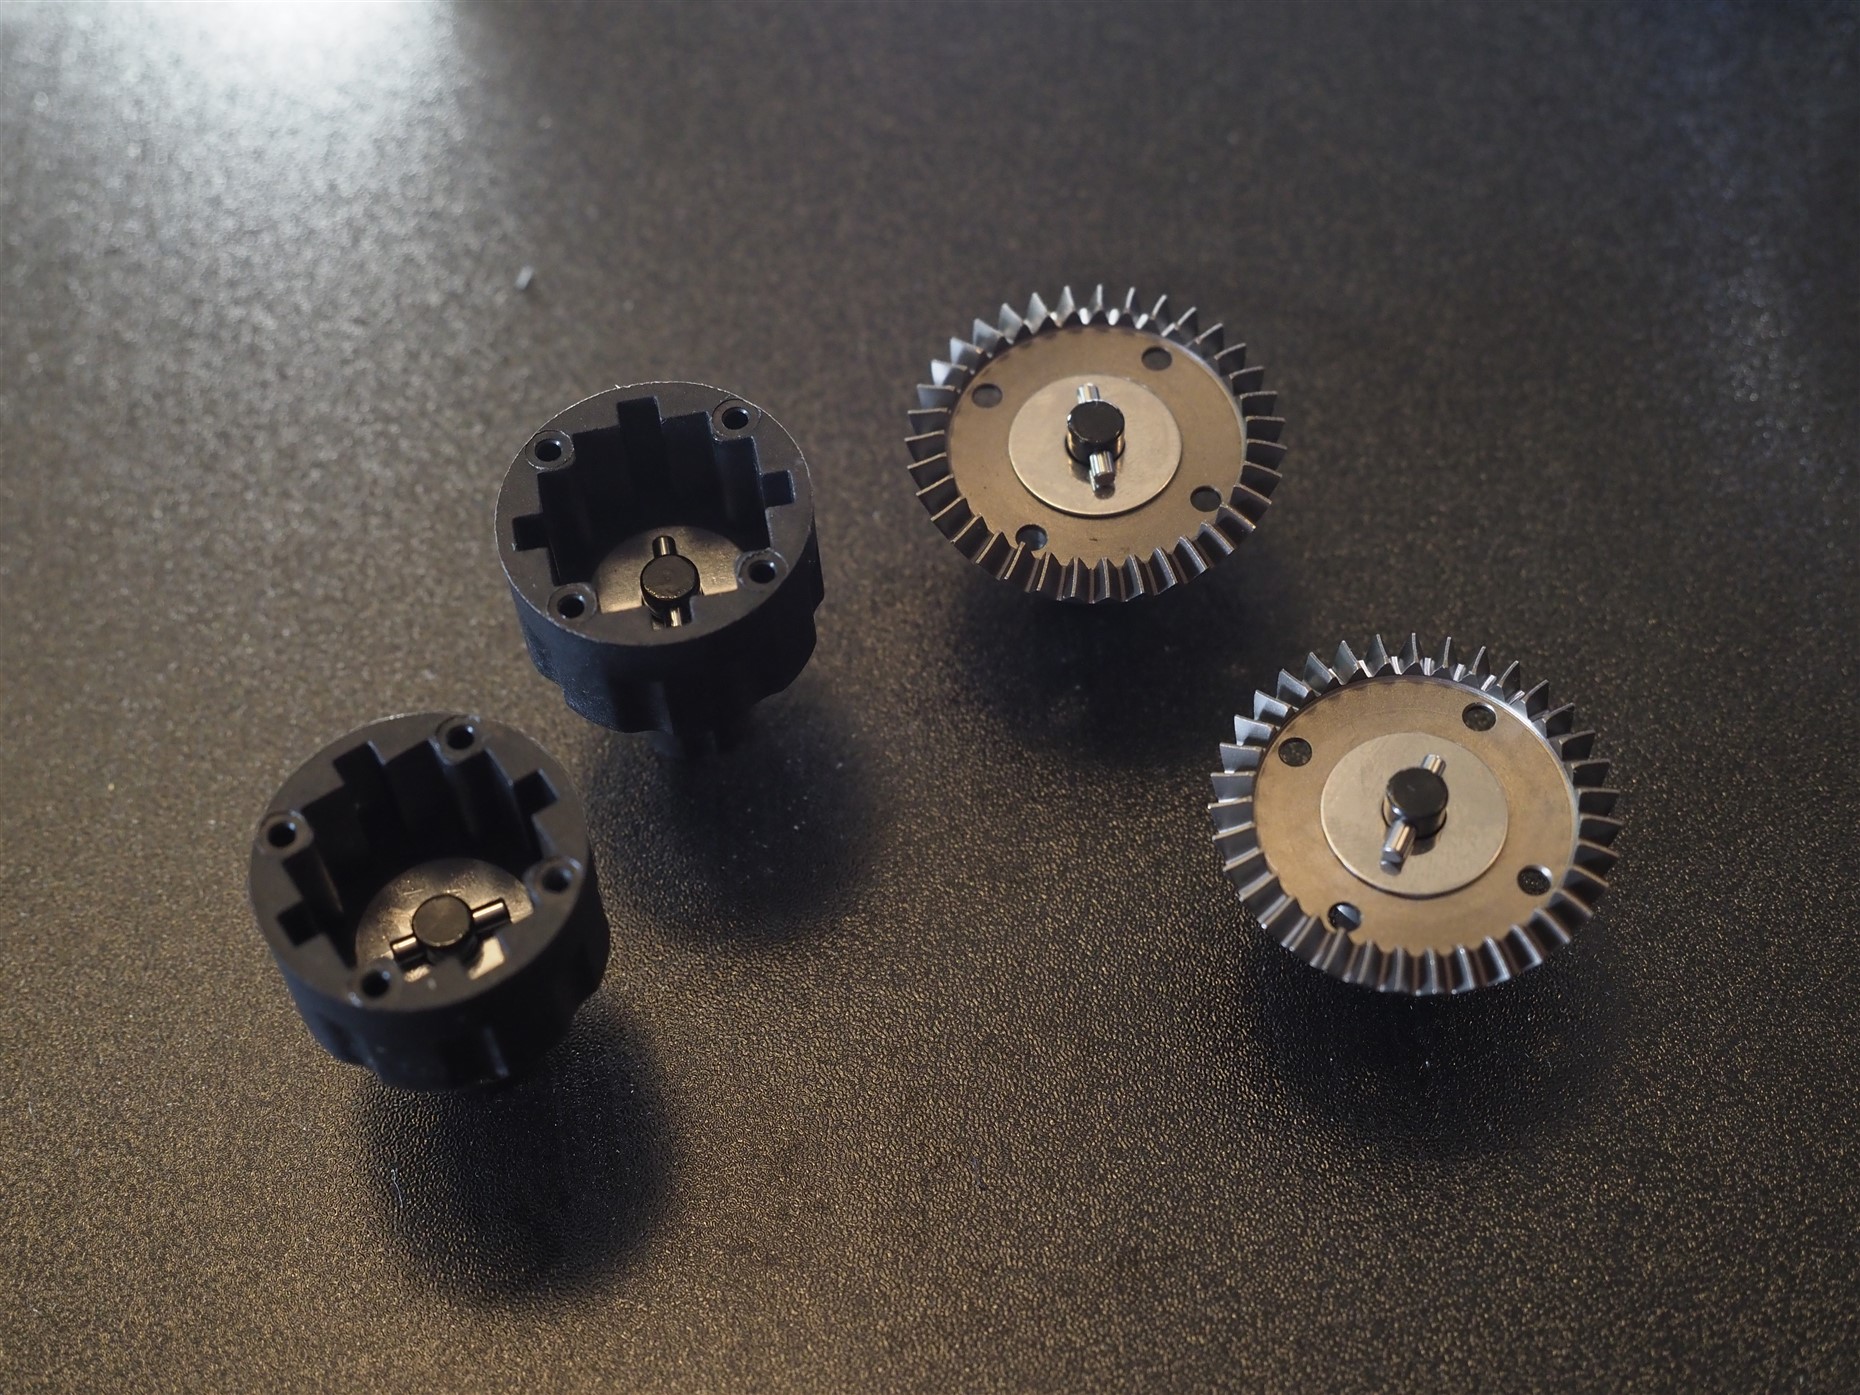
First the diffs
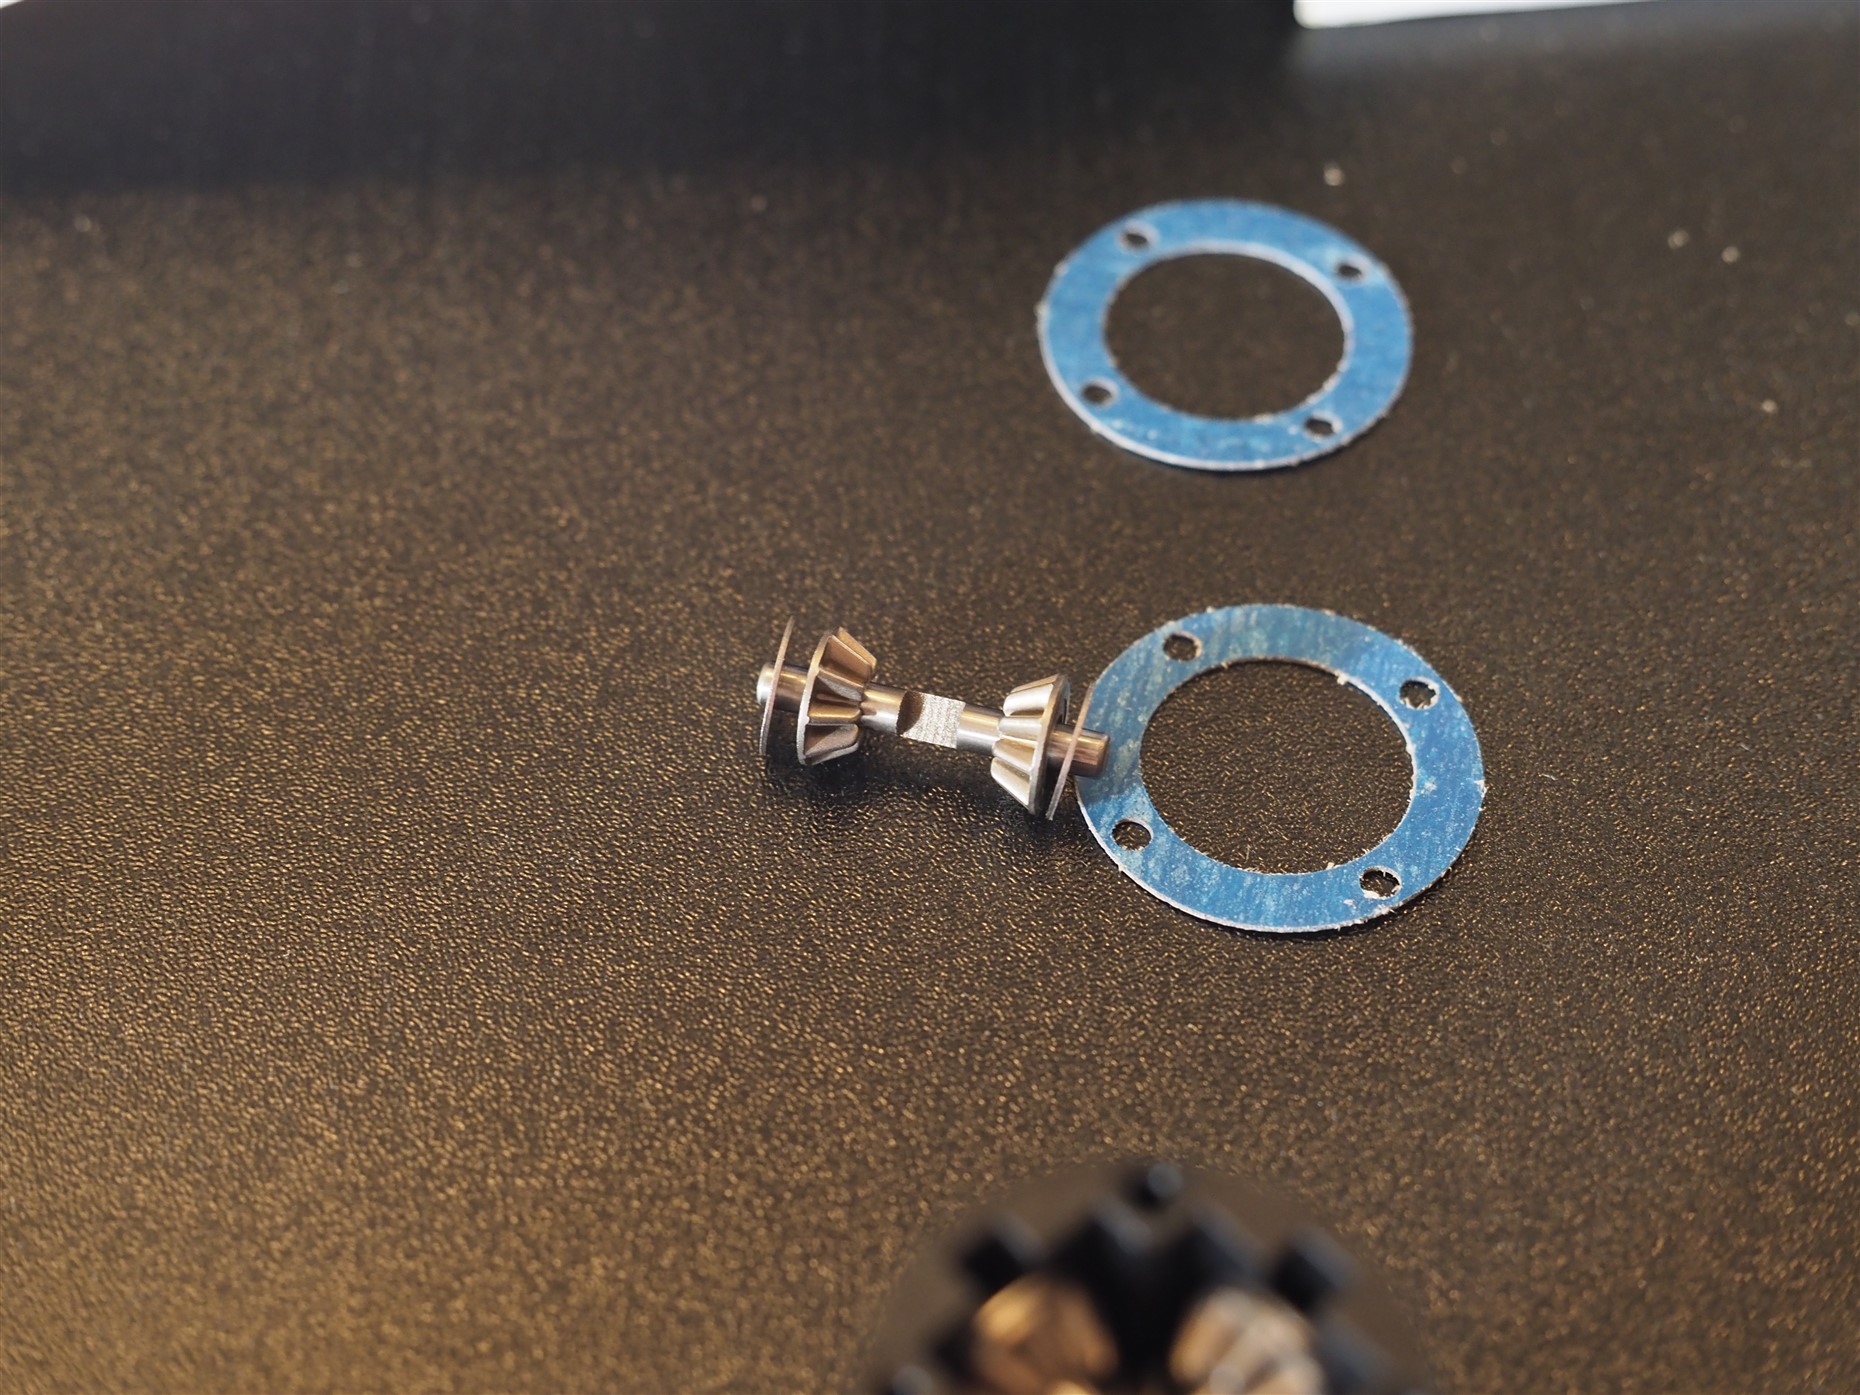
All the parts feel quite robust and used materials seem to be made of hard aluminium or steel. When looking at the crown gear (bevel gear) you can see that they are machined and there is some debris left on the inner side of the teeth. The teeth also feel quite sharp to touch, so they are not as polished and shiny as in the latest high-end buggies but I saw no problem with these during assembly. All parts slided nicely in their place and found their place without a problem. Four satellite gears were casted which made them a little rough but I think this will not be an issue even though the diff is not as smooth as I had hoped. The diff feels just like they just need a few runs to break in properly. All in all the diffs feel robust and they are easy to build.
Note! I used OKS 1110 to lubricate and to seal the outdrive o-rings (as in all my builds) and for the outdrives I used Hudy Black grease since I did not have any ”white grease” in hand which the manual recommends.
Setup note! Manual has no recommended values for the diff oils, so I went for 10K front and 7K rear. I found this in many setup sheets available online. At least this is a good starting point for further tuning.


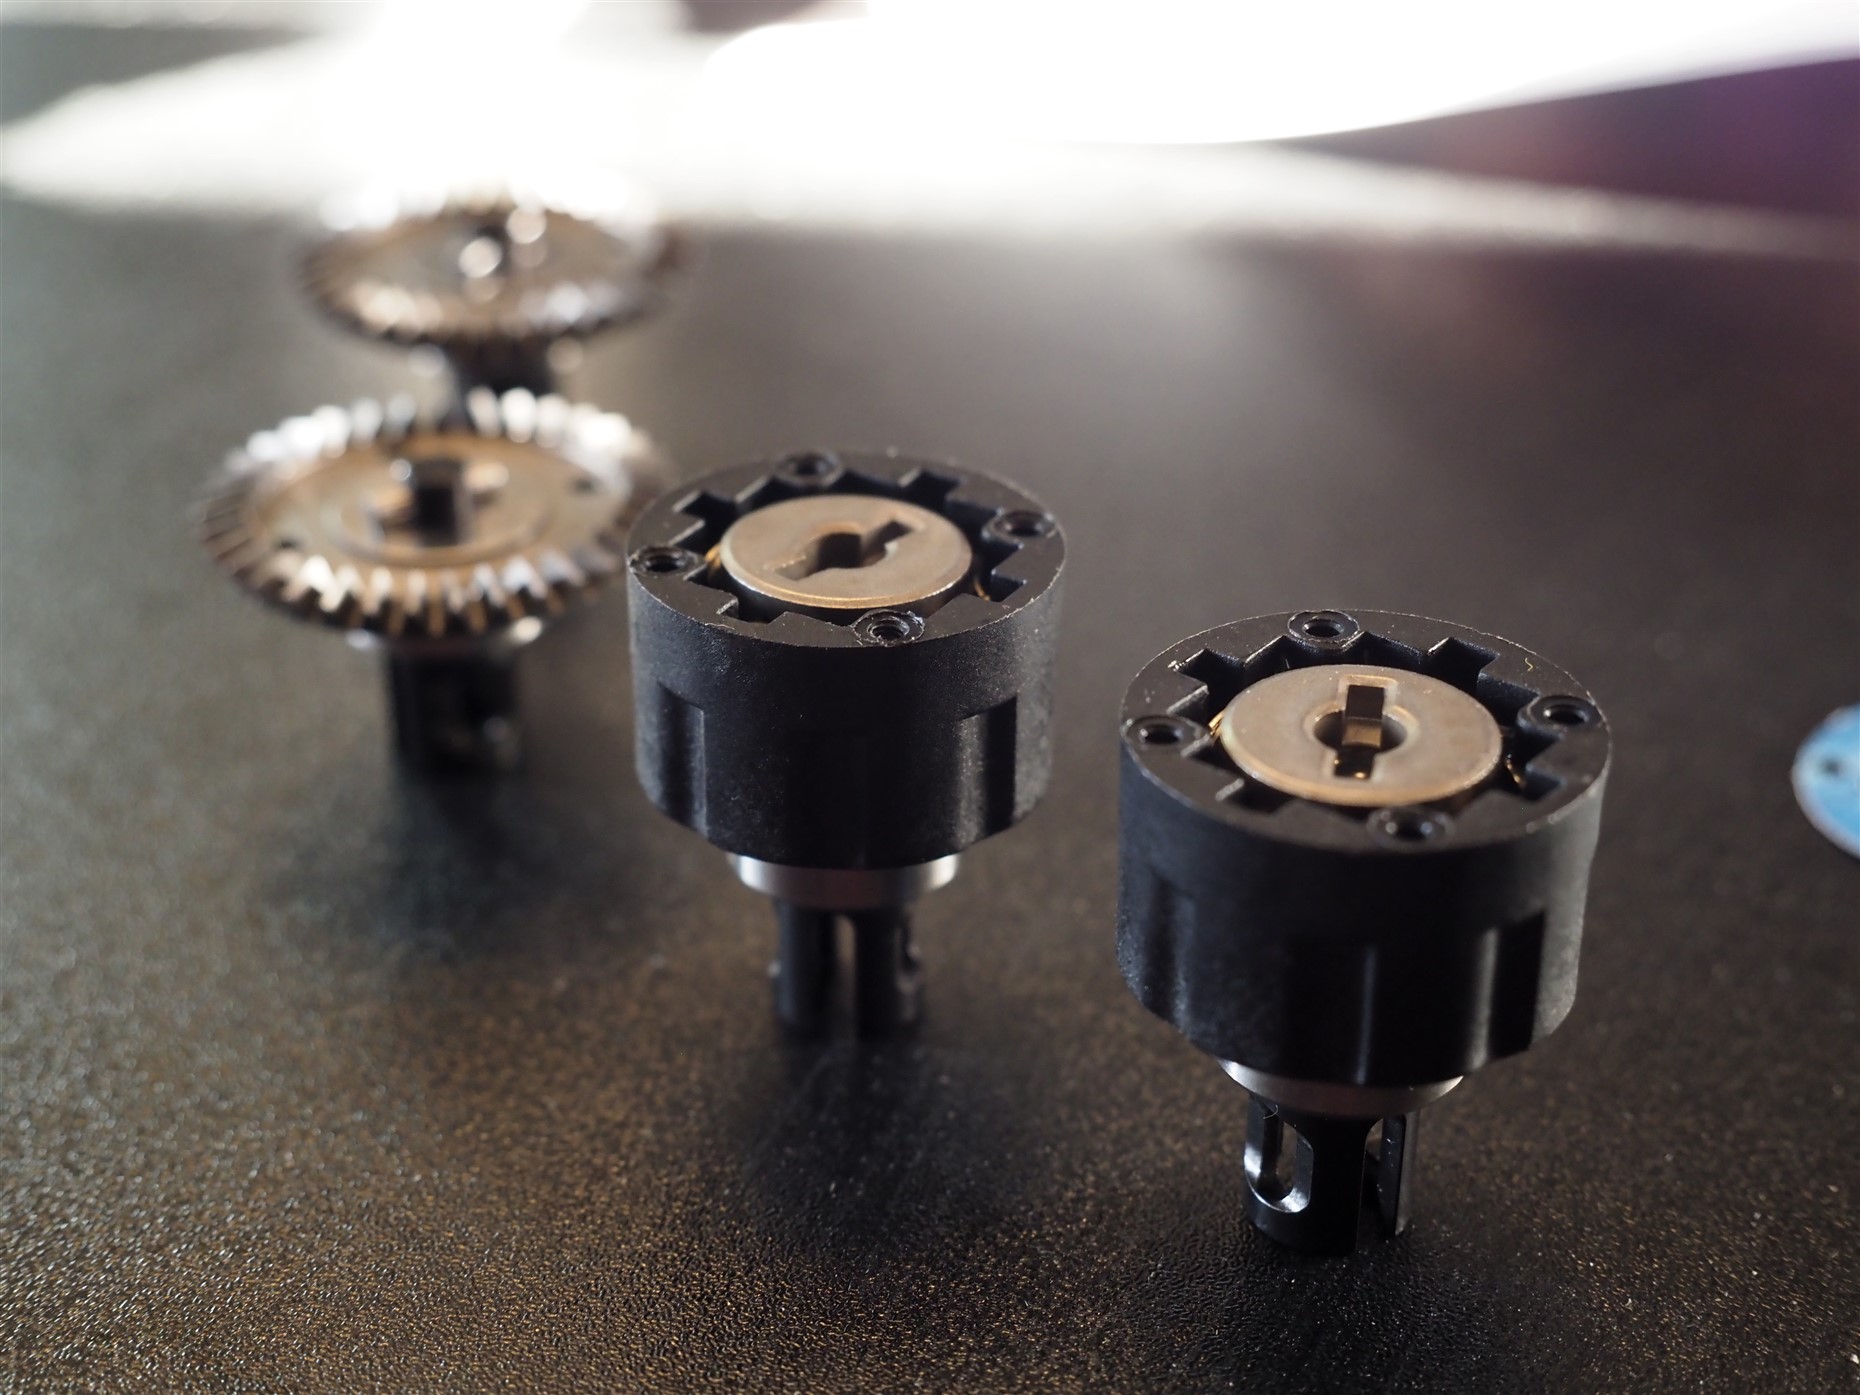

Pinion gear and and the gear boxes.
The Pinion gears (smaller bevel gear) are neatly machined and look as good as the diffs, so nothing suprising here. Front and Rear gearboxes are identical so the assembly is quite easy and straightforward. The pinion axle has two 5x10x4 bearings which seems a little small these days for my eye and I would like them to be a little bigger, so they would have a little bigger bearings inside of them and those would give them better durability and longer lifespan. But I trust the R&D of Corally in this, these are most likely fine. One noticeable thing was that the gear boxes did not need any shimms to adjust the gear mesh. Gearboxes run smooth and feel great.
Build Note! I noticed that there was debris inside the outdrive’s mounting screw’s thread. It was easy to remove, so no biggie.
Note! I know that I will run this car in dusty conditions, so I used a tad of grease (OKS 402) to seal the gearbox halves when I closed them. This trick is a bit messy but makes a simple seal and helps to keep the dust outside of the box. I use the same grease for the lubrication of the crown gear.
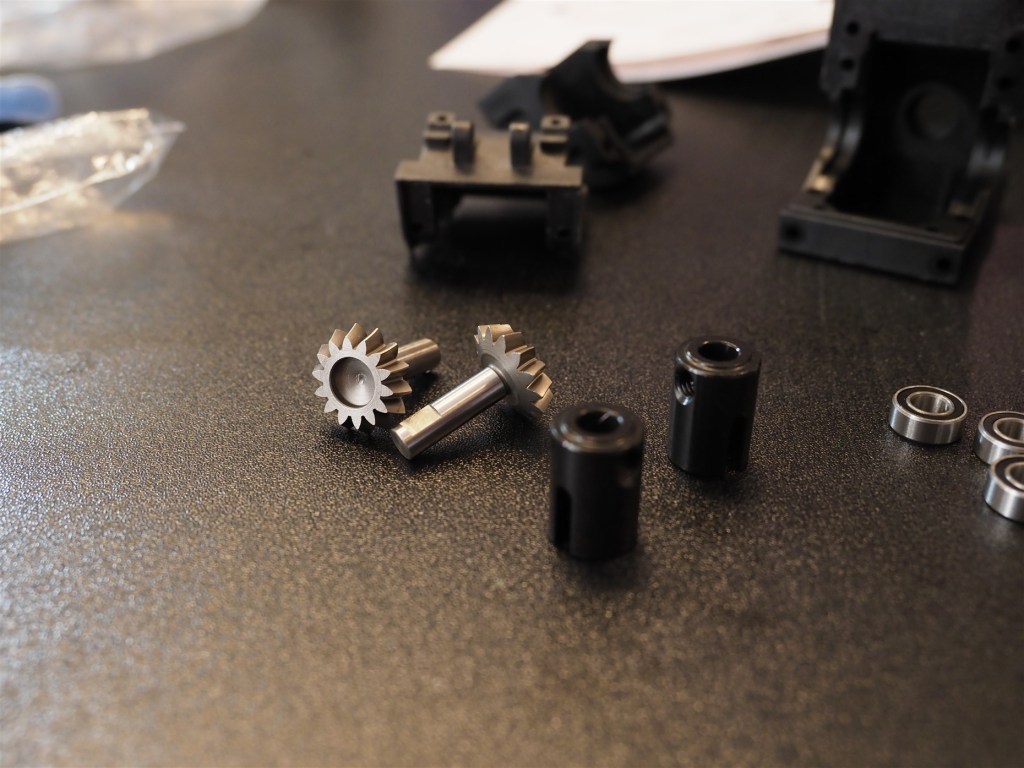
Pinion gears and outdrives 
Outdrive’s debris inside the thread 
Gearboxes 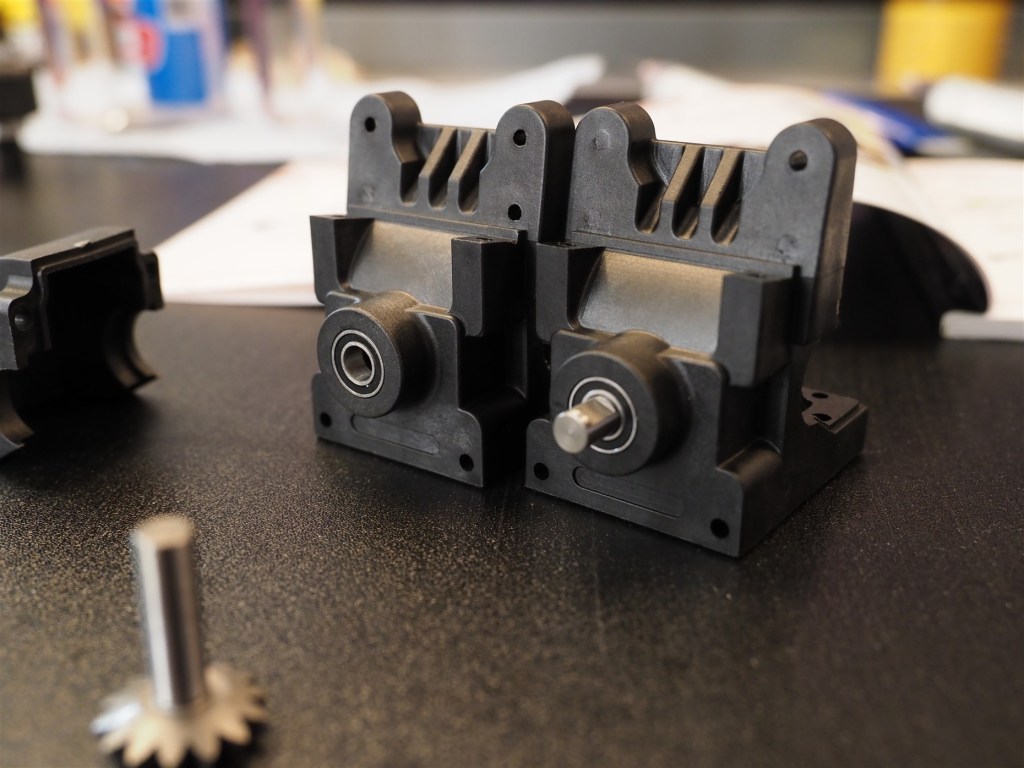
Pinion gear’s bearings 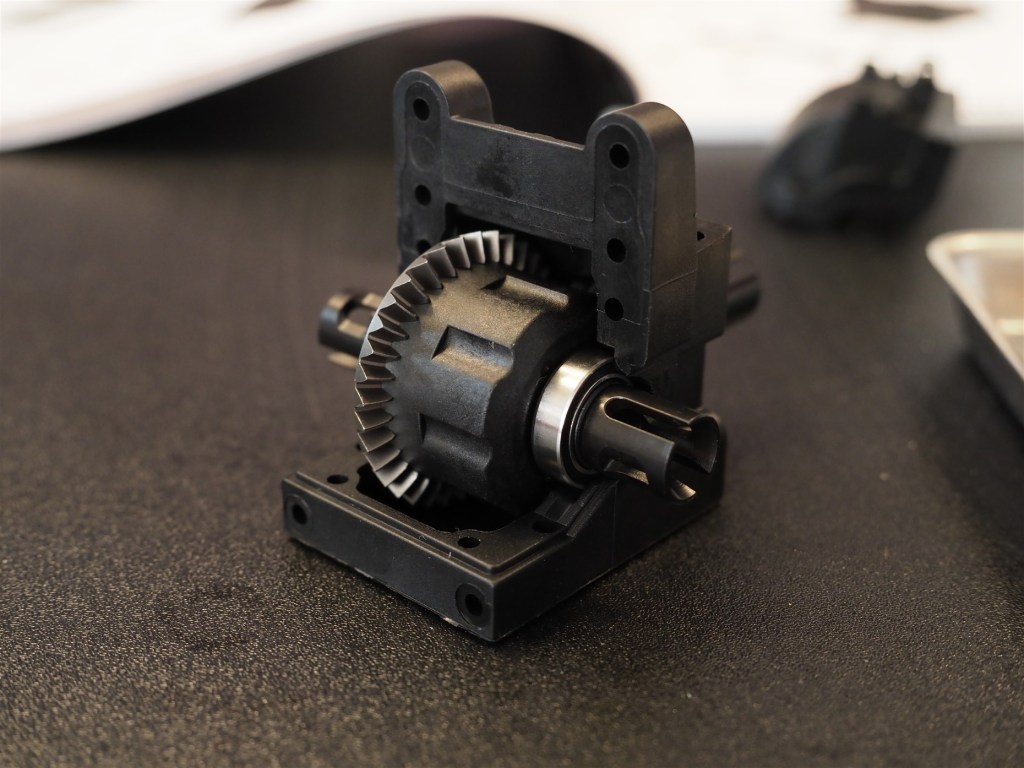
Mounted diff. No shims needed 
Grease for sealing 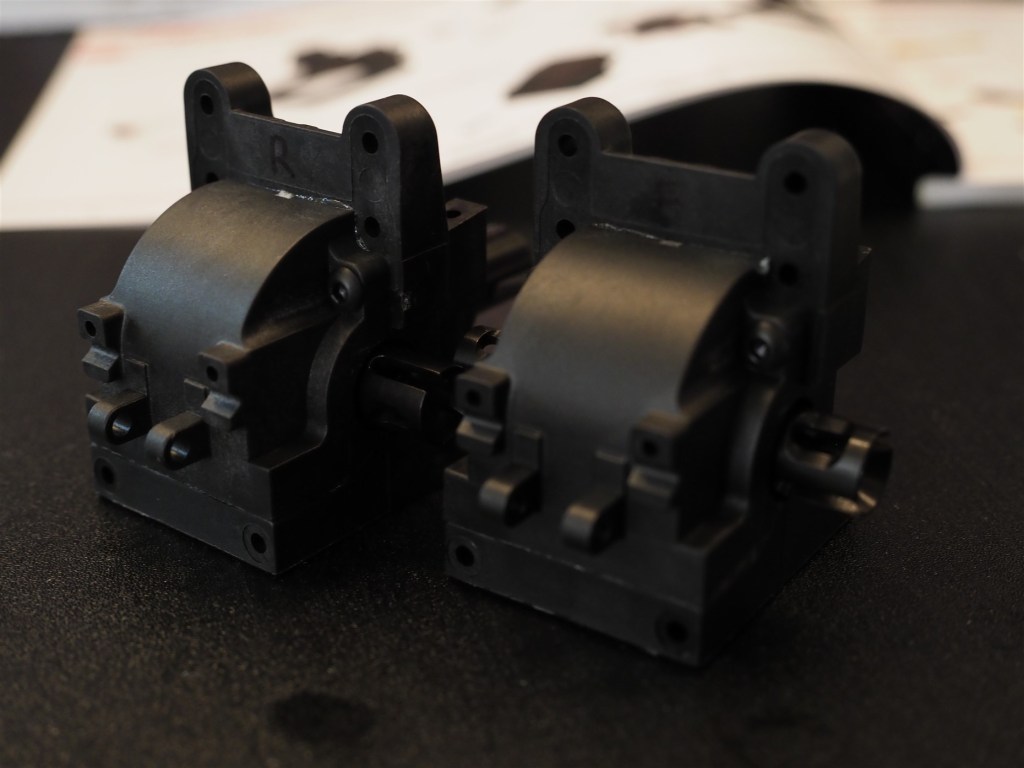
Complete gearboxes
Suspension arms and holders
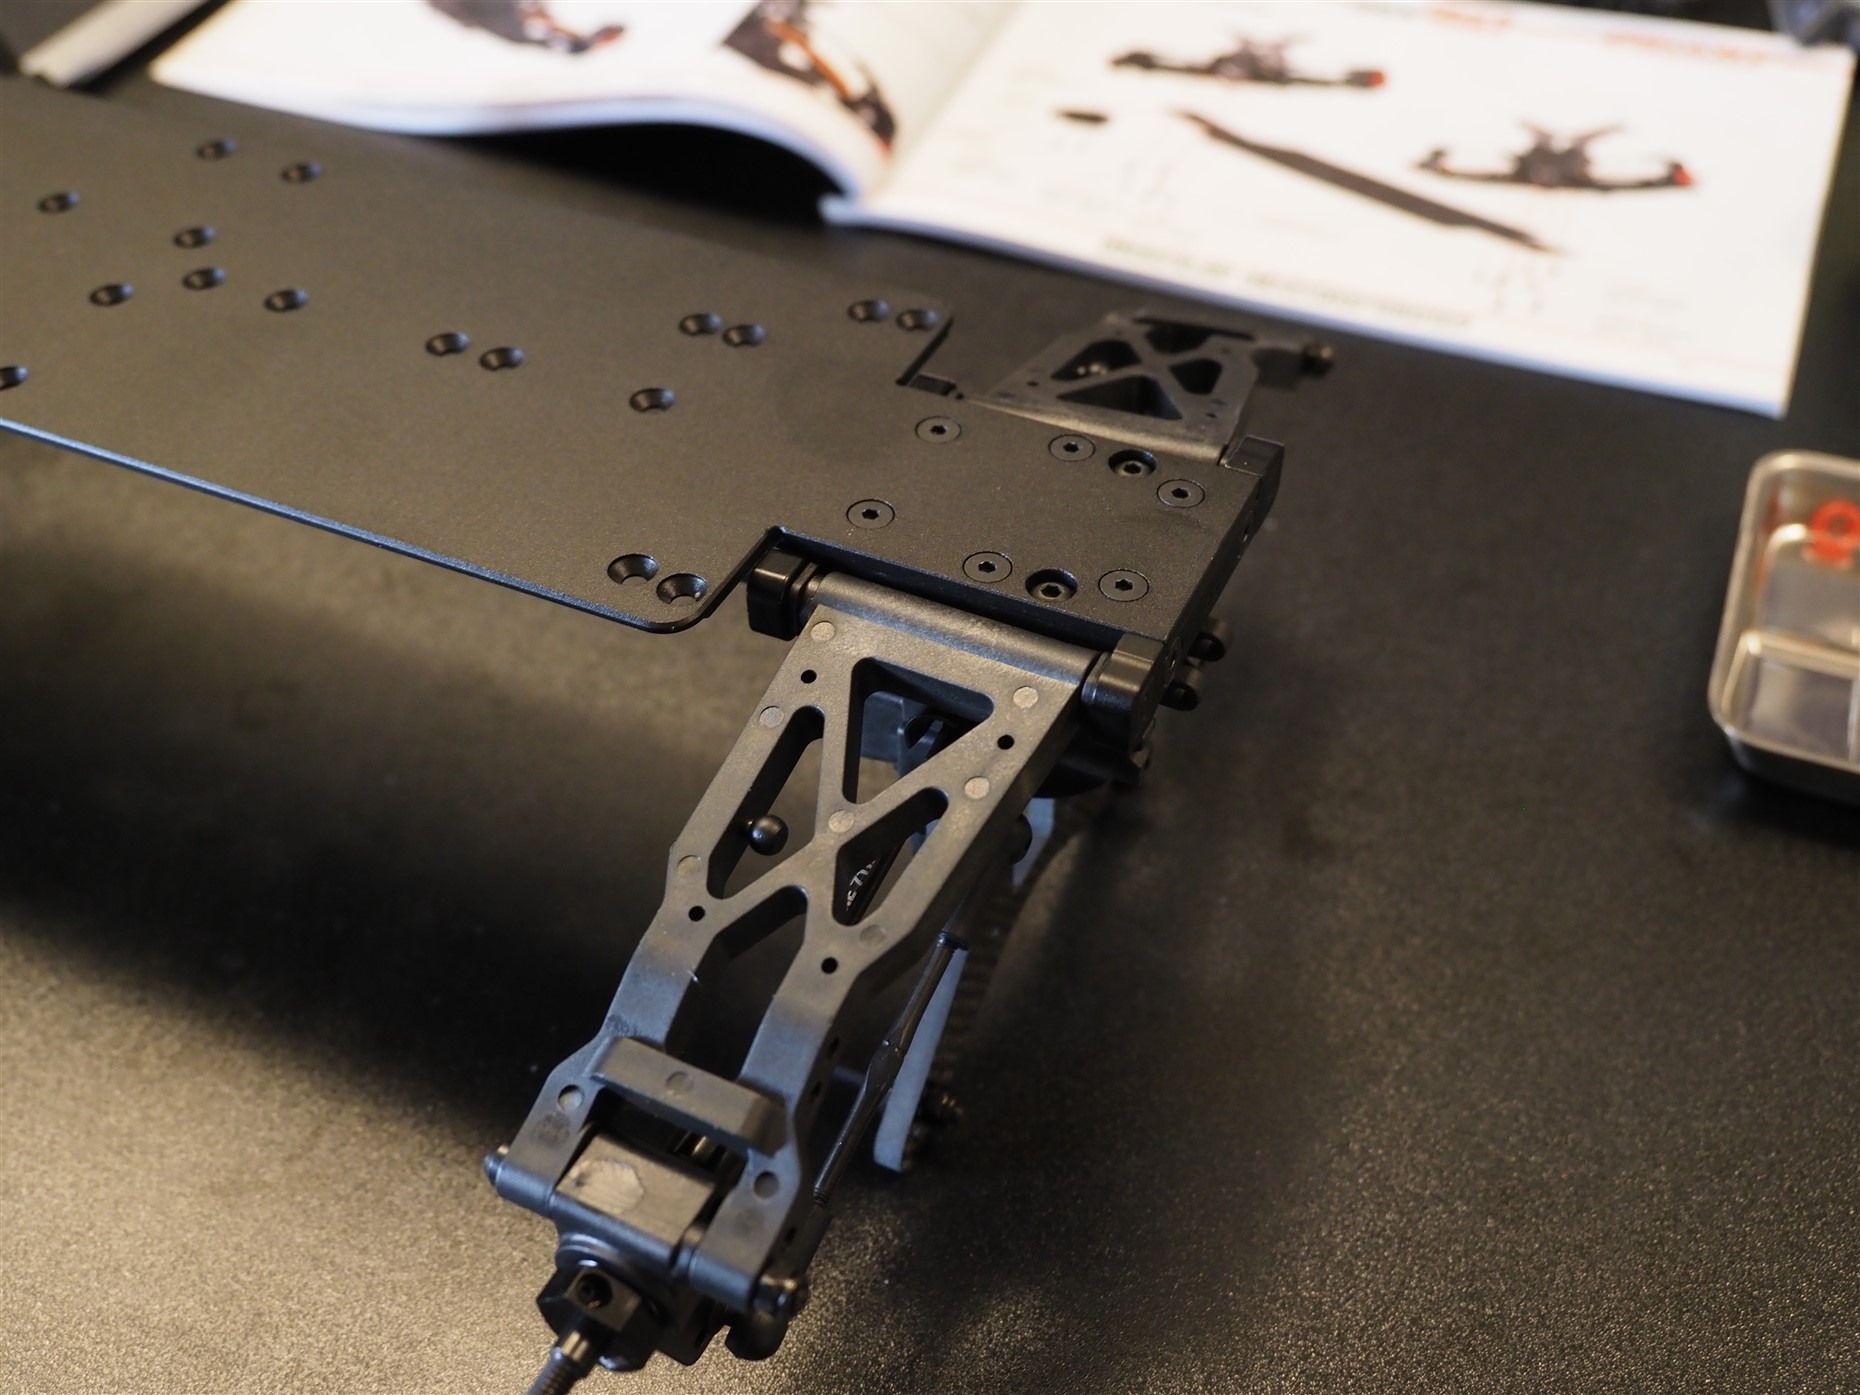
The SBX-410 has aluminium adjustable suspension arm holders where adjustments are done by changeable inserts. You can alter anti-squat and toe with different inserts. Inserts have clear (and big) markings for easy identification, no need to search for glasses to see the small spots with these ones.
The Suspension arms do look a little bulky but when installed they do not look bad. By feeling them in hand they seem quite tough and robust no doubt.
Build Note! The toe inserts are very tight to the arm holders, so they need to be pushed with some force to their place. Otherwise the suspension arms won’t move freely.

Suspension arm holders 

Assembled suspension arms
CVD Driveshafts
The kit has CVD drive shafts both in the front and back. The design is quite basic with the addition that there is a sleeve which holds the joint’s pin on its place. Basically this makes the joint impossible to depart unless the pin breaks. Wheel hexes are aluminum by standard and tightened by a screw.
Note! My kit’s hexes were tightened with the 1mm hex driver but the kits extra part box included screws with 1.5mm head, so this seemed a good upgrade.
Build note! I used bit of Hudy black grease to lubricate the CVD joint.

Front CVD parts 
Front CVD parts 
Steering and hubs
The SBX-410 has quite basic design in the front when it comes to c-hubs and steering blocks. No changeable spacers or inserts. The kit includes 9 deg c-hubs and has quite thick looking steering blocks. Steering blocks and rear hubs are identical on the left and right side, so you will only need one type of spare part and the same goes with the rear hubs. This is a simple way to keep the costs low and the driver does not need to have four different parts to cover spares when two is enough.
Both front and rear hubs have 5x11x4 bearings which may be little ”old design” since most of the newer kits have bigger outer bearings for better durability. But let’s wait and see how these will hold up.
One great thing about the the hub design feature is that the outer hinge pin is the screwable type so no fuss with clips or holding screws.

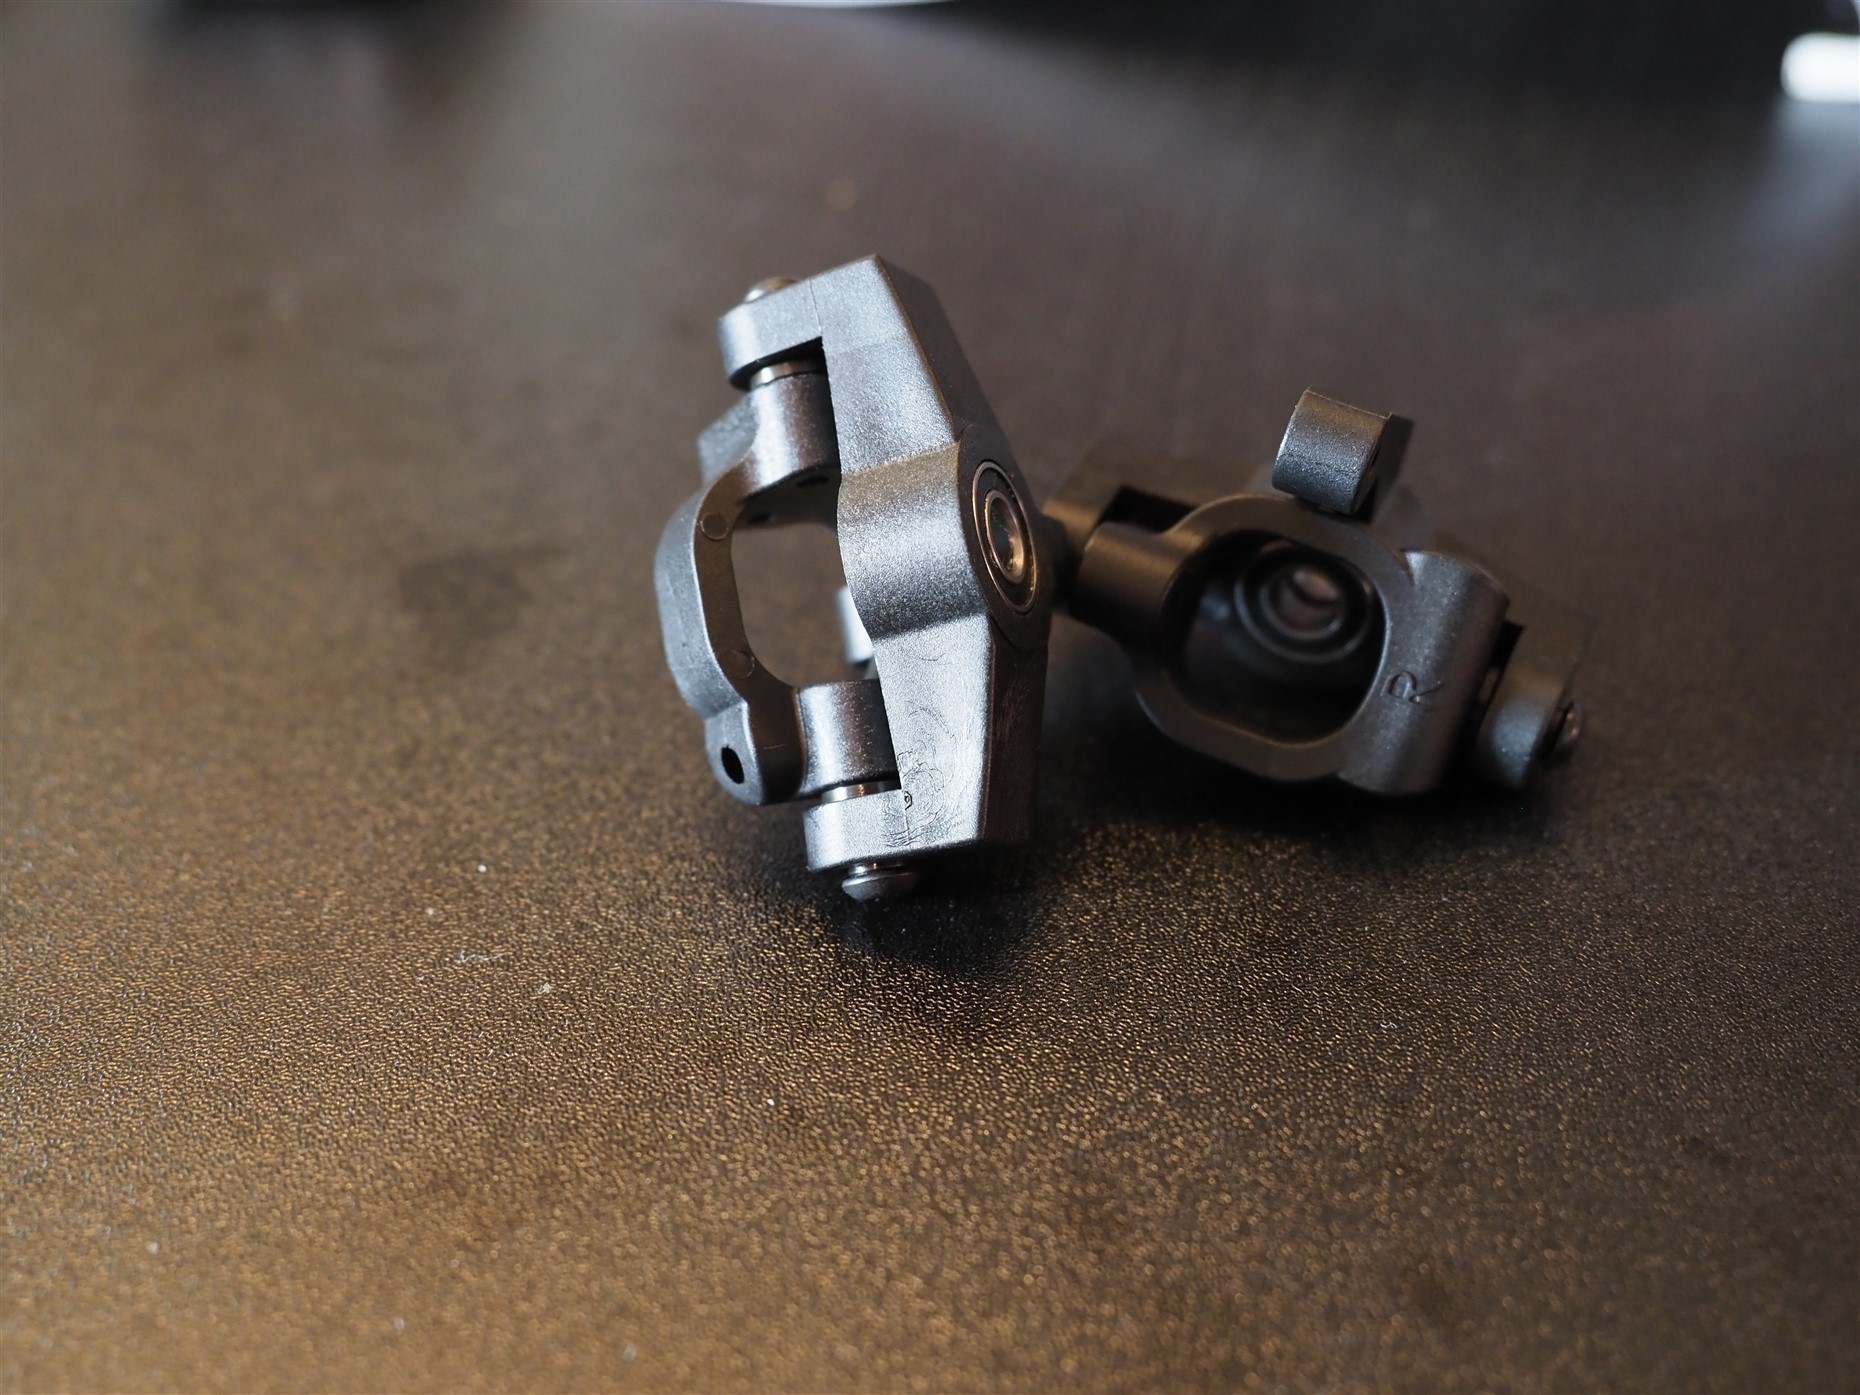


Outer hinge pin is the screwable type with a nut 
Assembled steering parts and hex’s small mounting screw and 1mm hex tool
Gearboxes and shock towers
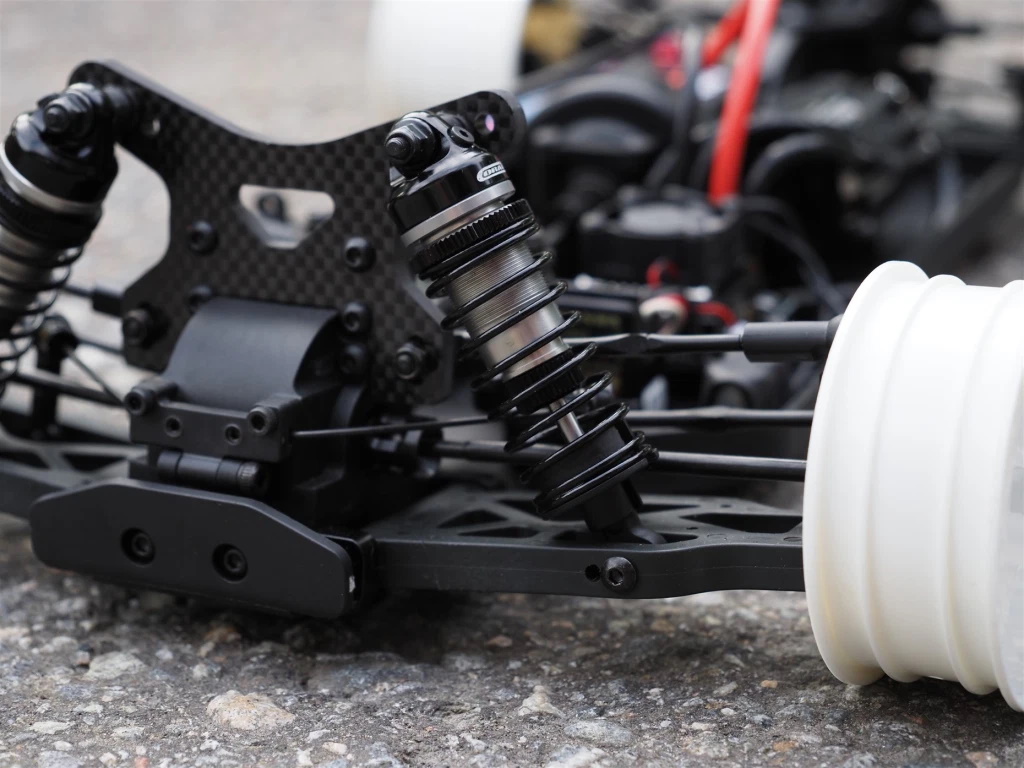
The SBX-410 comes with a 4mm thick carbon fibre shock towers and aluminium ones are optionals. The carbon fibre feels tight and rigid. I did not sand the edges since I thought that they will most likely round themselves in bad landings (now when writing this I also note that I forgot to glue the edges). In this step the first turnbuckles will be assembled. The turnbuckles feel quite thin (~3mm) and the ball cups also feel quite light. I have been driving mostly with 1:8ths for a while, so these feel tiny but I guess they will hold, time will tell. Assembling the gearboxes, suspension arms, shock towers and turnbuckles is basic stuff nothing special there.
Build note! When assembling the ball cups to turnbuckles it is a good idea to use grease on the thread to lubricate the future adjustments. This prevents the ball cups to stick on the thread.
Note! If you build the car according to the manual, note that rear shocks can be installed either on the front or back side of the suspension arm. The manual mixes these options without a note, so do not be confused when suddenly the shocks are on the other side of the suspension arm.
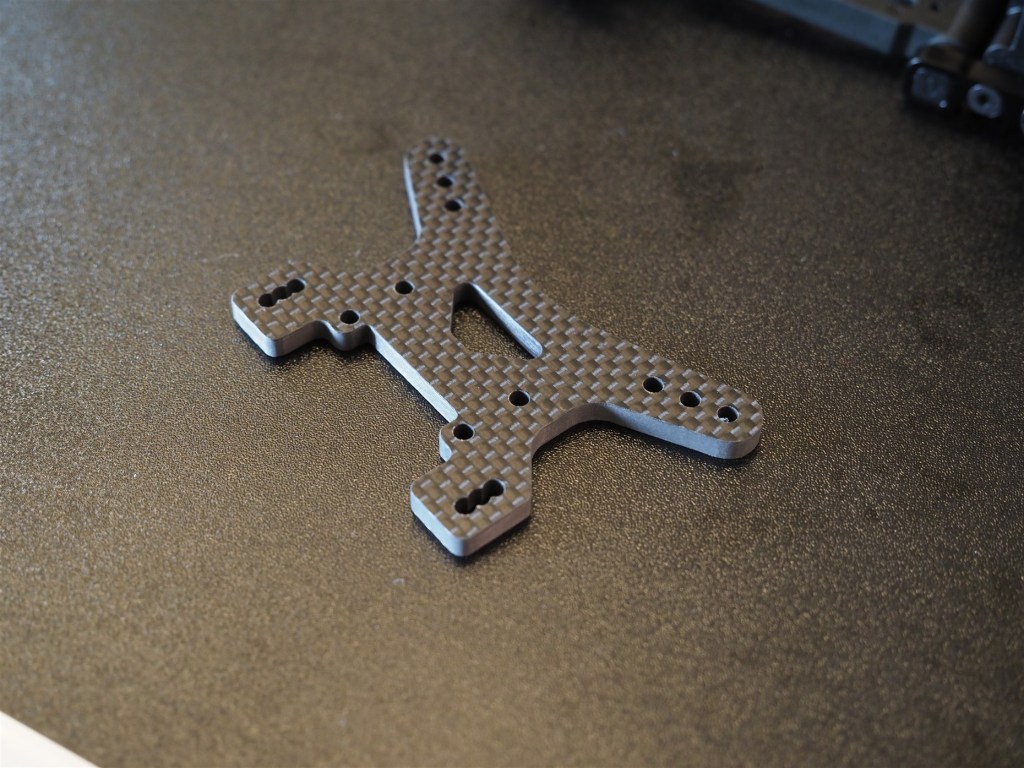
4mm thick shock towers 
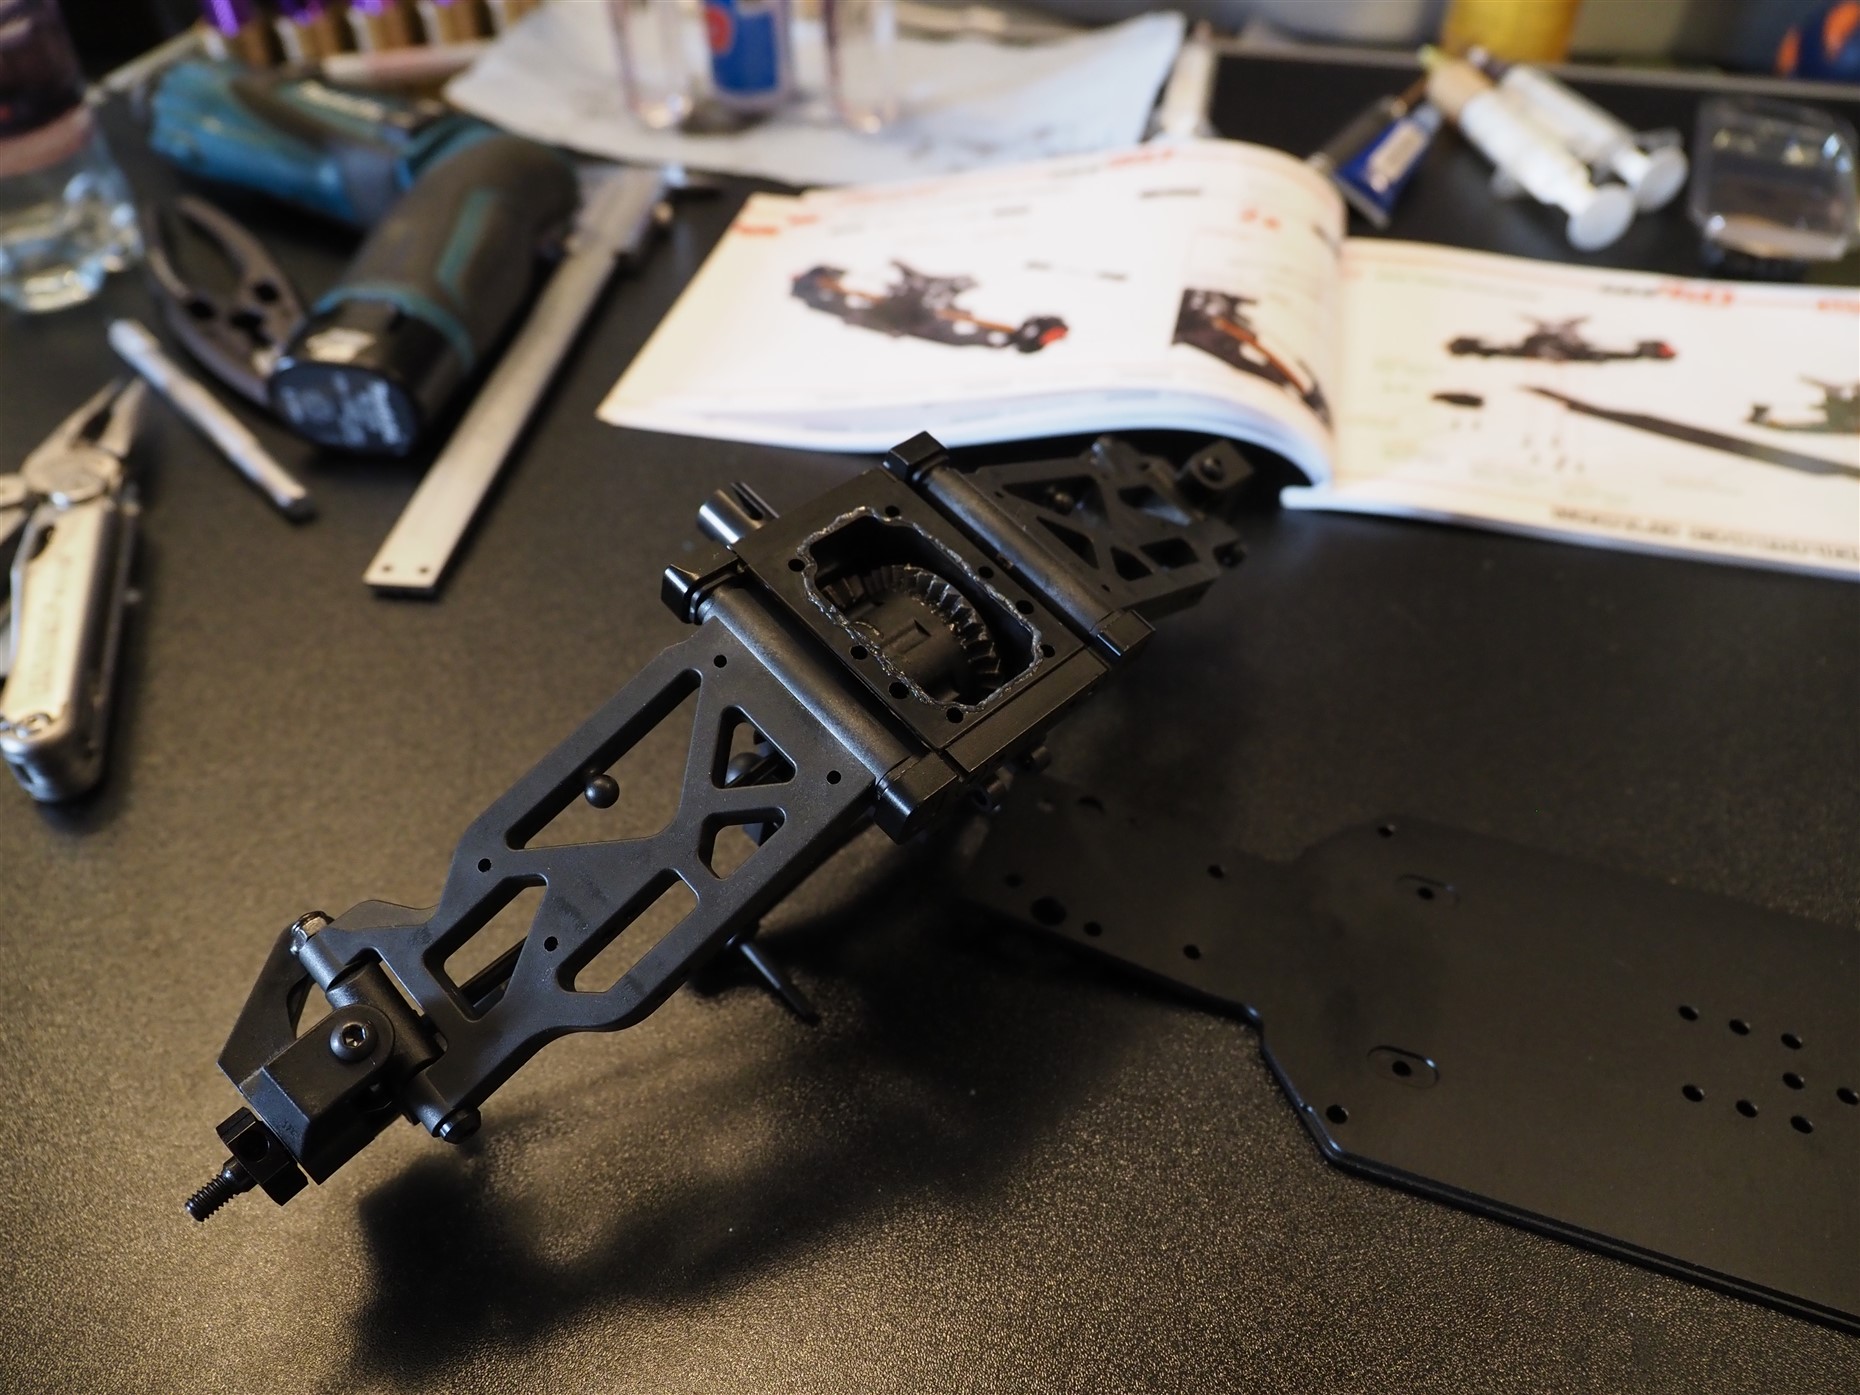
Front gearbox as a unit 

Rear gearbox as a unit 
Rear gearbox 
Upper links on their place 
Using grease for the turnbuckle threads
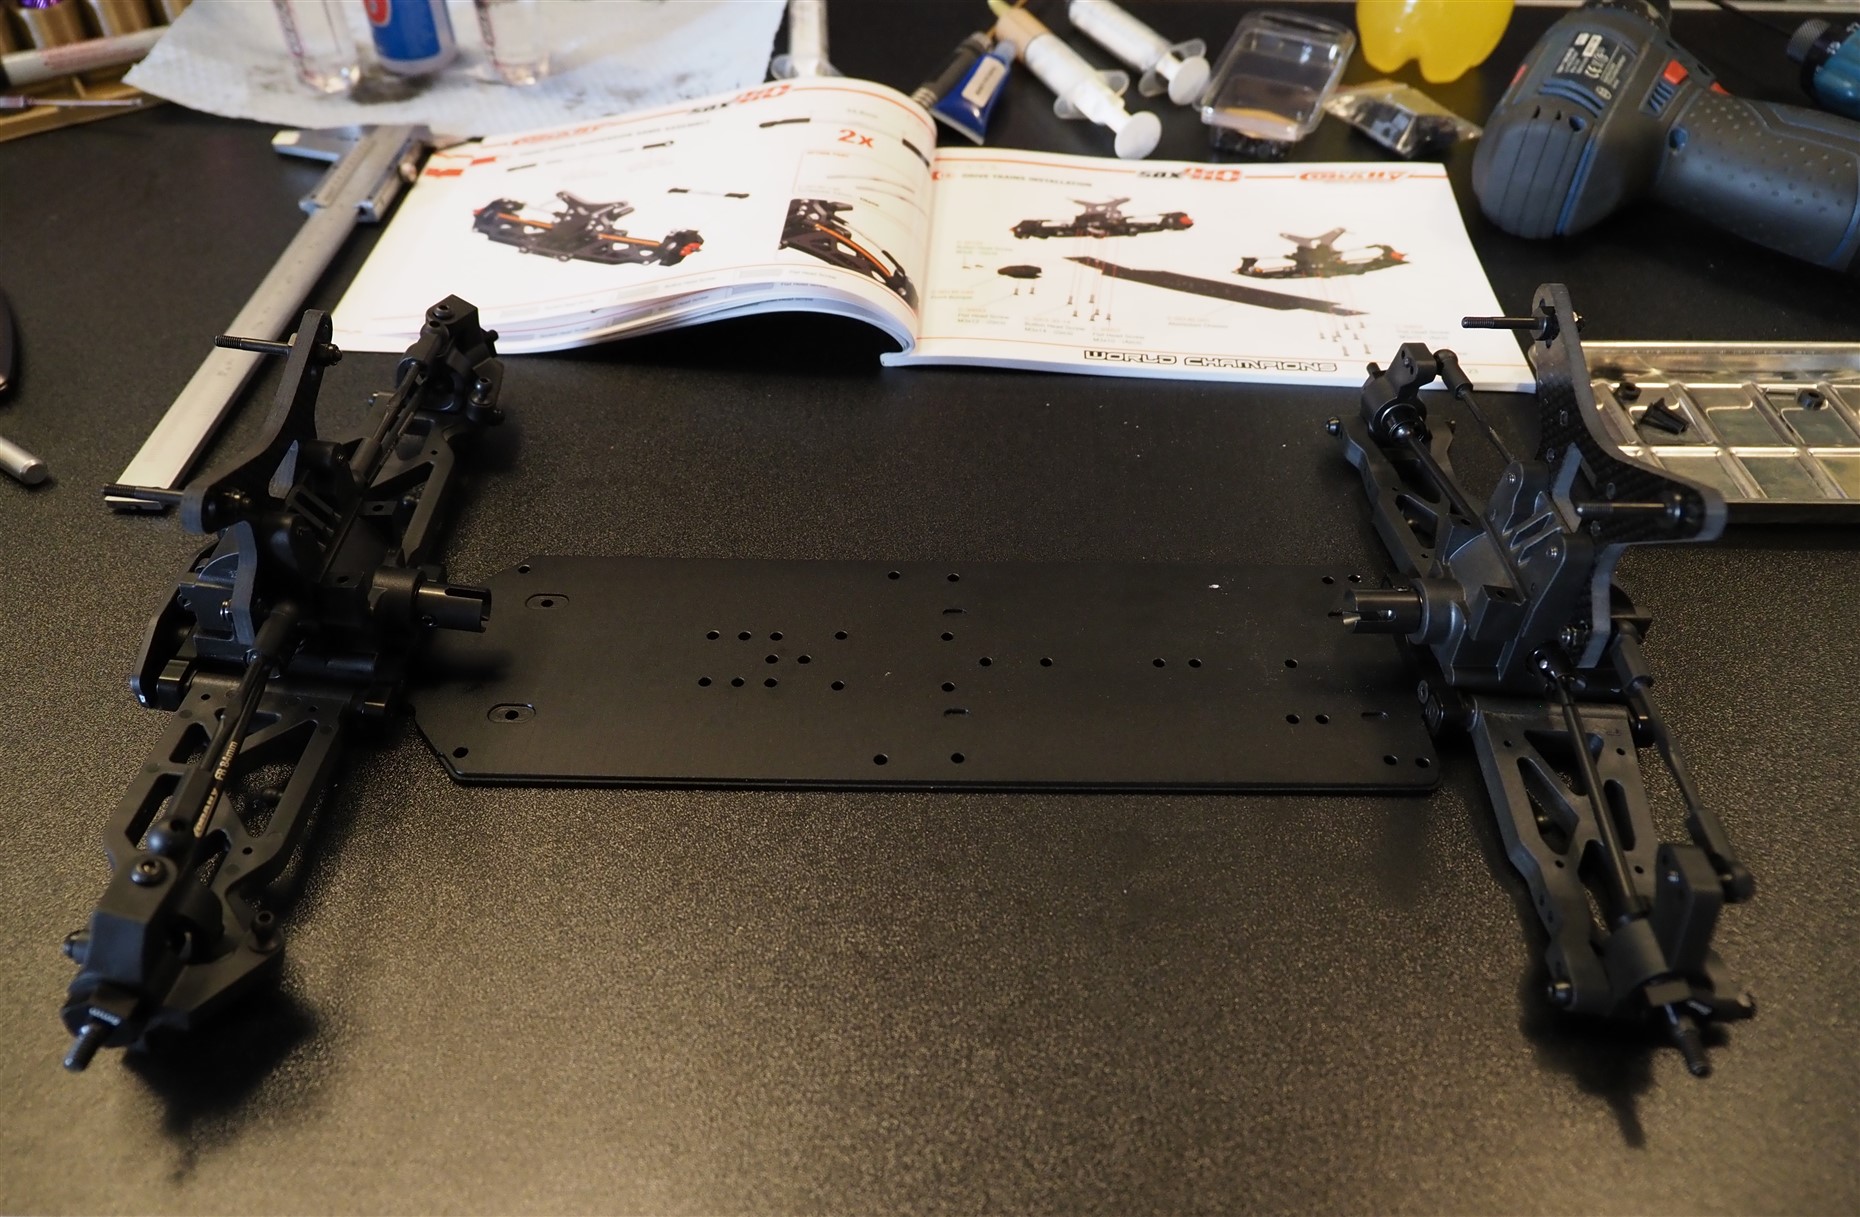
Chassis plate
The chassis plate is made from 7075 aluminum. It is not super fancy or highly machined. It is quite thin and narrow with a kickup on the front. The gearboxes are screwed to the chassis from below. A nice feature is that there are holes for the screws which hold the gearboxe’s lid on its place. To remove the diffs, only four screws need to be unscrewed (two from the front and two from the bottom) and the sway bar.
Build note! When installing the gearboxes to the chassis plate, I again added thin layer of grease to the surface of the gearbox which is in contact with the chassis plate to ensure it is sealed to keep the dust out.

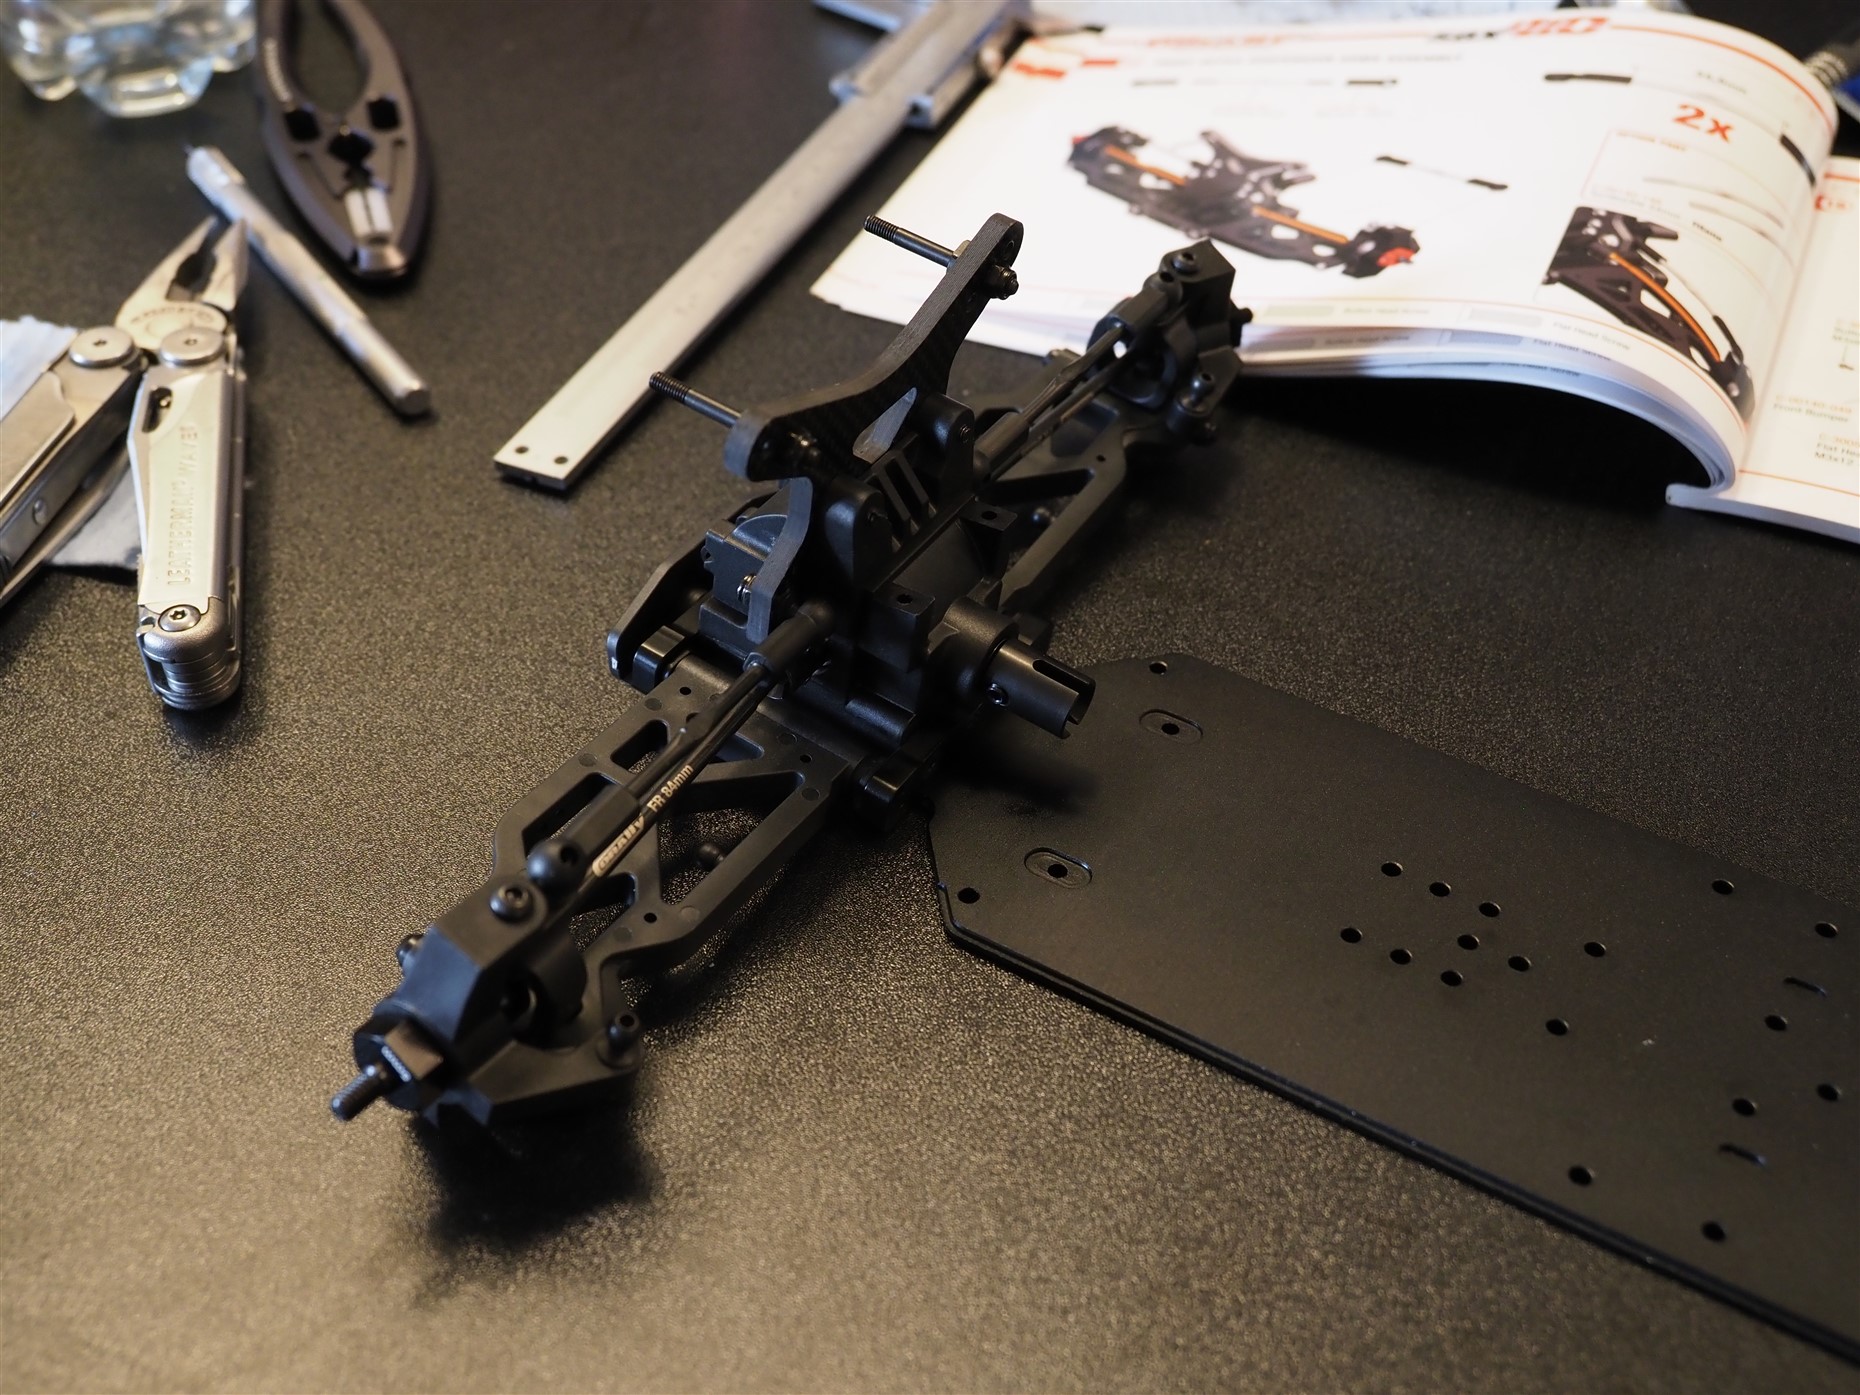


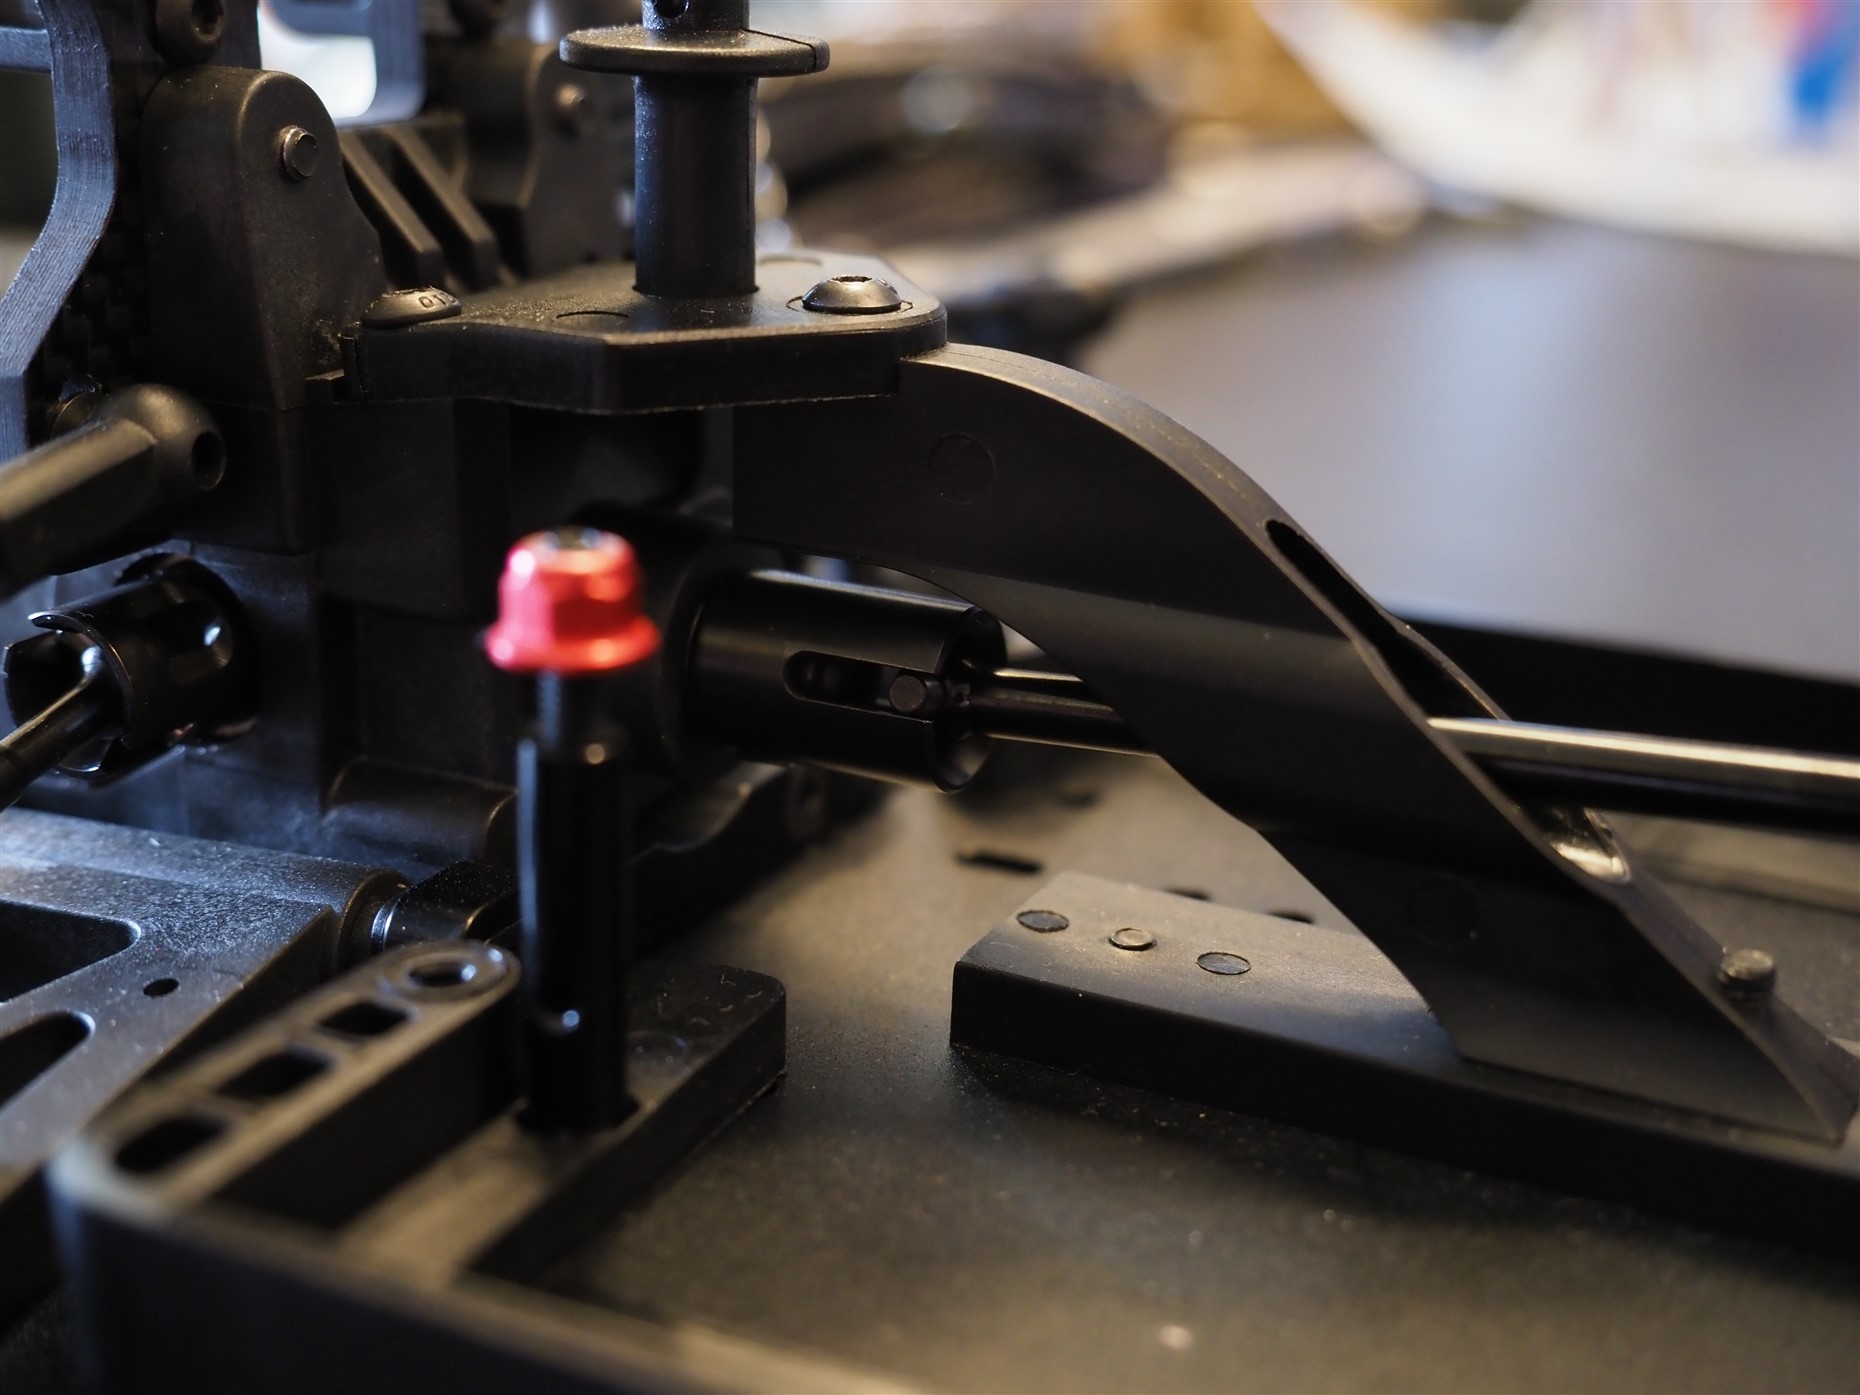
Steering system and steering links
The SBX-410 has a simple steering rack which includes servosaver and it has 4 ball bearings on the steering posts. The ackerman plate has steel bushings and screws for free movement. They have added a stiffener between steering posts which prevents posts to bend and keeps the steering movement free even if the chassis would tweak. The front upper deck is raised so that it can not bind to the steering rack when tightened down (simple solution and easy to build). Both front and rear chassis braces have holes for the center driveshafts to go through, so the brace can be mounted on a straight line in the middle of the chassis.

Steering rack without bearings 
Steering rack in its place 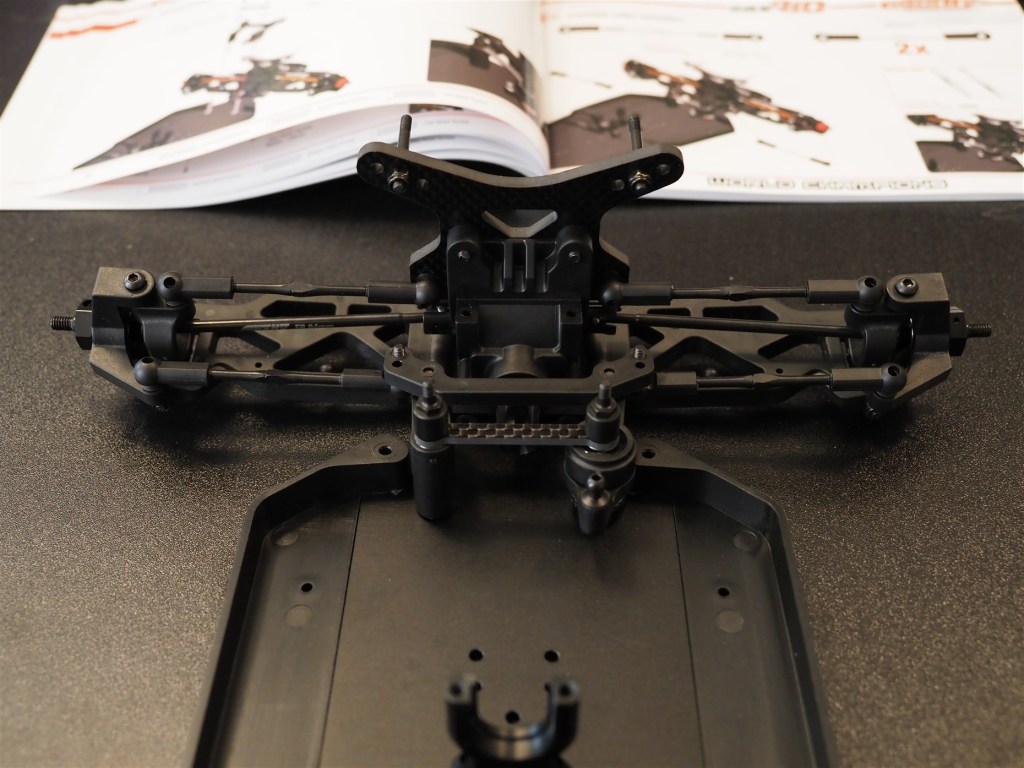
Steering links in their place 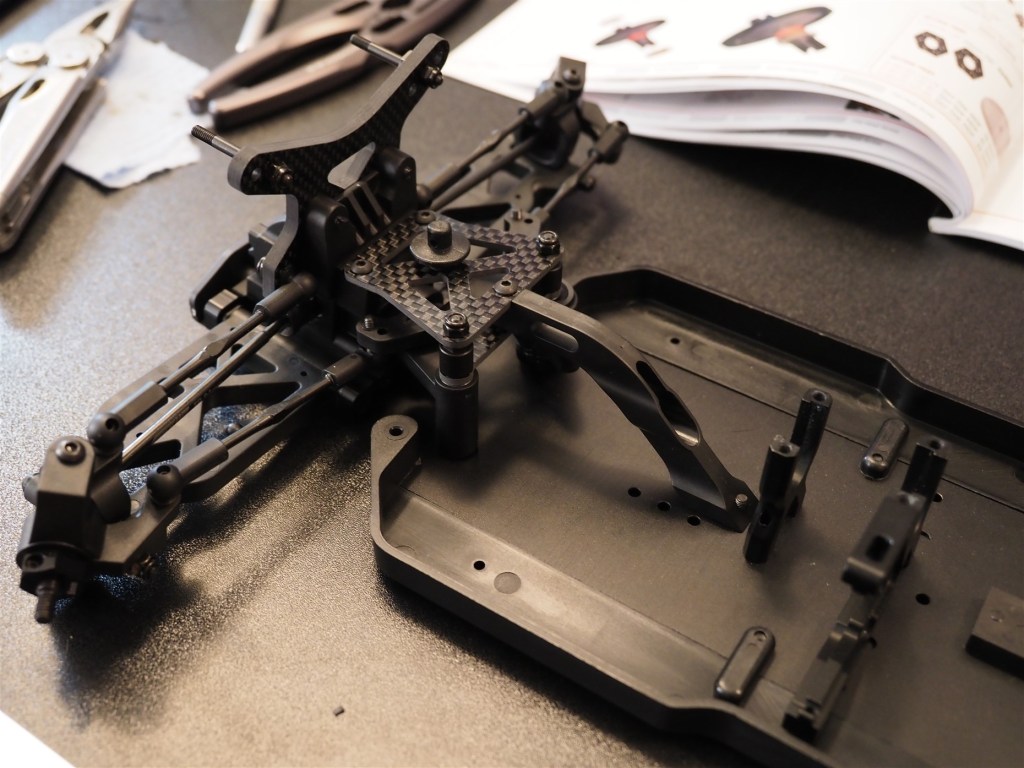
Front upper deck and chassis brace 
Rear chassis brace and chassis stiffener
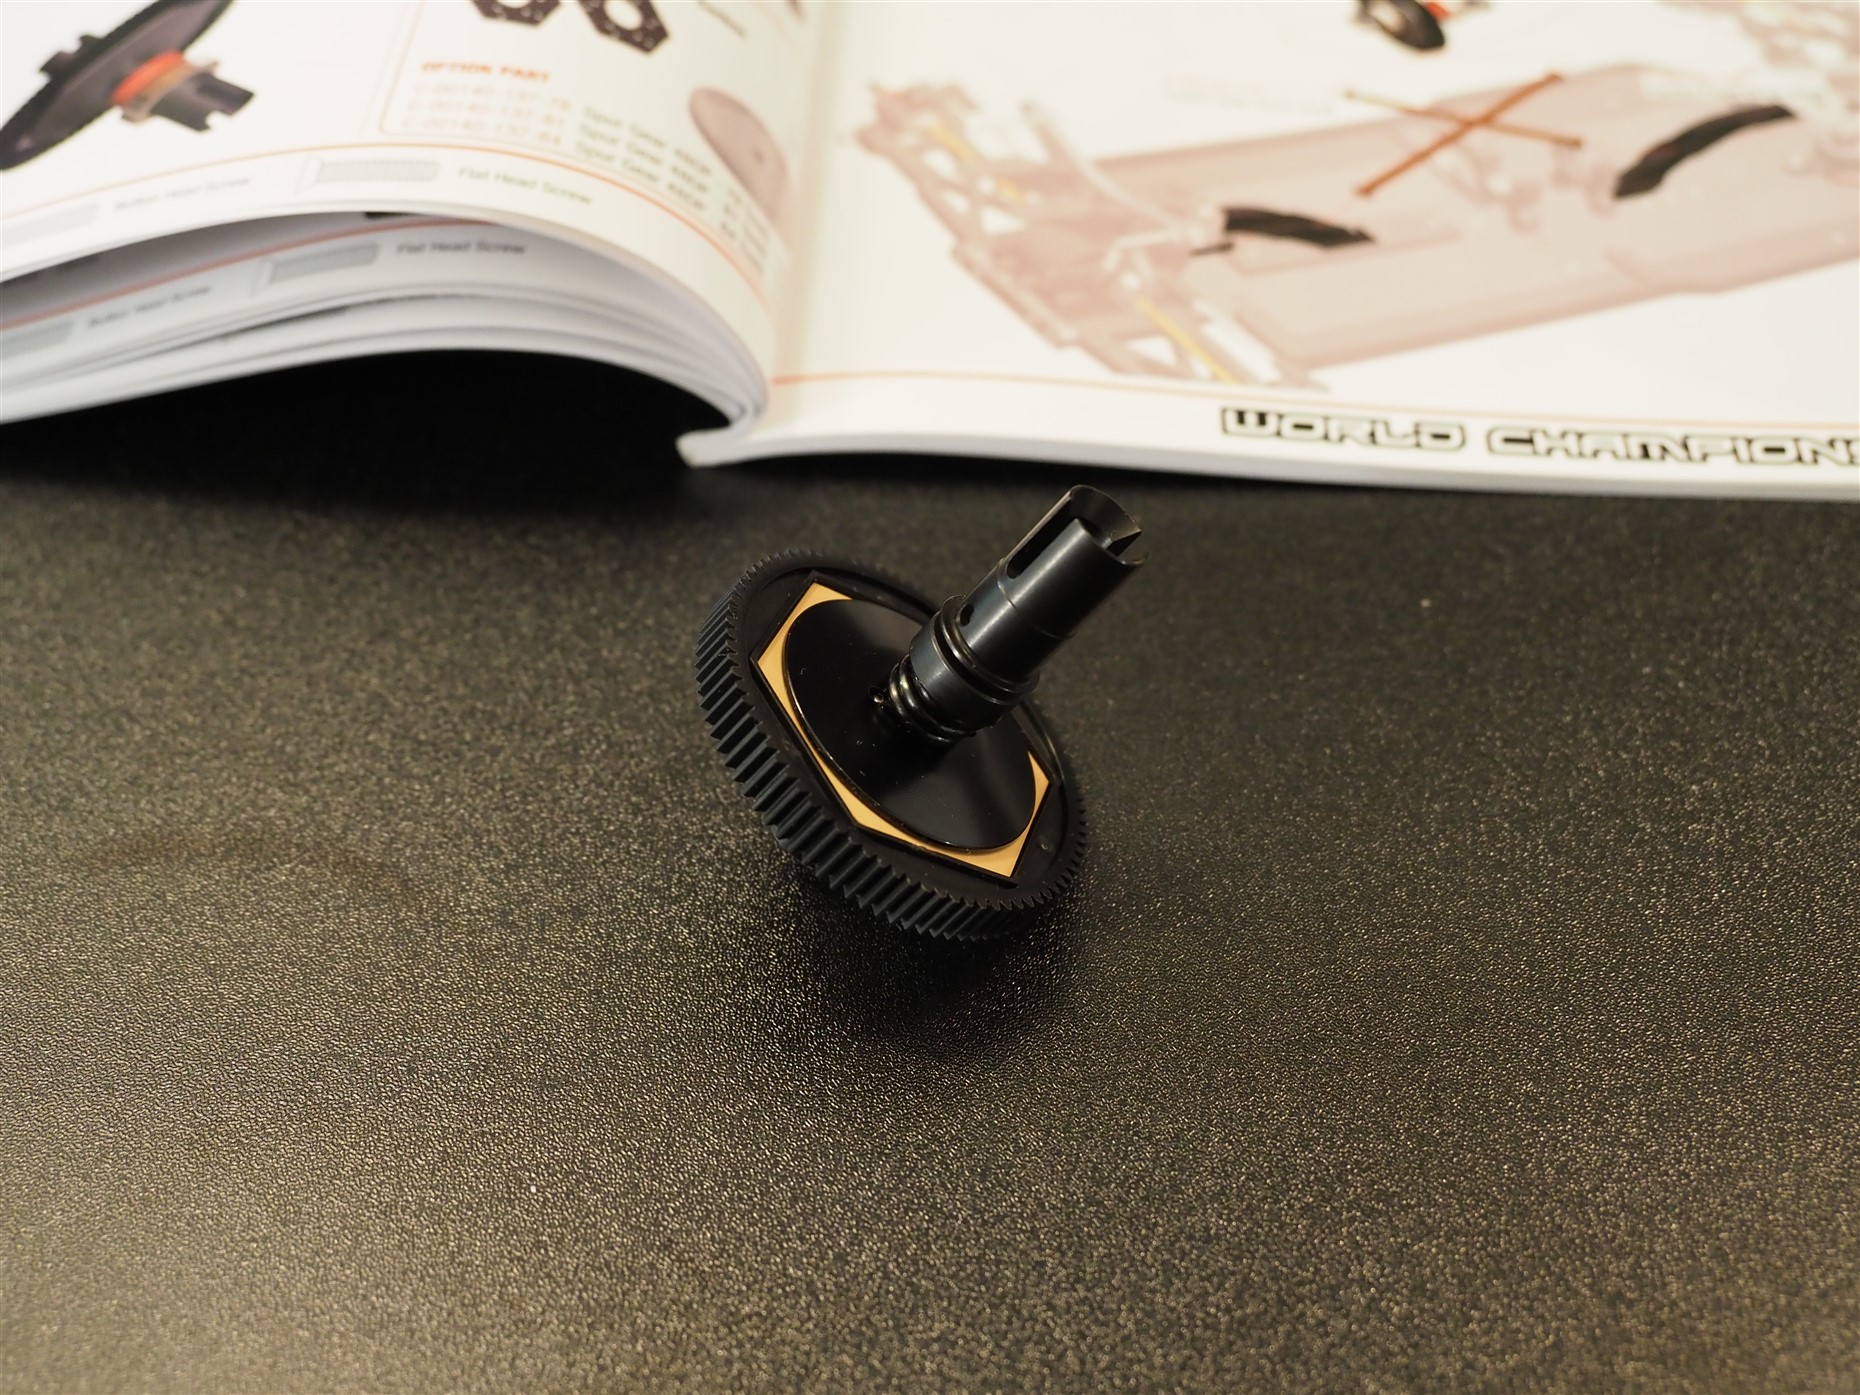
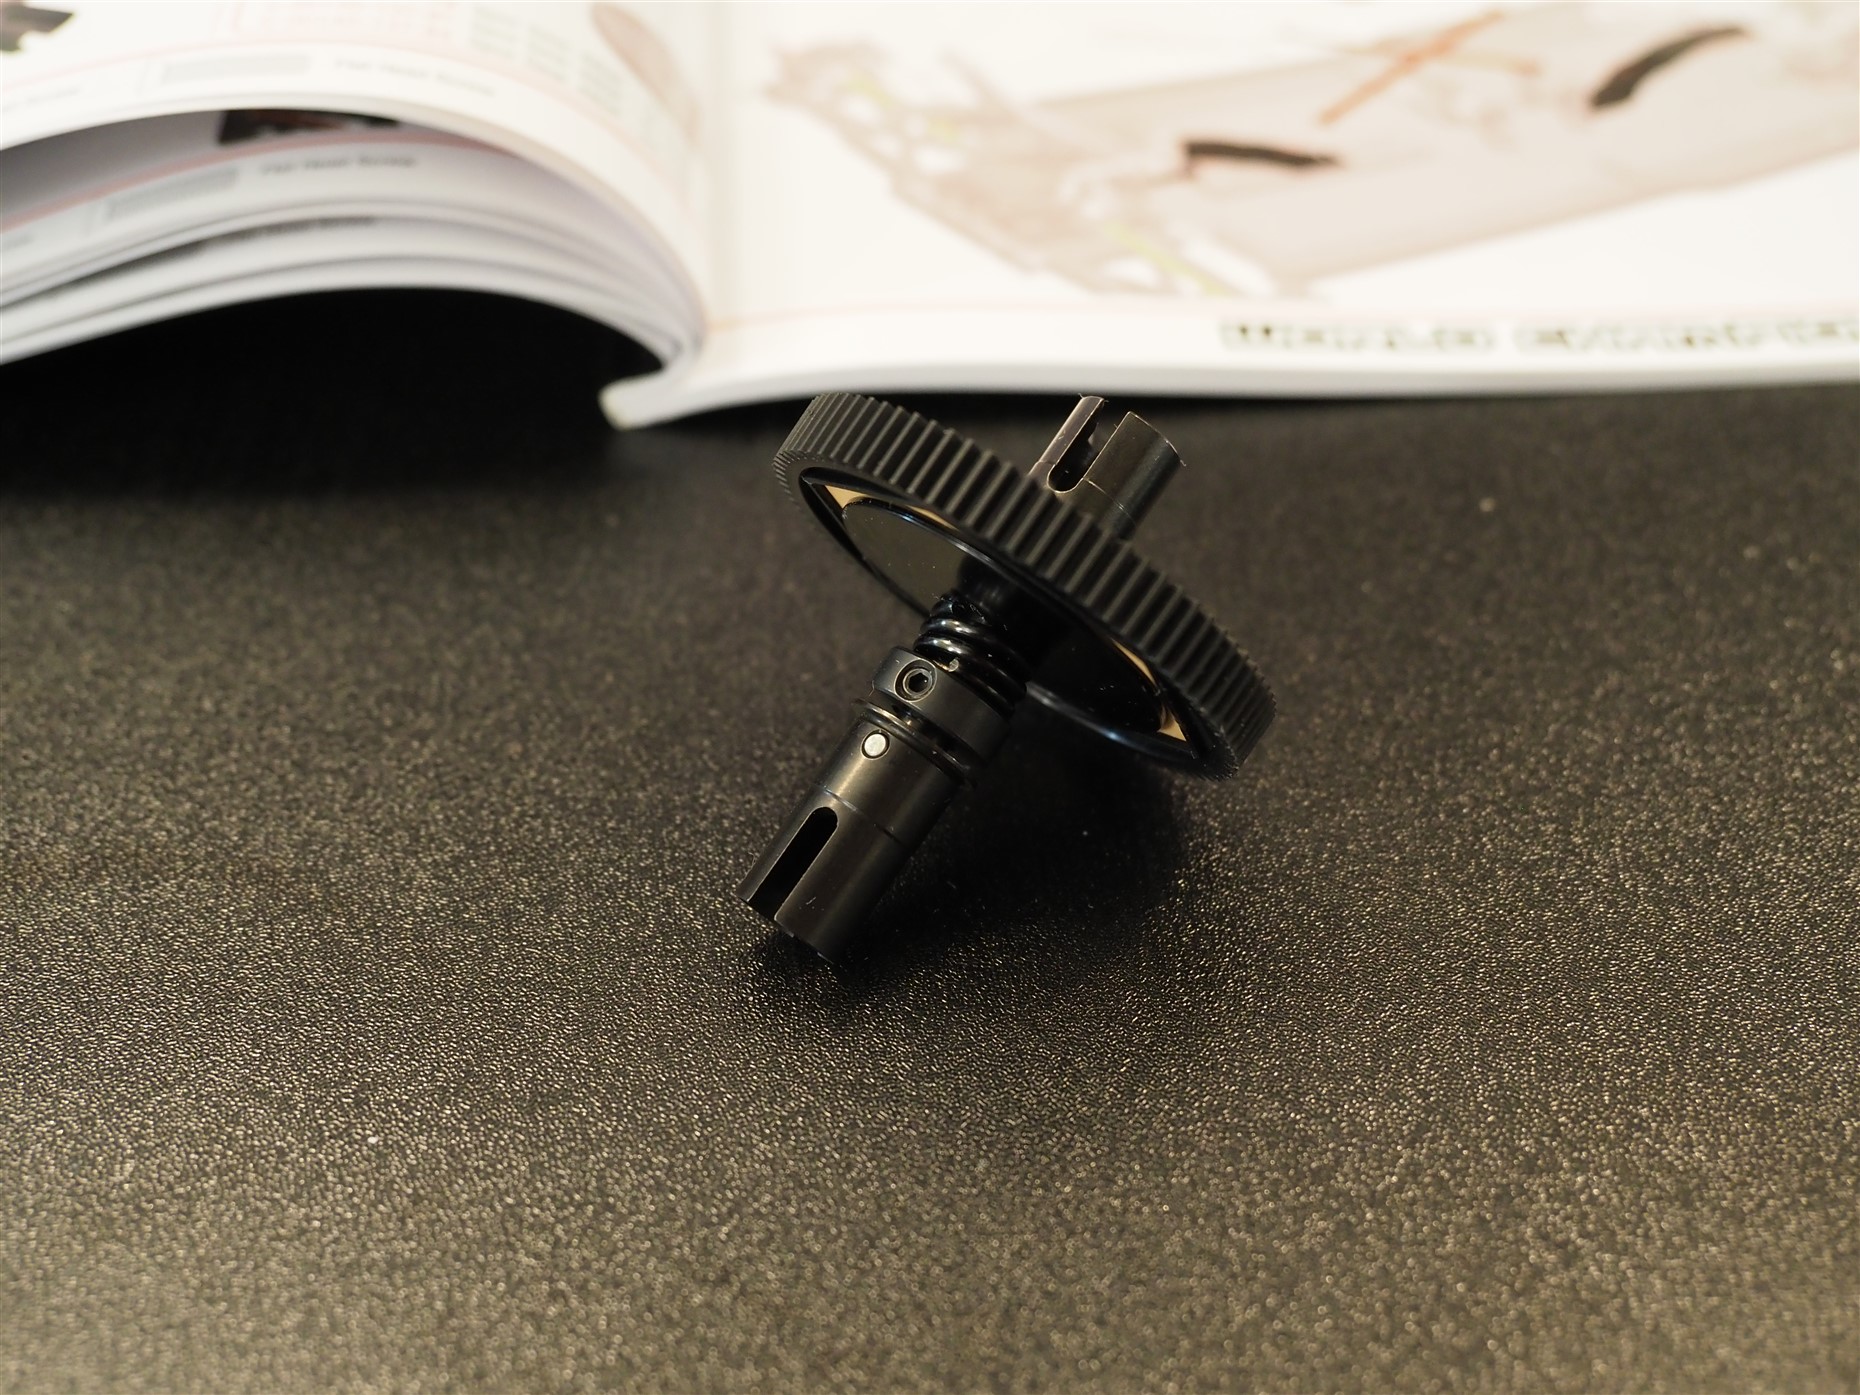
Slipper clutch and center driveshafts
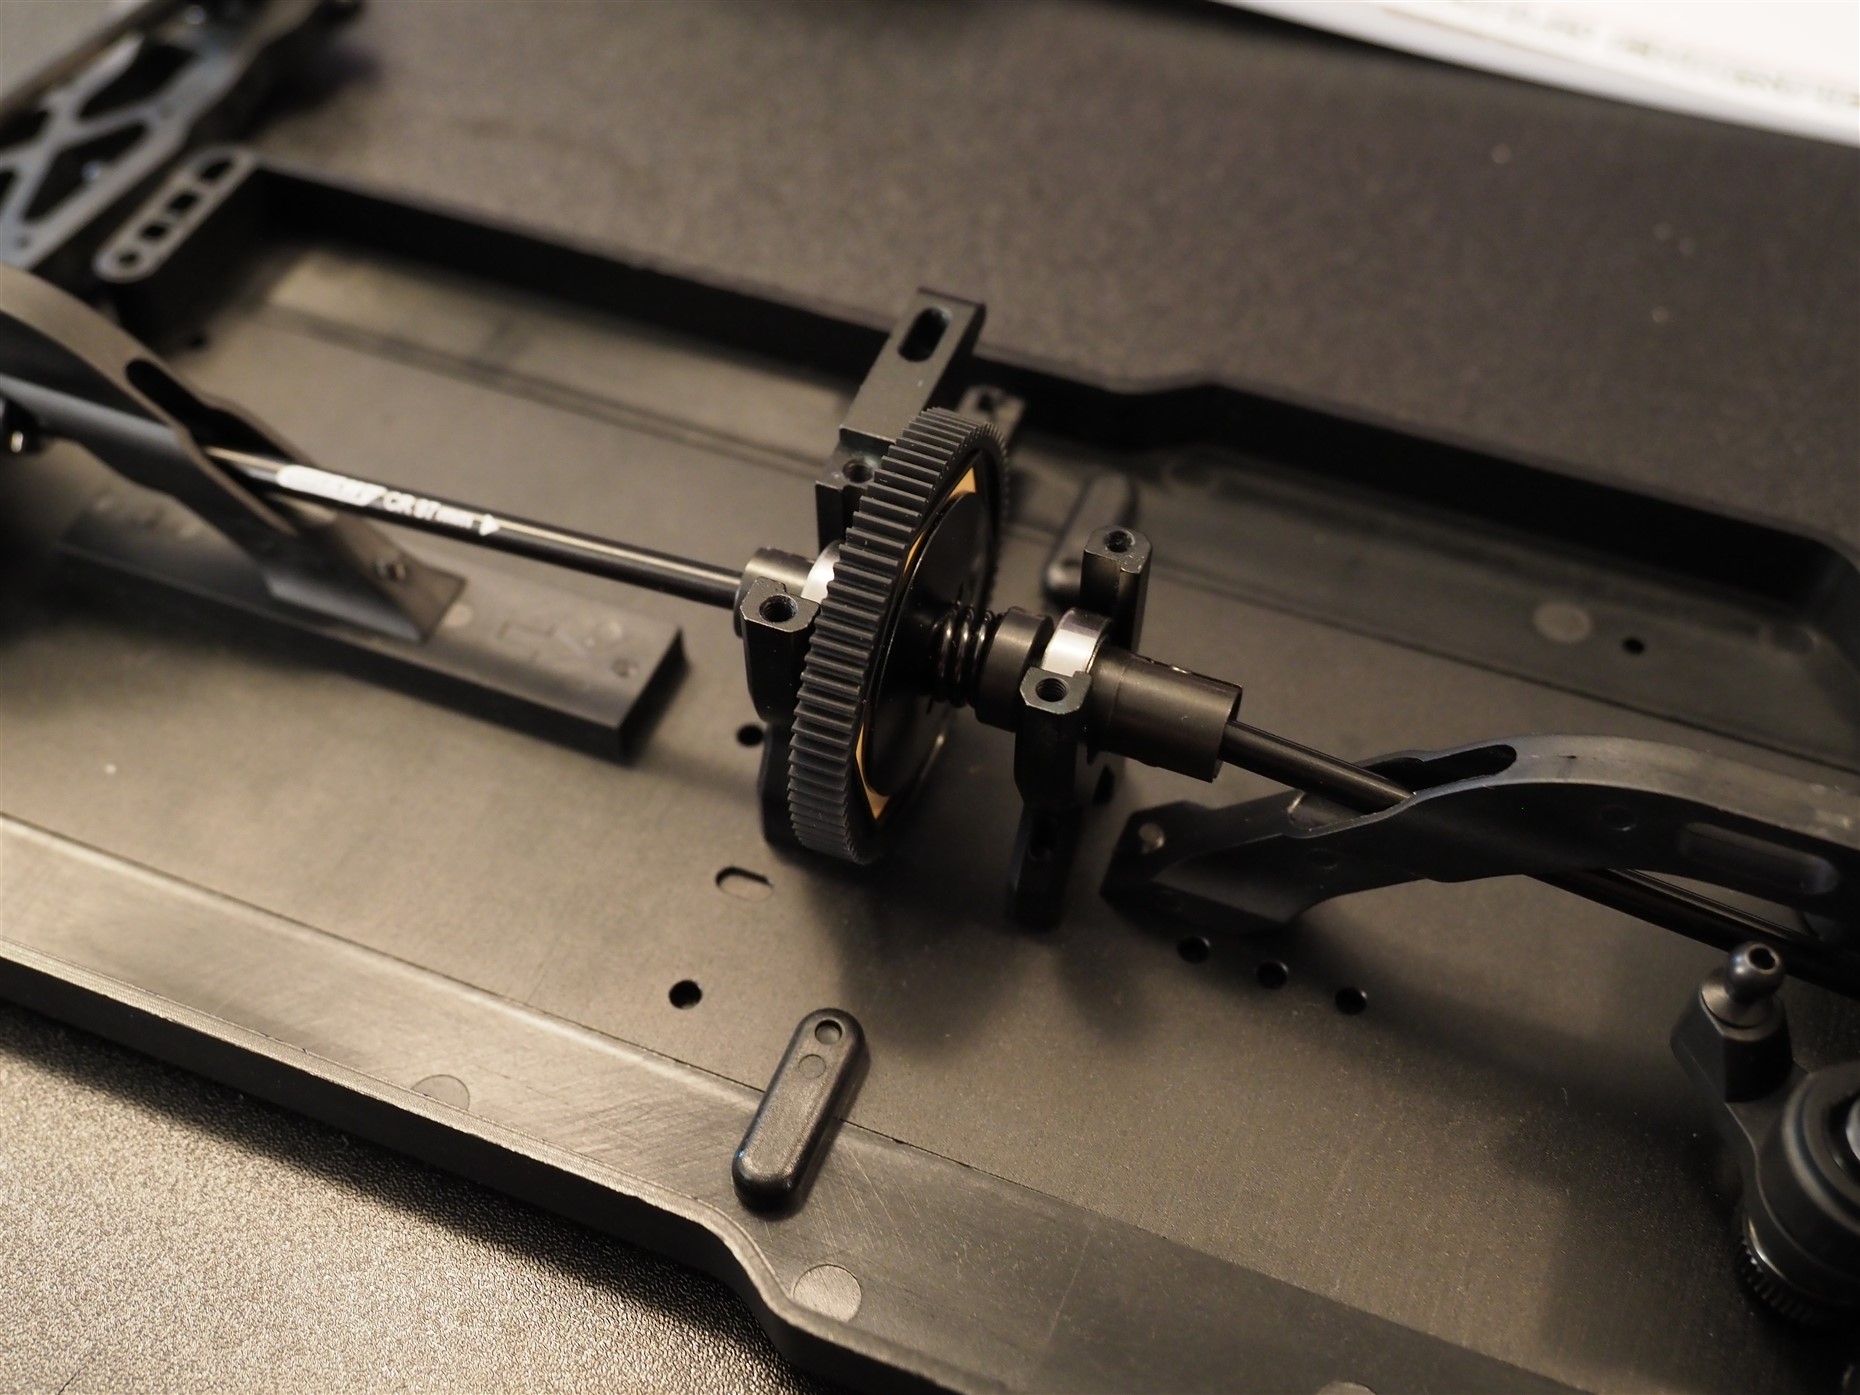
The kit has a slipper clutch on the center axle around the spur gear. The slipper has a very simple design for easy assembly and adjustment. The center axle includes one fixed outdrive and has two pins to hold the slipper plates and one pin for the other outdrive. The slipper has a quite weak spring which worried me a little bit during assembly since even though I tightened the slipper all the way it still felt like slipping when I turned it by hand. The center axle has a flat side and the slipper spring nut has a set screw, so it can be tightened down to hold its position and it can’t turn loose.
The center driveshafts are the dog bone type. This should not be a problem since the shaft angles are quite moderate and I did not notice any binding when rotating the driveline by hand. The kit comes with o-rings (to put inside the outdrives) to center the drive shafts. The manual says to insert one o-ring to each outdrive. By doing so my kit’s front shaft was very tight because it was squeezed between the o-rings and the rear shaft had a lot of play back and forwards. This caused that the shaft could move so much forward that it did not seat properly inside the rear gearboxe’s outdrive. I removed one o-ring from the front shaft (so it could move more freely) and forced the rear shaft towards the rear by adding an extra o-ring to the front. By doing so the rear shaft stays in the right place inside the outdrive and the whole driveline turns more freely.


Shocks and swaybars
The kit has machined full aluminium shock bodies with bleeder caps. The kit comes with a part tree of various pistons for the different shock setups. The kit setup is 1.7×2 pistons to front and rear. I decided to go with 1.6×2 front and 1.7×2 rear. Pistons are mounted to shock shafts with two e-clips ( I managed to forgot to take a picture of them). The pistons seemed quite thin for the distance between the mounting clips and it might be a good idea to use a shim under the piston to make it fit more firmly. I assembled the pistons without the shims and it seems that they will also work without shims but it would be better if the pistons would be firmly in their place. The shock bodies have the usual two o-rings between the plastic spacers on the bottom cap for sealing. The bottom and top caps are both sealed with a larger o-ring around the shock body.
Note: The bleeder screws do not have o-rings as stock so it would be a good upgrade to install o-rings to make proper seal for the bleeder. The screw size is M2.
Setup Note: I decided to go with 1.6 front and 1.7 rear pistons and I chose 450cps front and 400cst rear as shock oils. The tracks that I will be running have some bumps so there must be some extra damping so the car will not bottom out all the time.
Swaybars.
The kit includes front and rear swaybars. The swaybar holder swings open after unscrewing the upper mounting screws. This is a nice touch and prevents small parts to fall out during setup changes.

Full aluminium shock bodies 
Springs are marked with stripes for identification 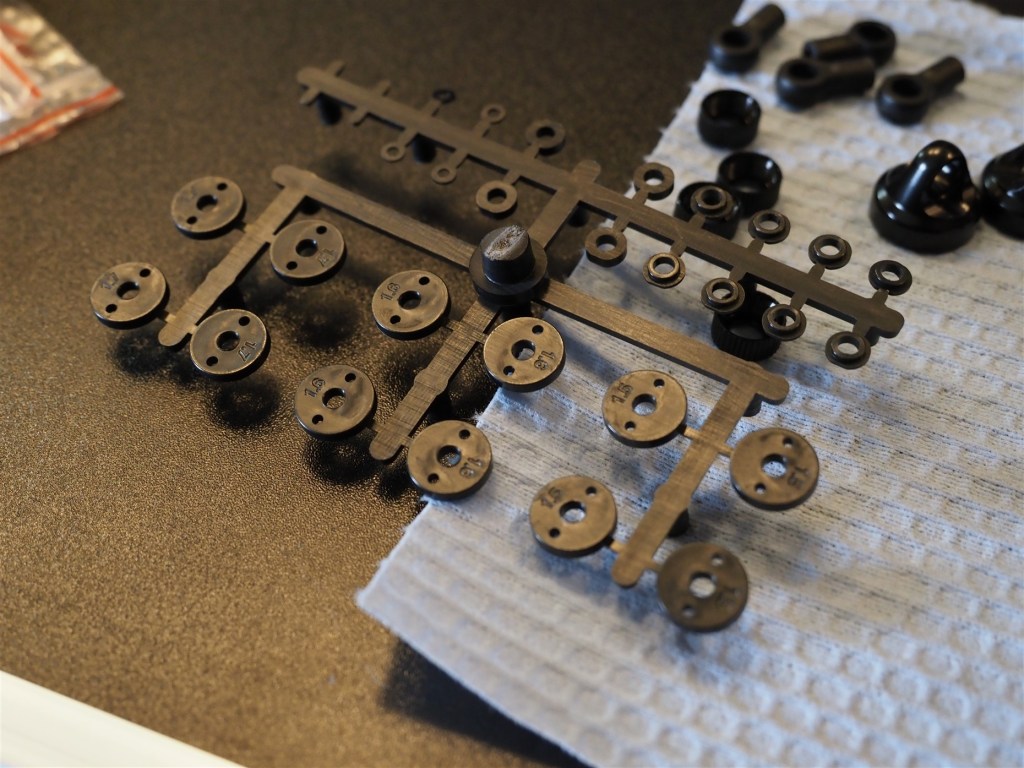
Shock parts tree 
Bottom cap o-rings 
Assembled shock bodies 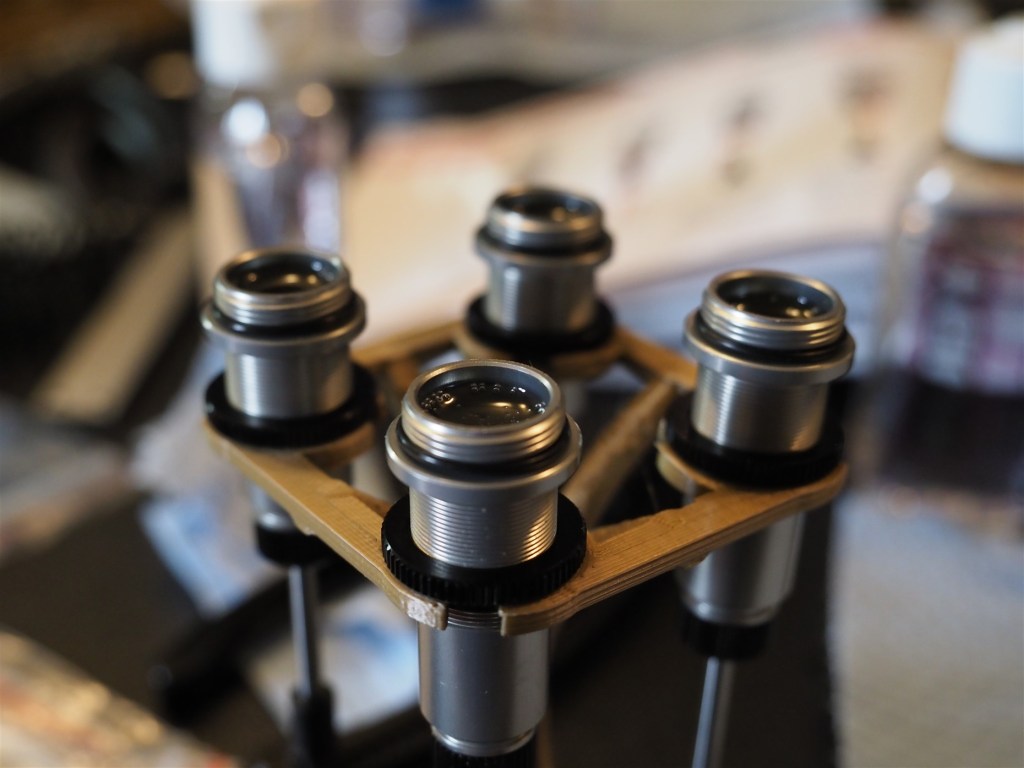
Oils are settling down 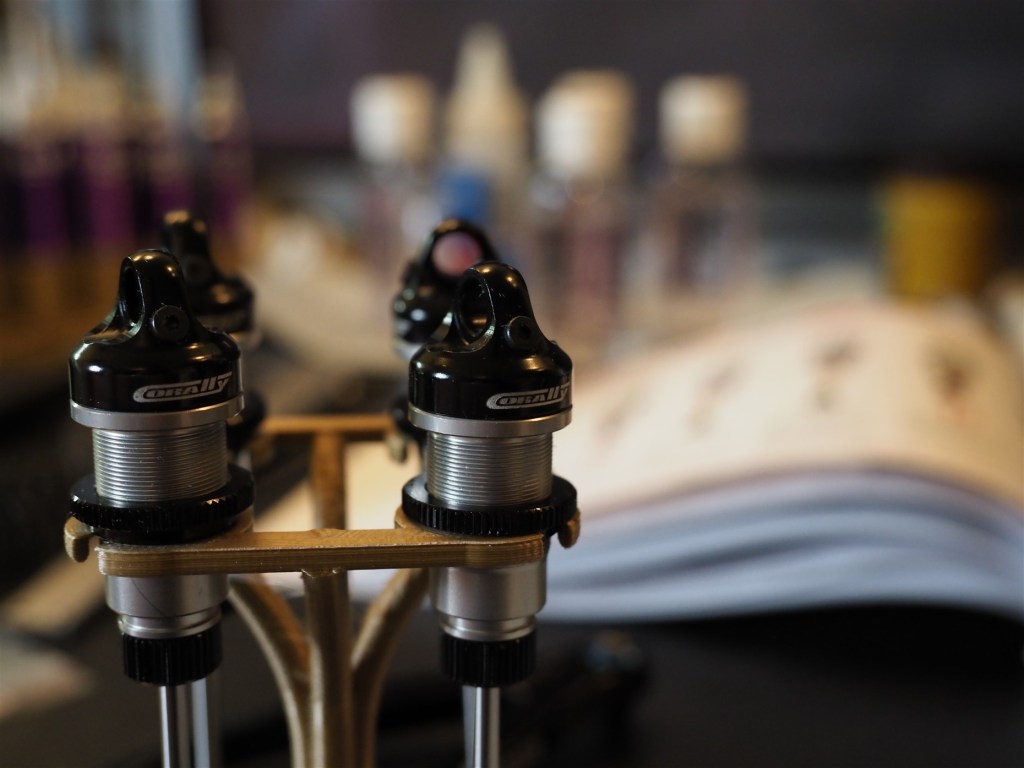
Aluminium bleeder type shock caps 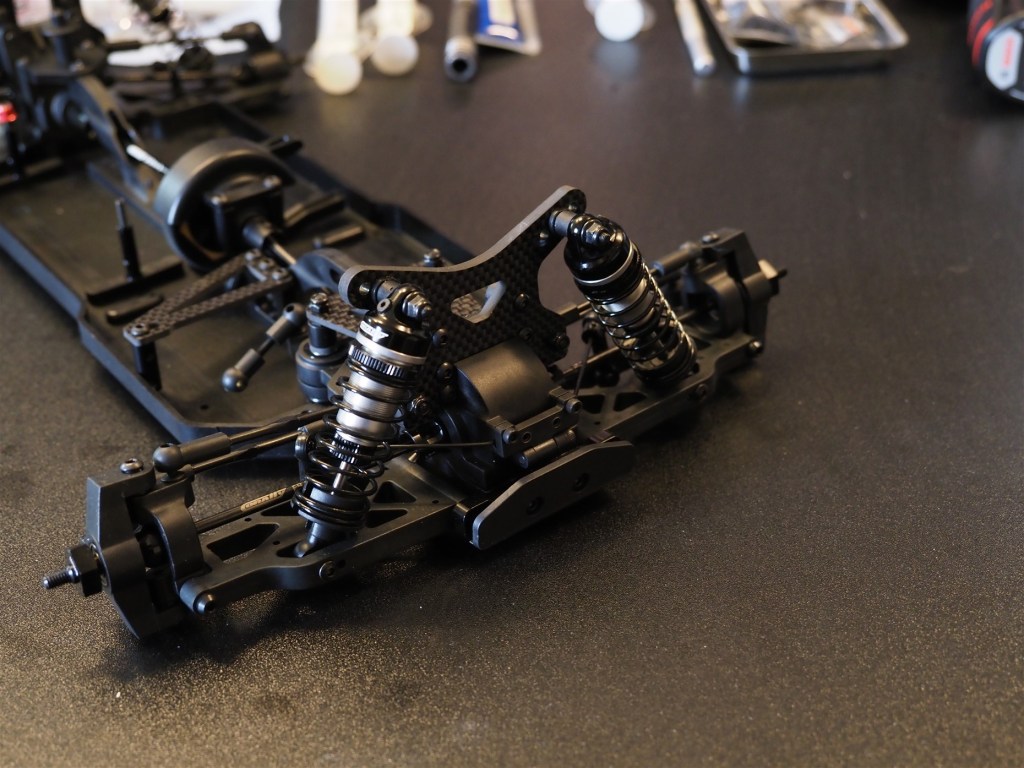
Assembled front shocks 
Lower mounting point 
Upper mounting point 
Front swaybar mounted 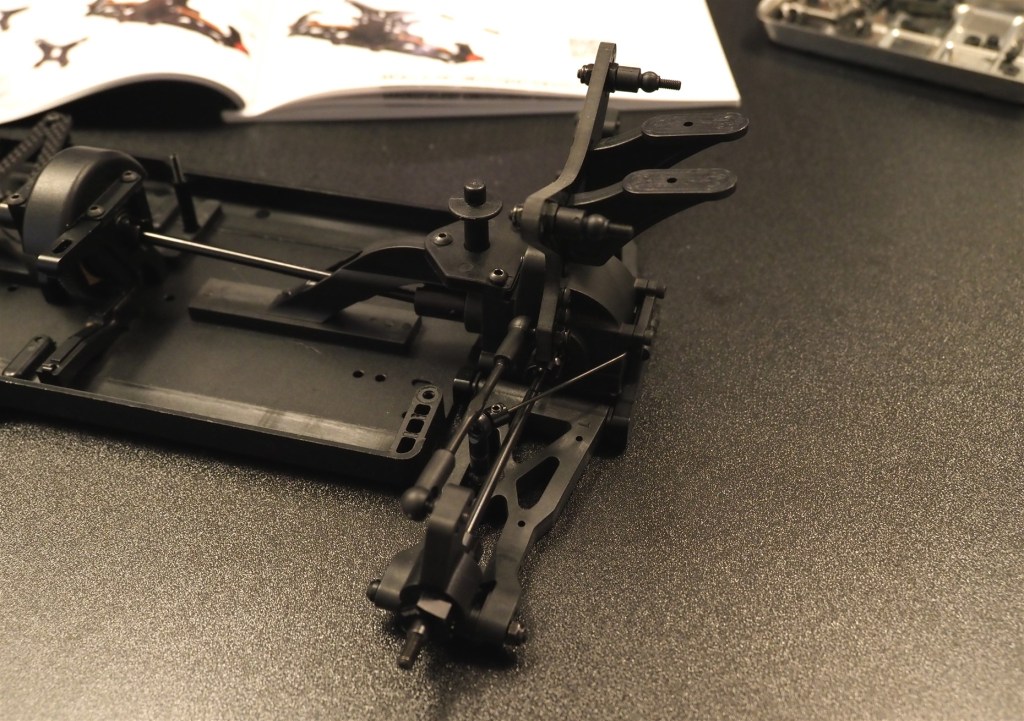
Rear swaybar mounted
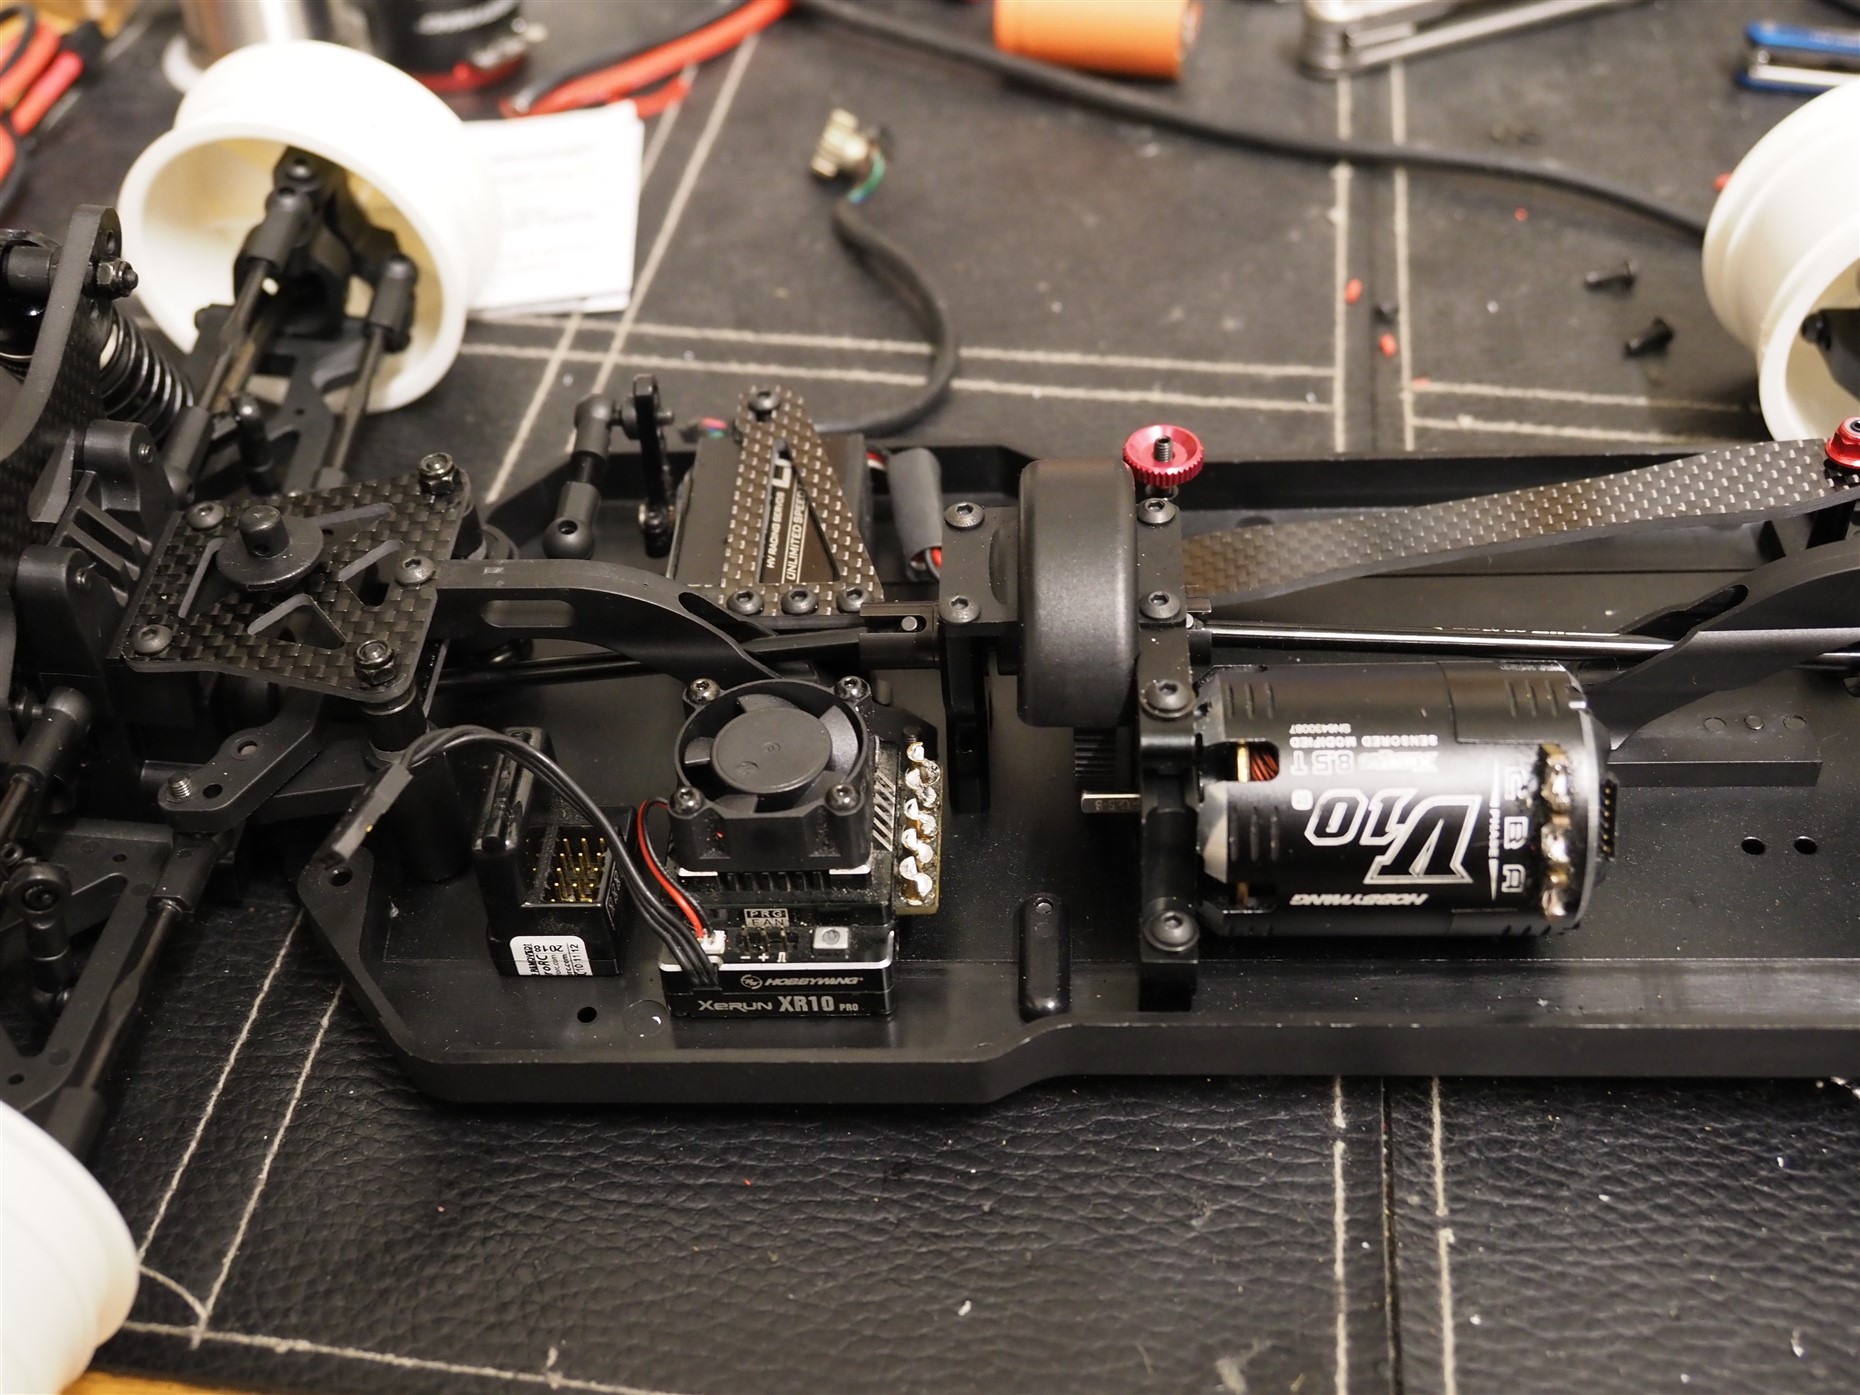
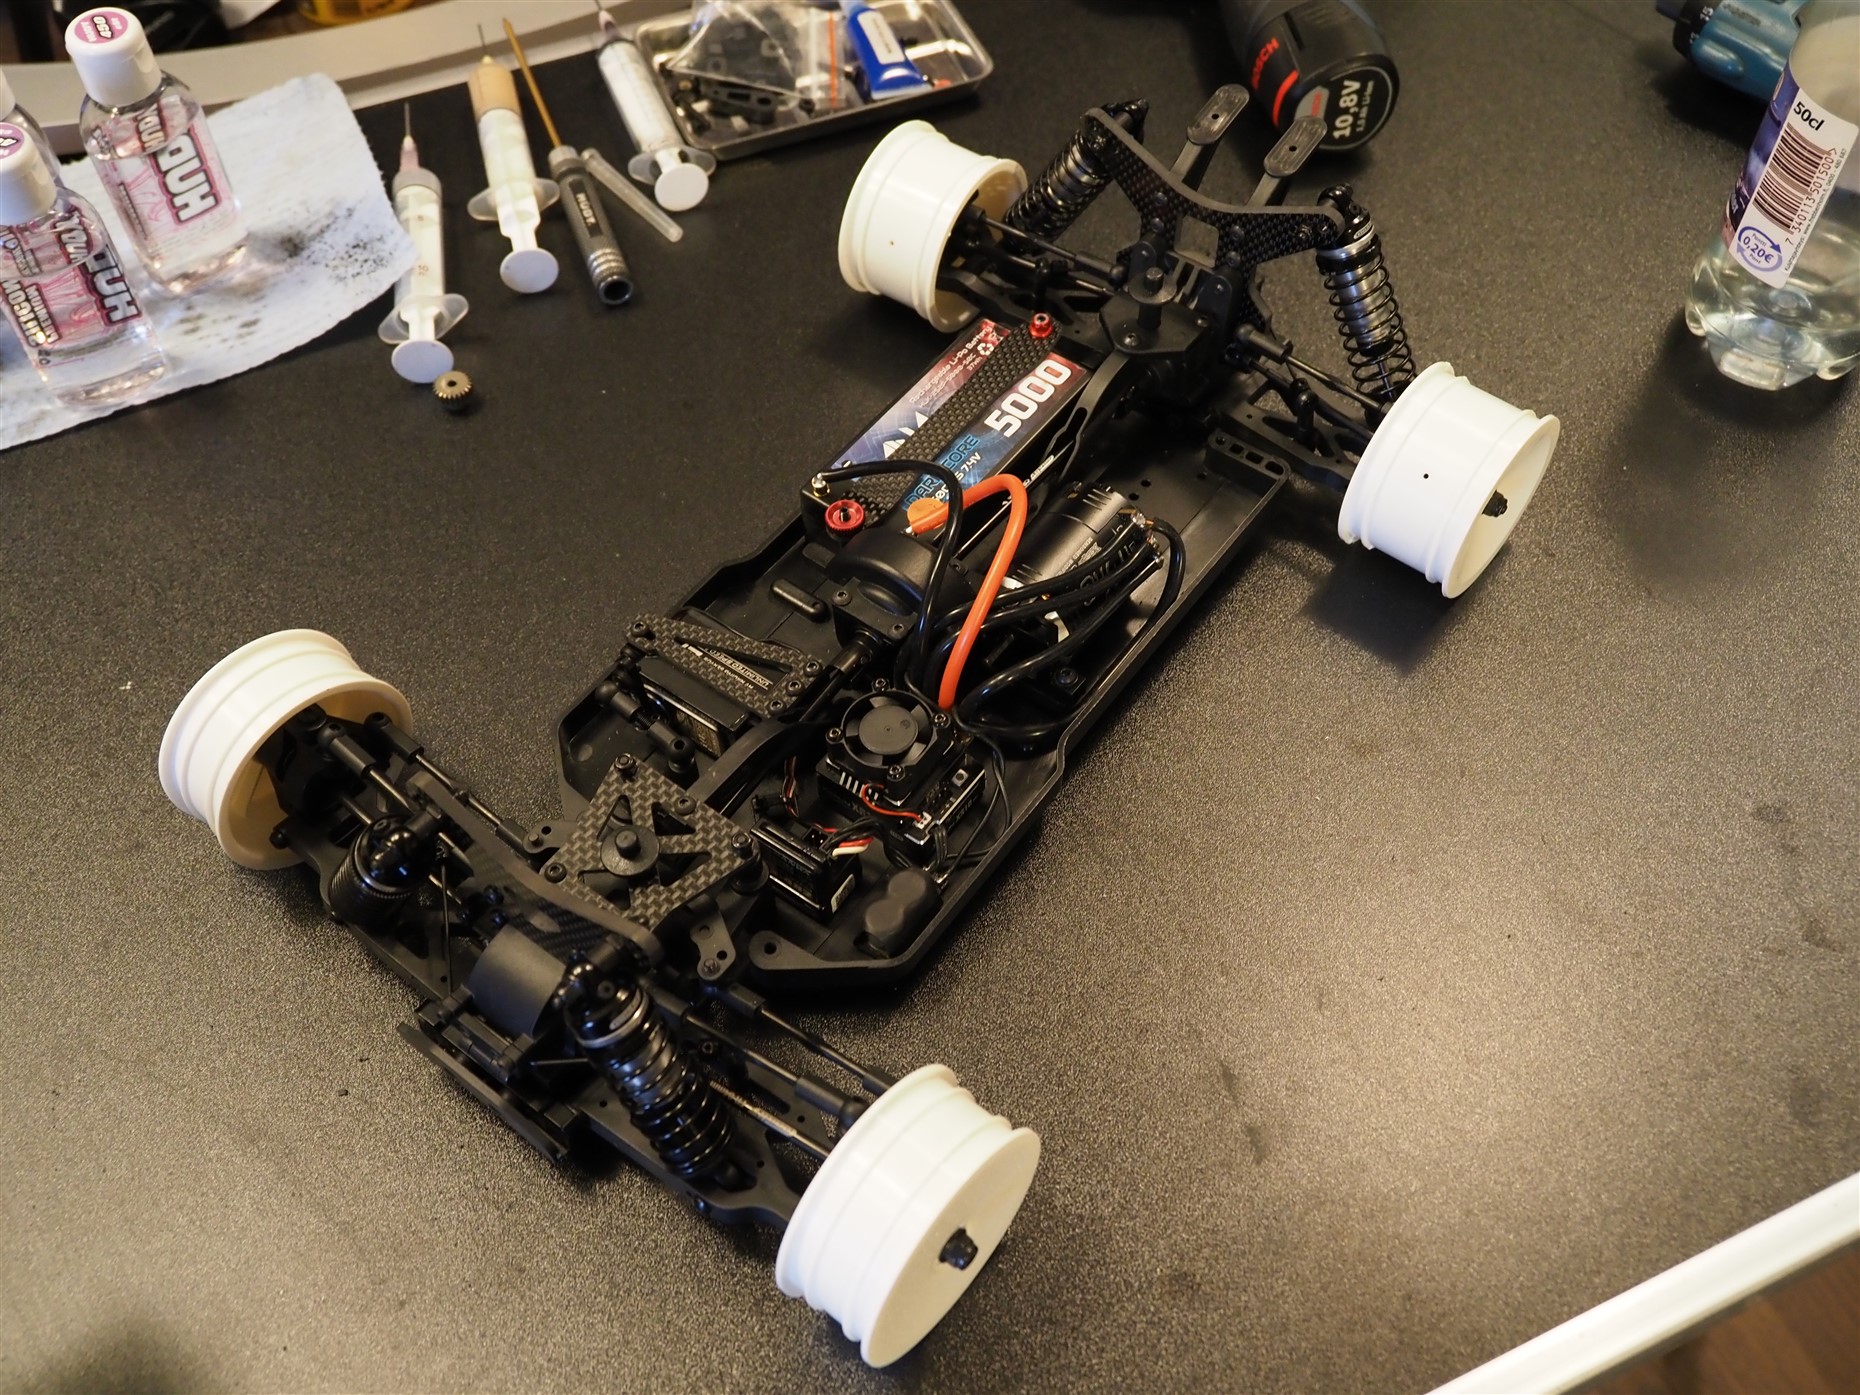
Electronics
The chassis has plenty of room to install all the electronics. Even I managed to get decent wiring done. I decided to re-use my older Hobbywing XR10 / V10 8.5t (I know, quite lame but fits for my slow hands) and Highest low-profile servo for this one. Basic plastic servo arms are included with the kit but I recommend bying an aluminium one straight away.
The kit does not come with a pinion so the 48dp pinion must be bought separately. The stock spur gear is 81t and with a 23t pinion I got quite a driveable setup for our local track when using boost and Turbo timing from the esc.

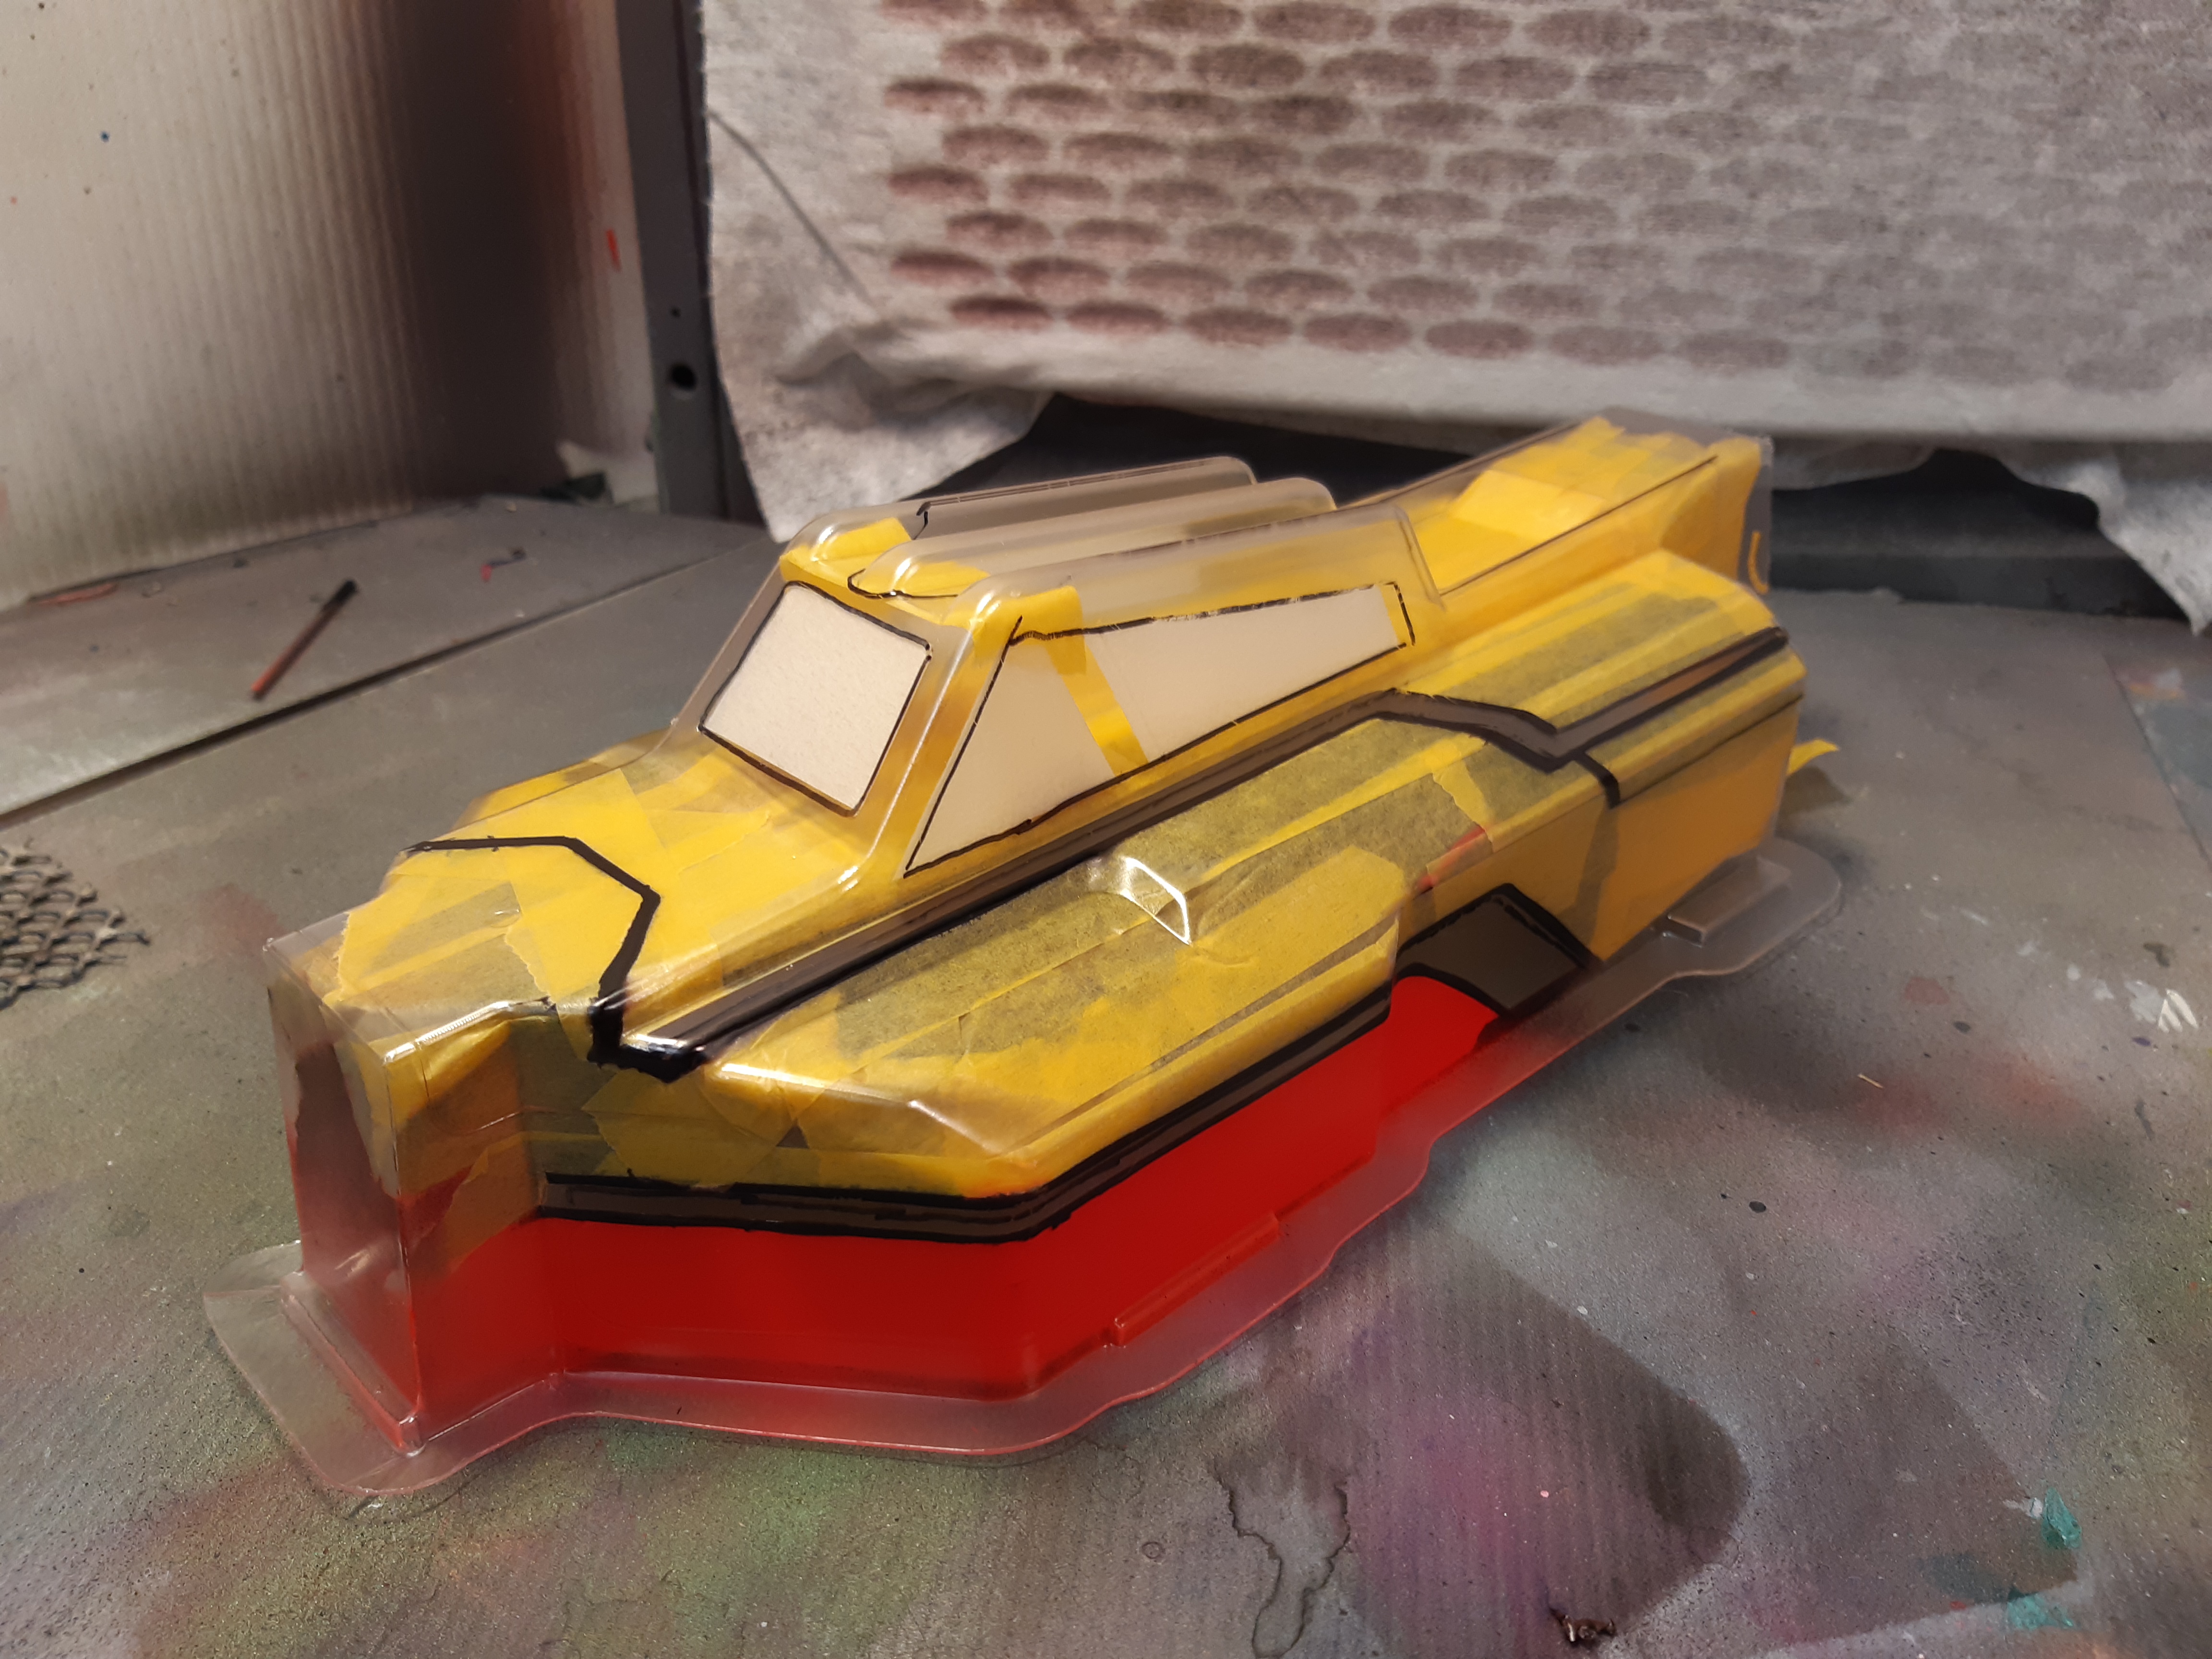
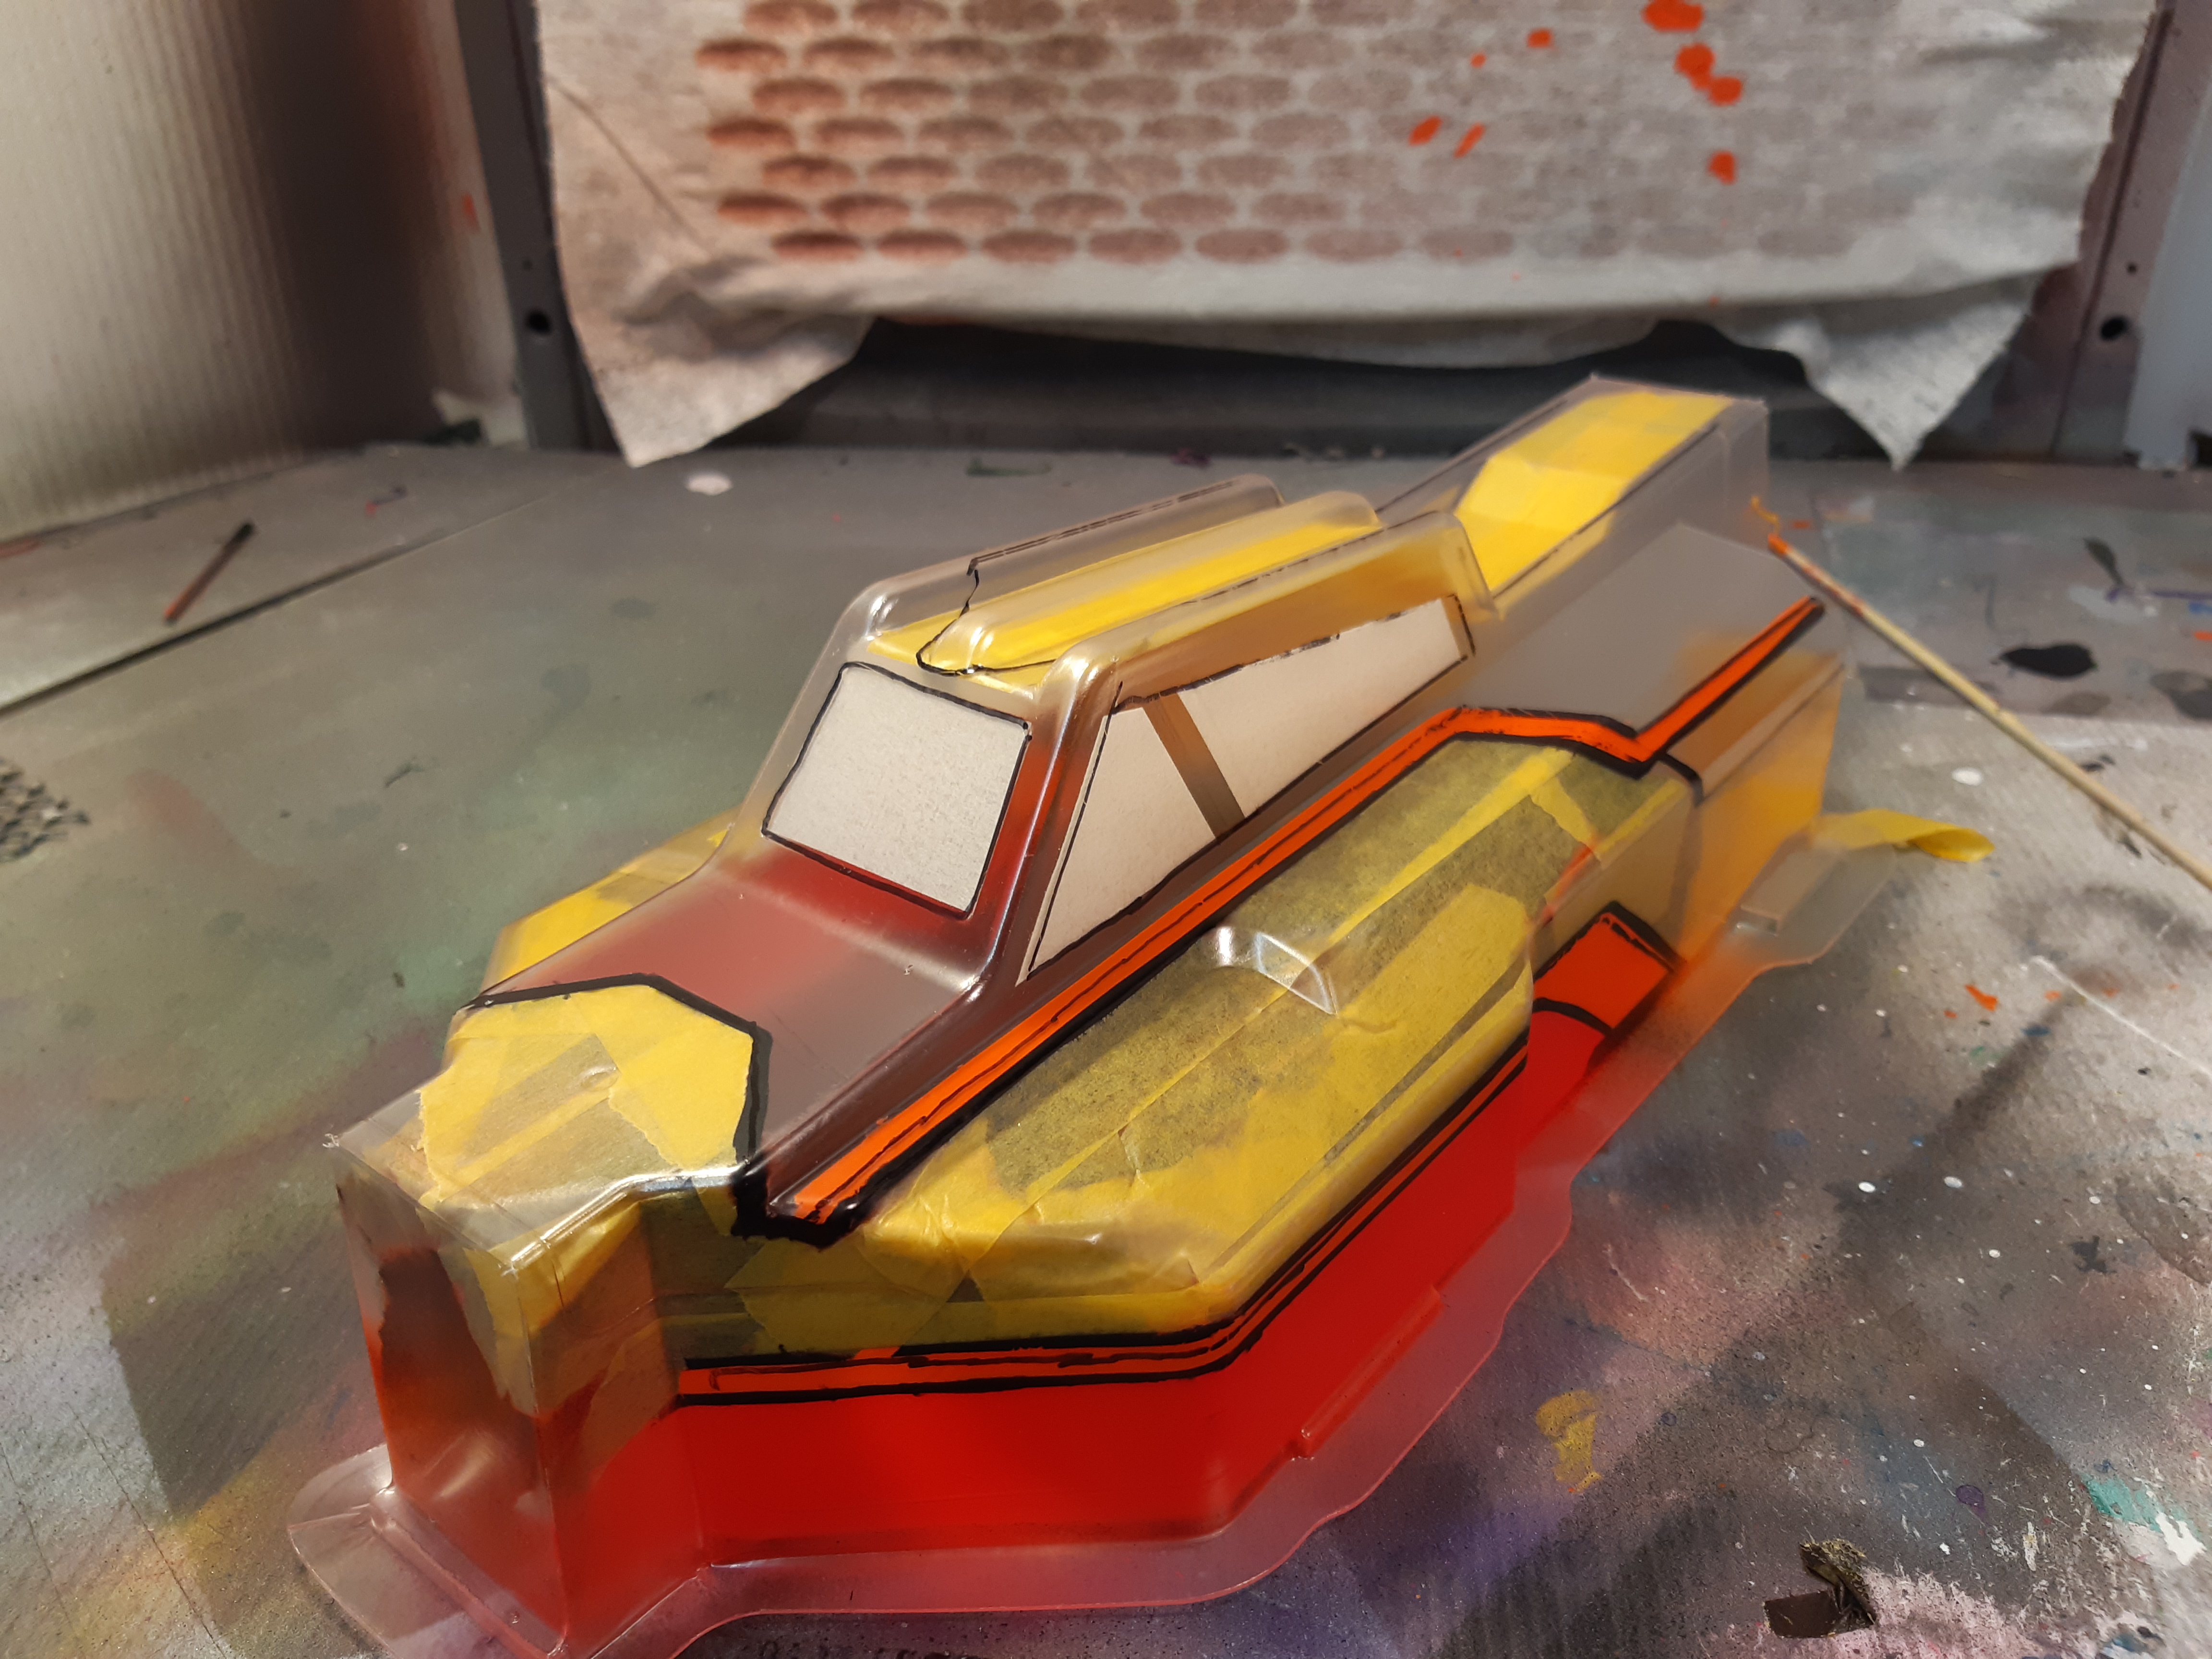
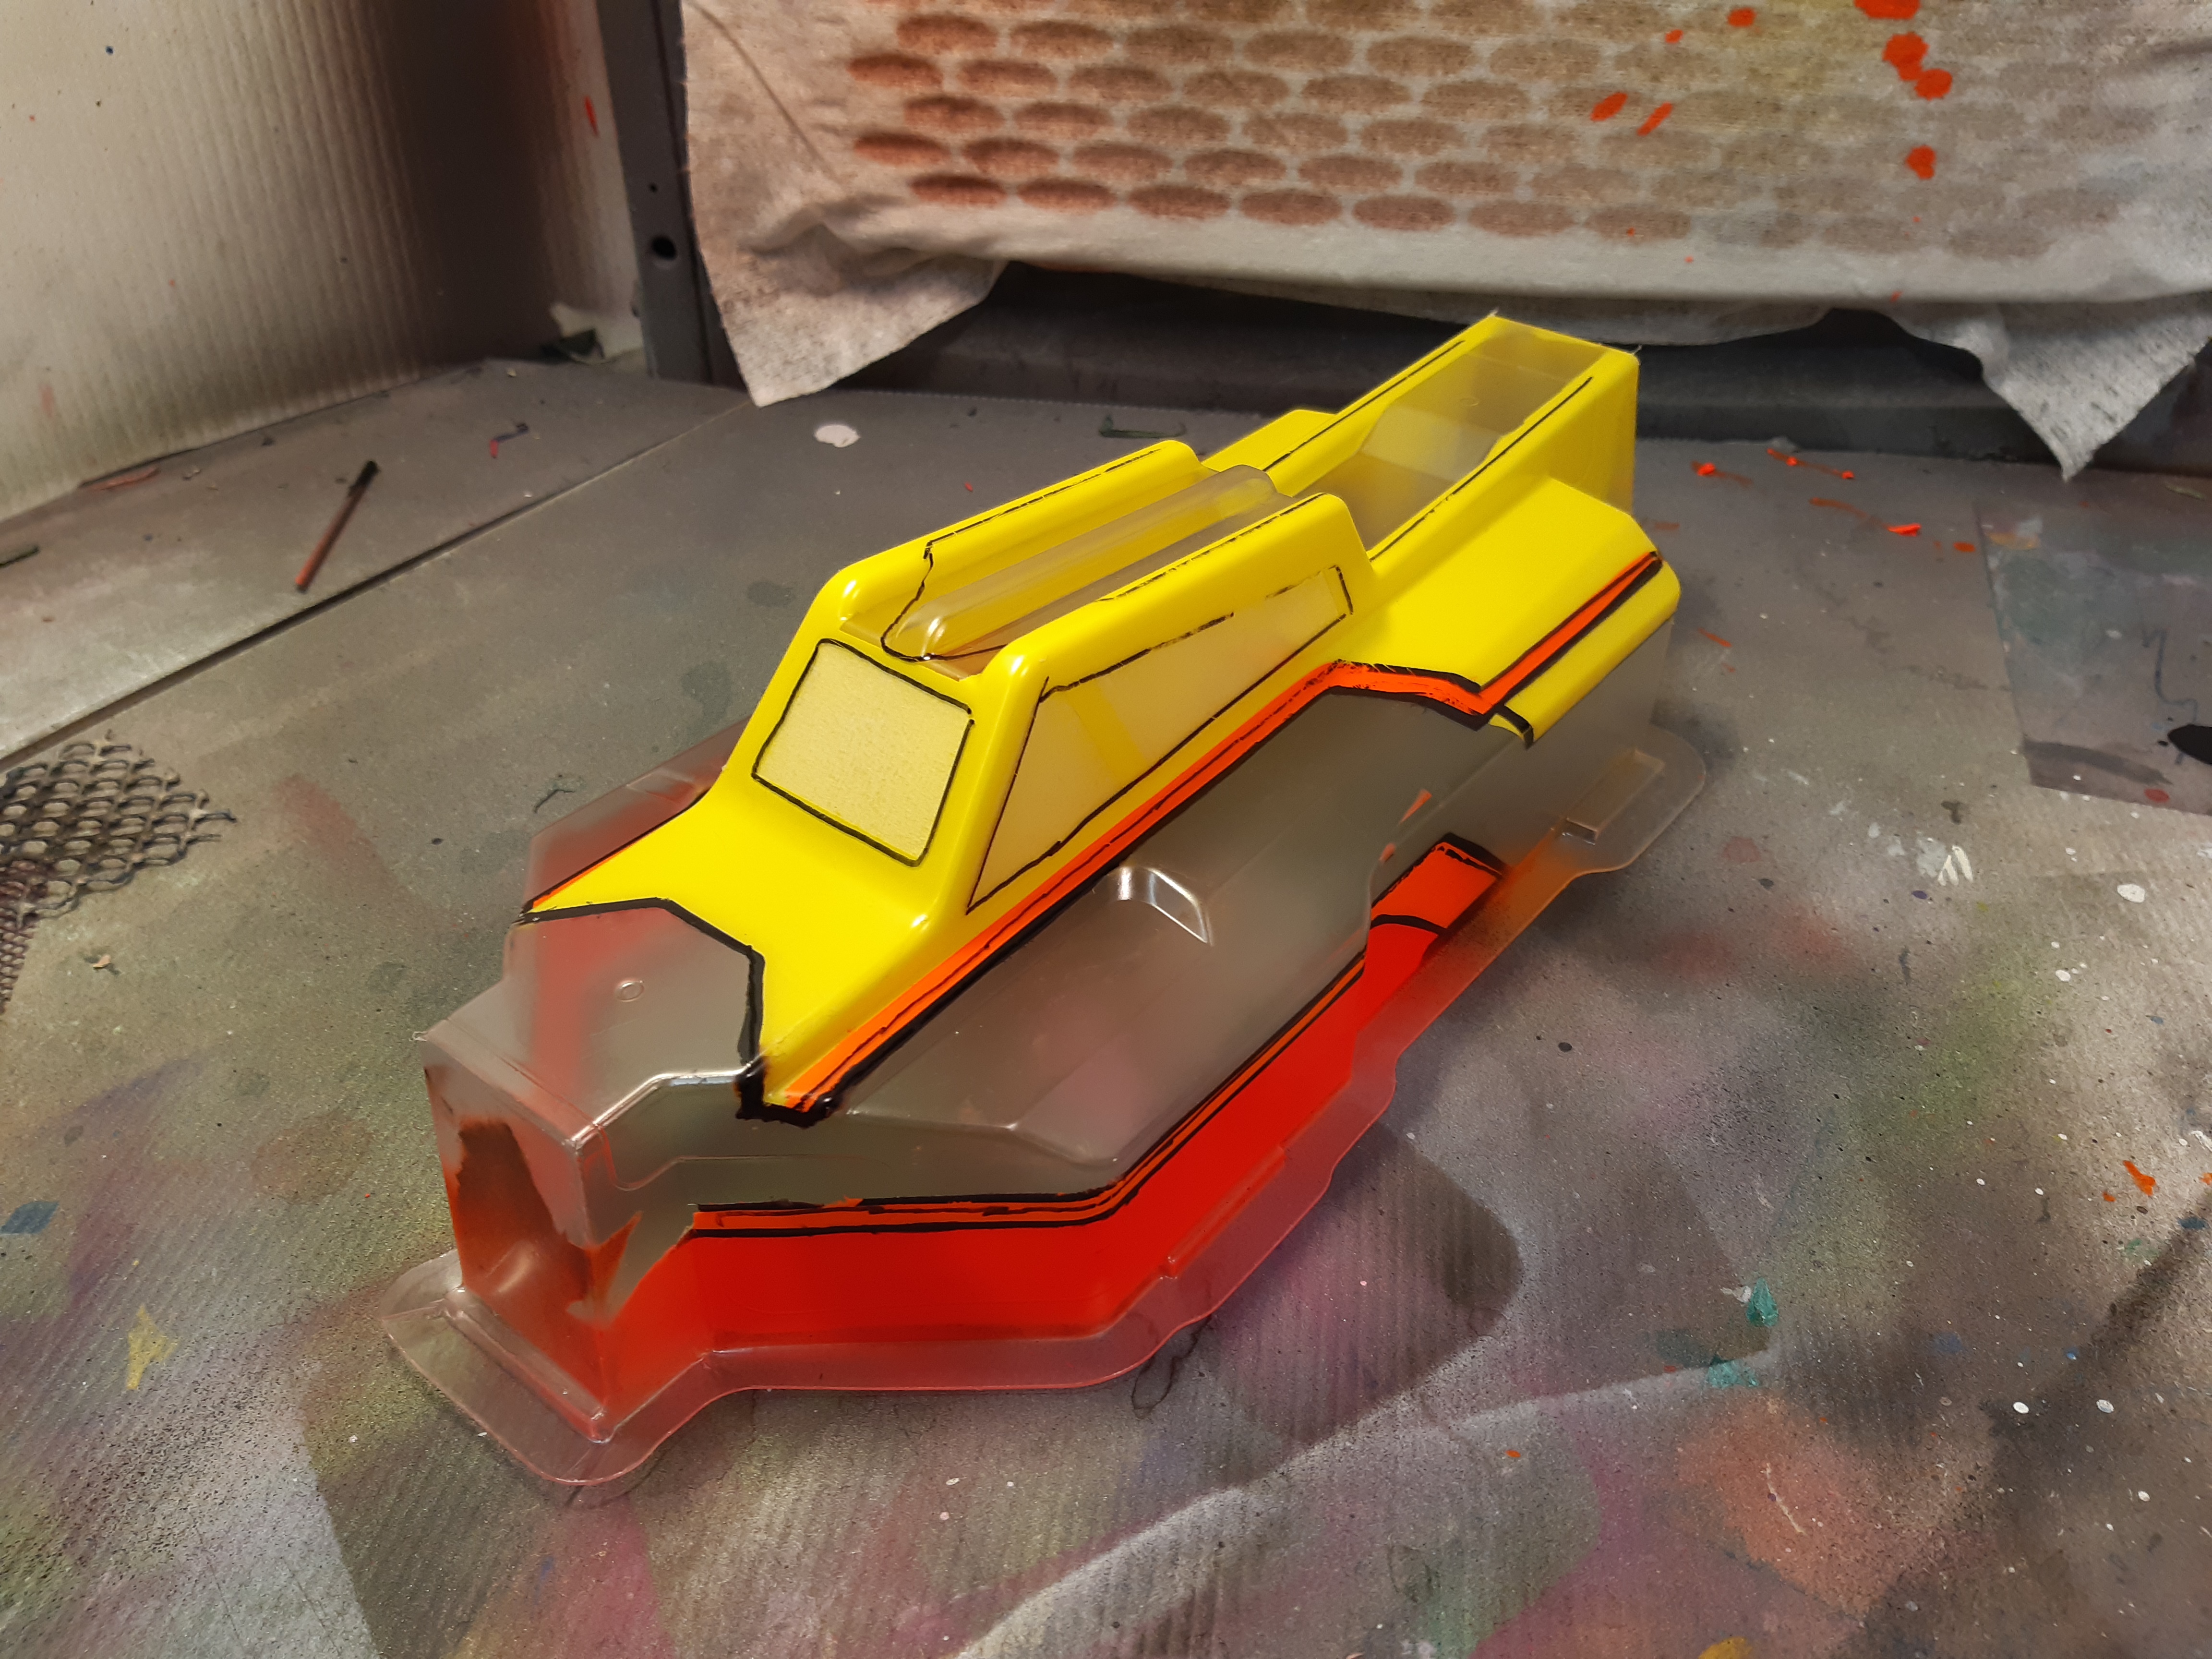
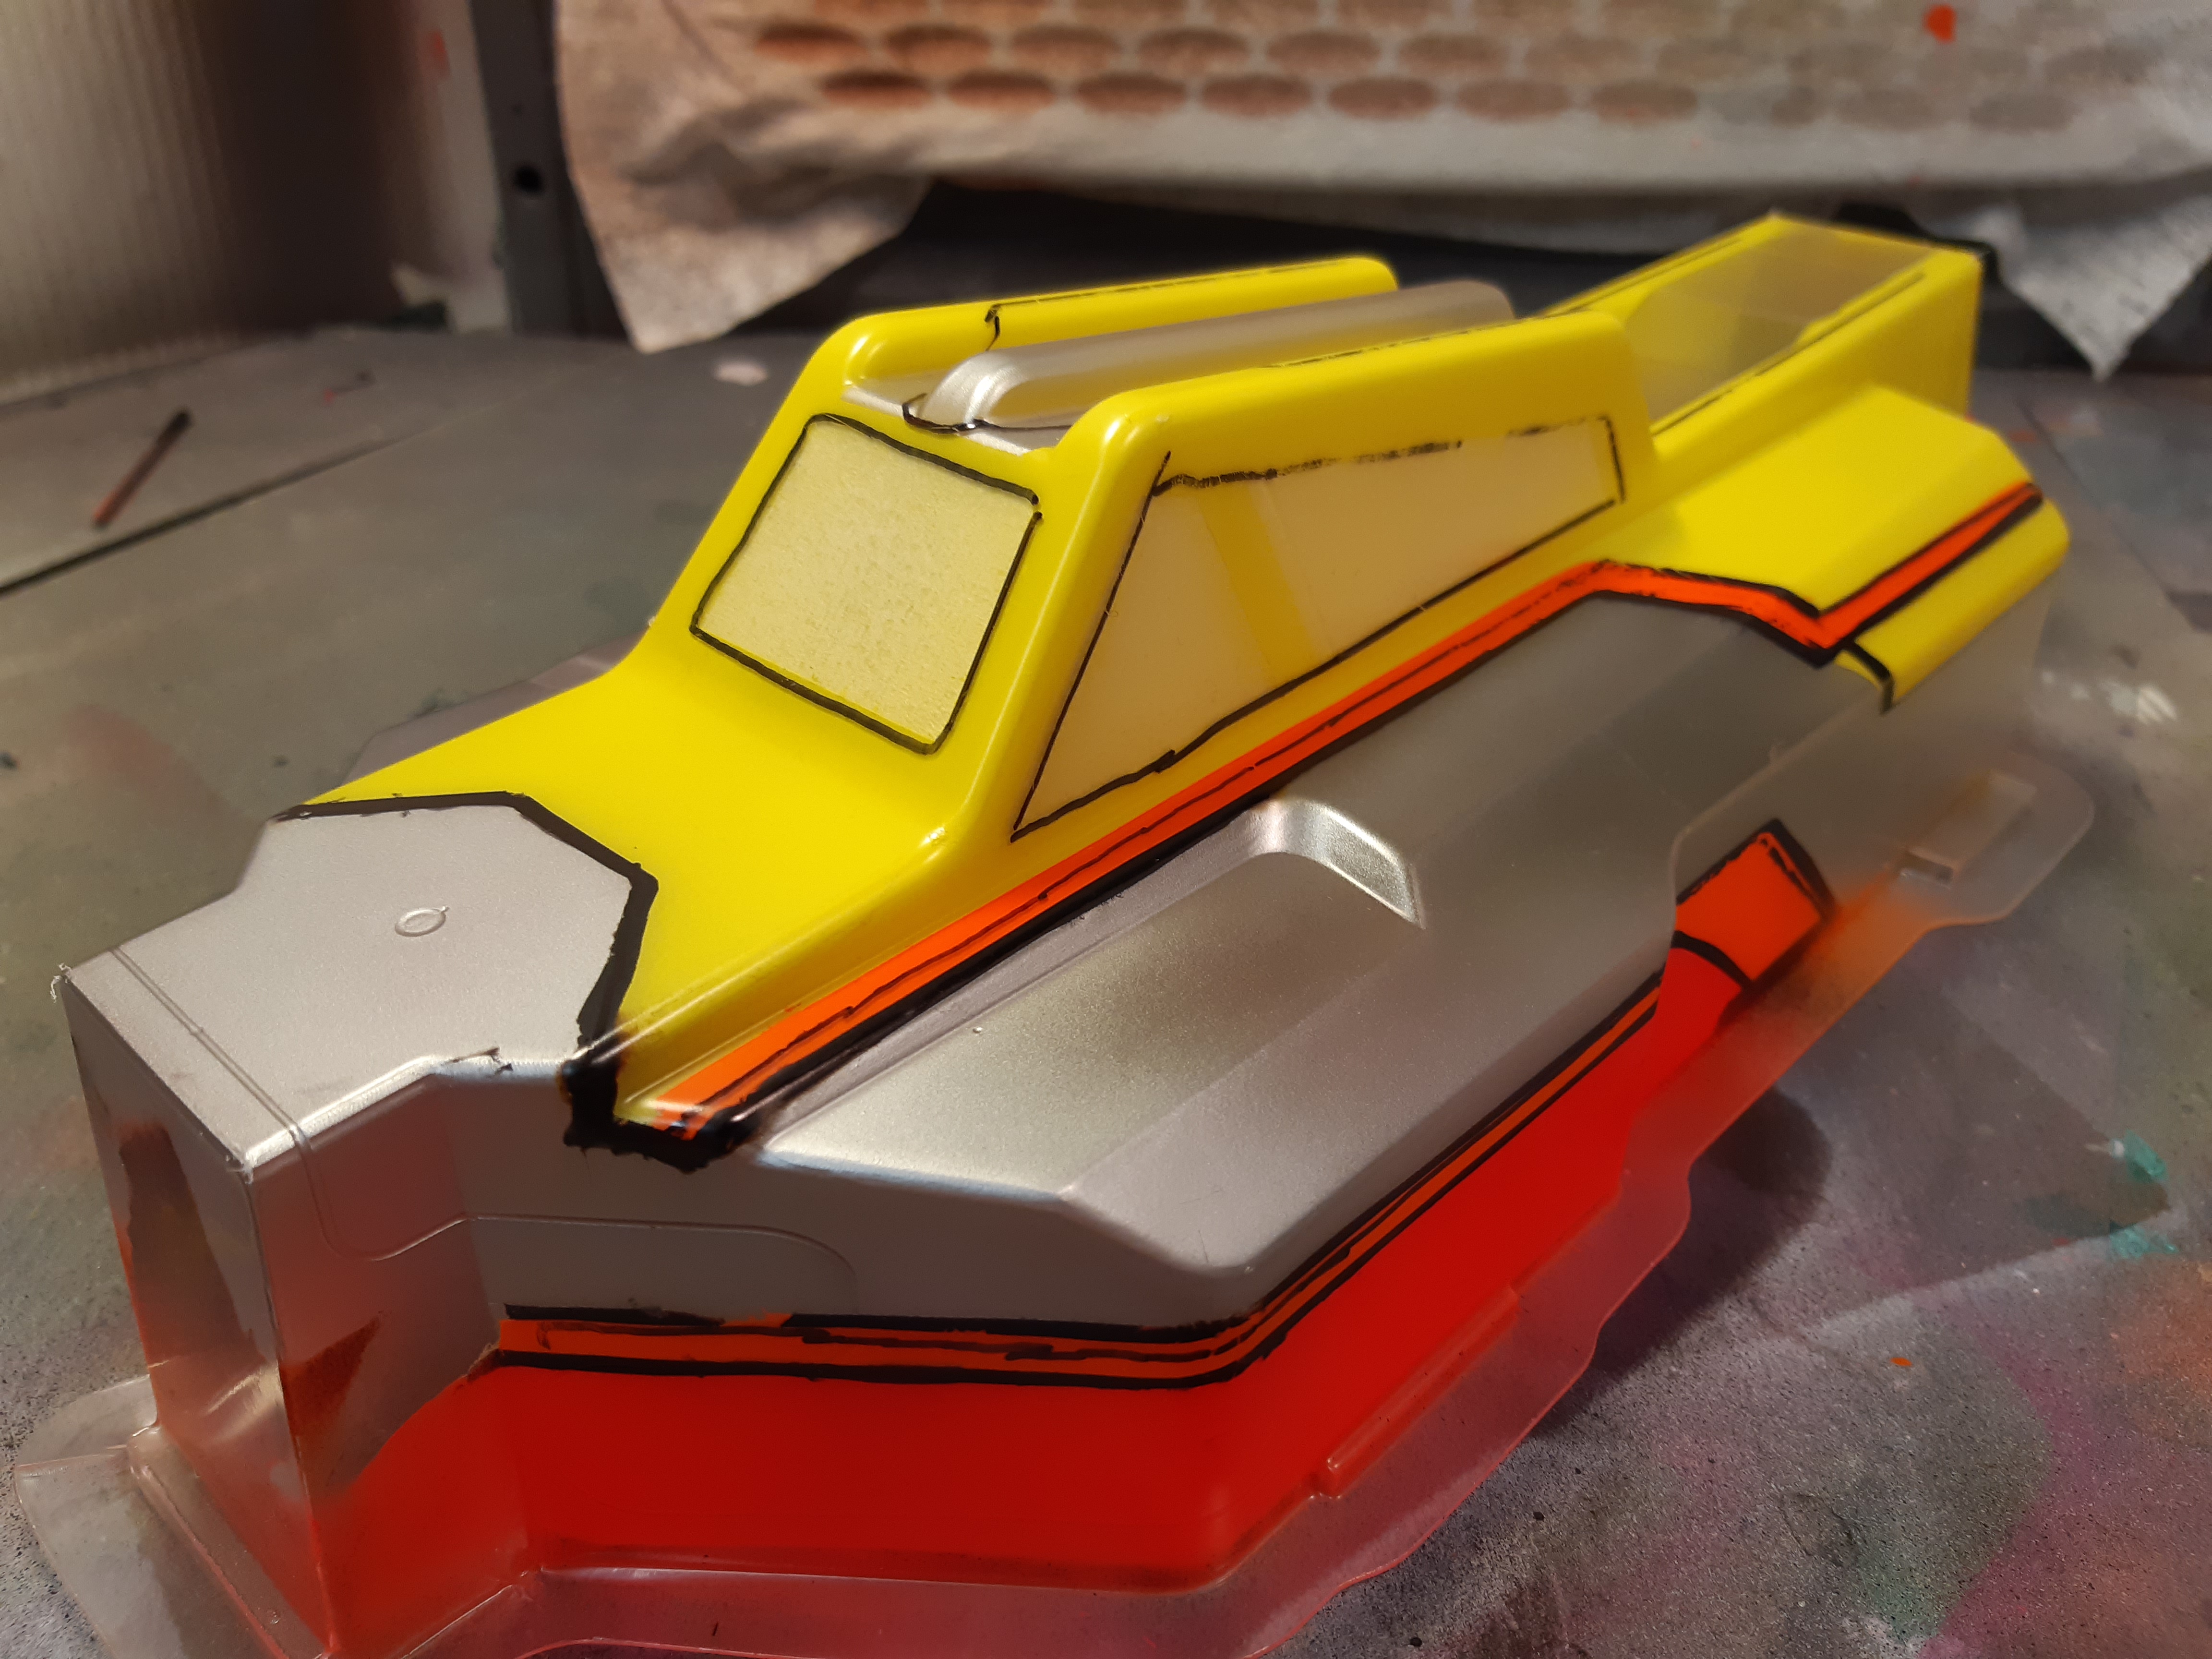
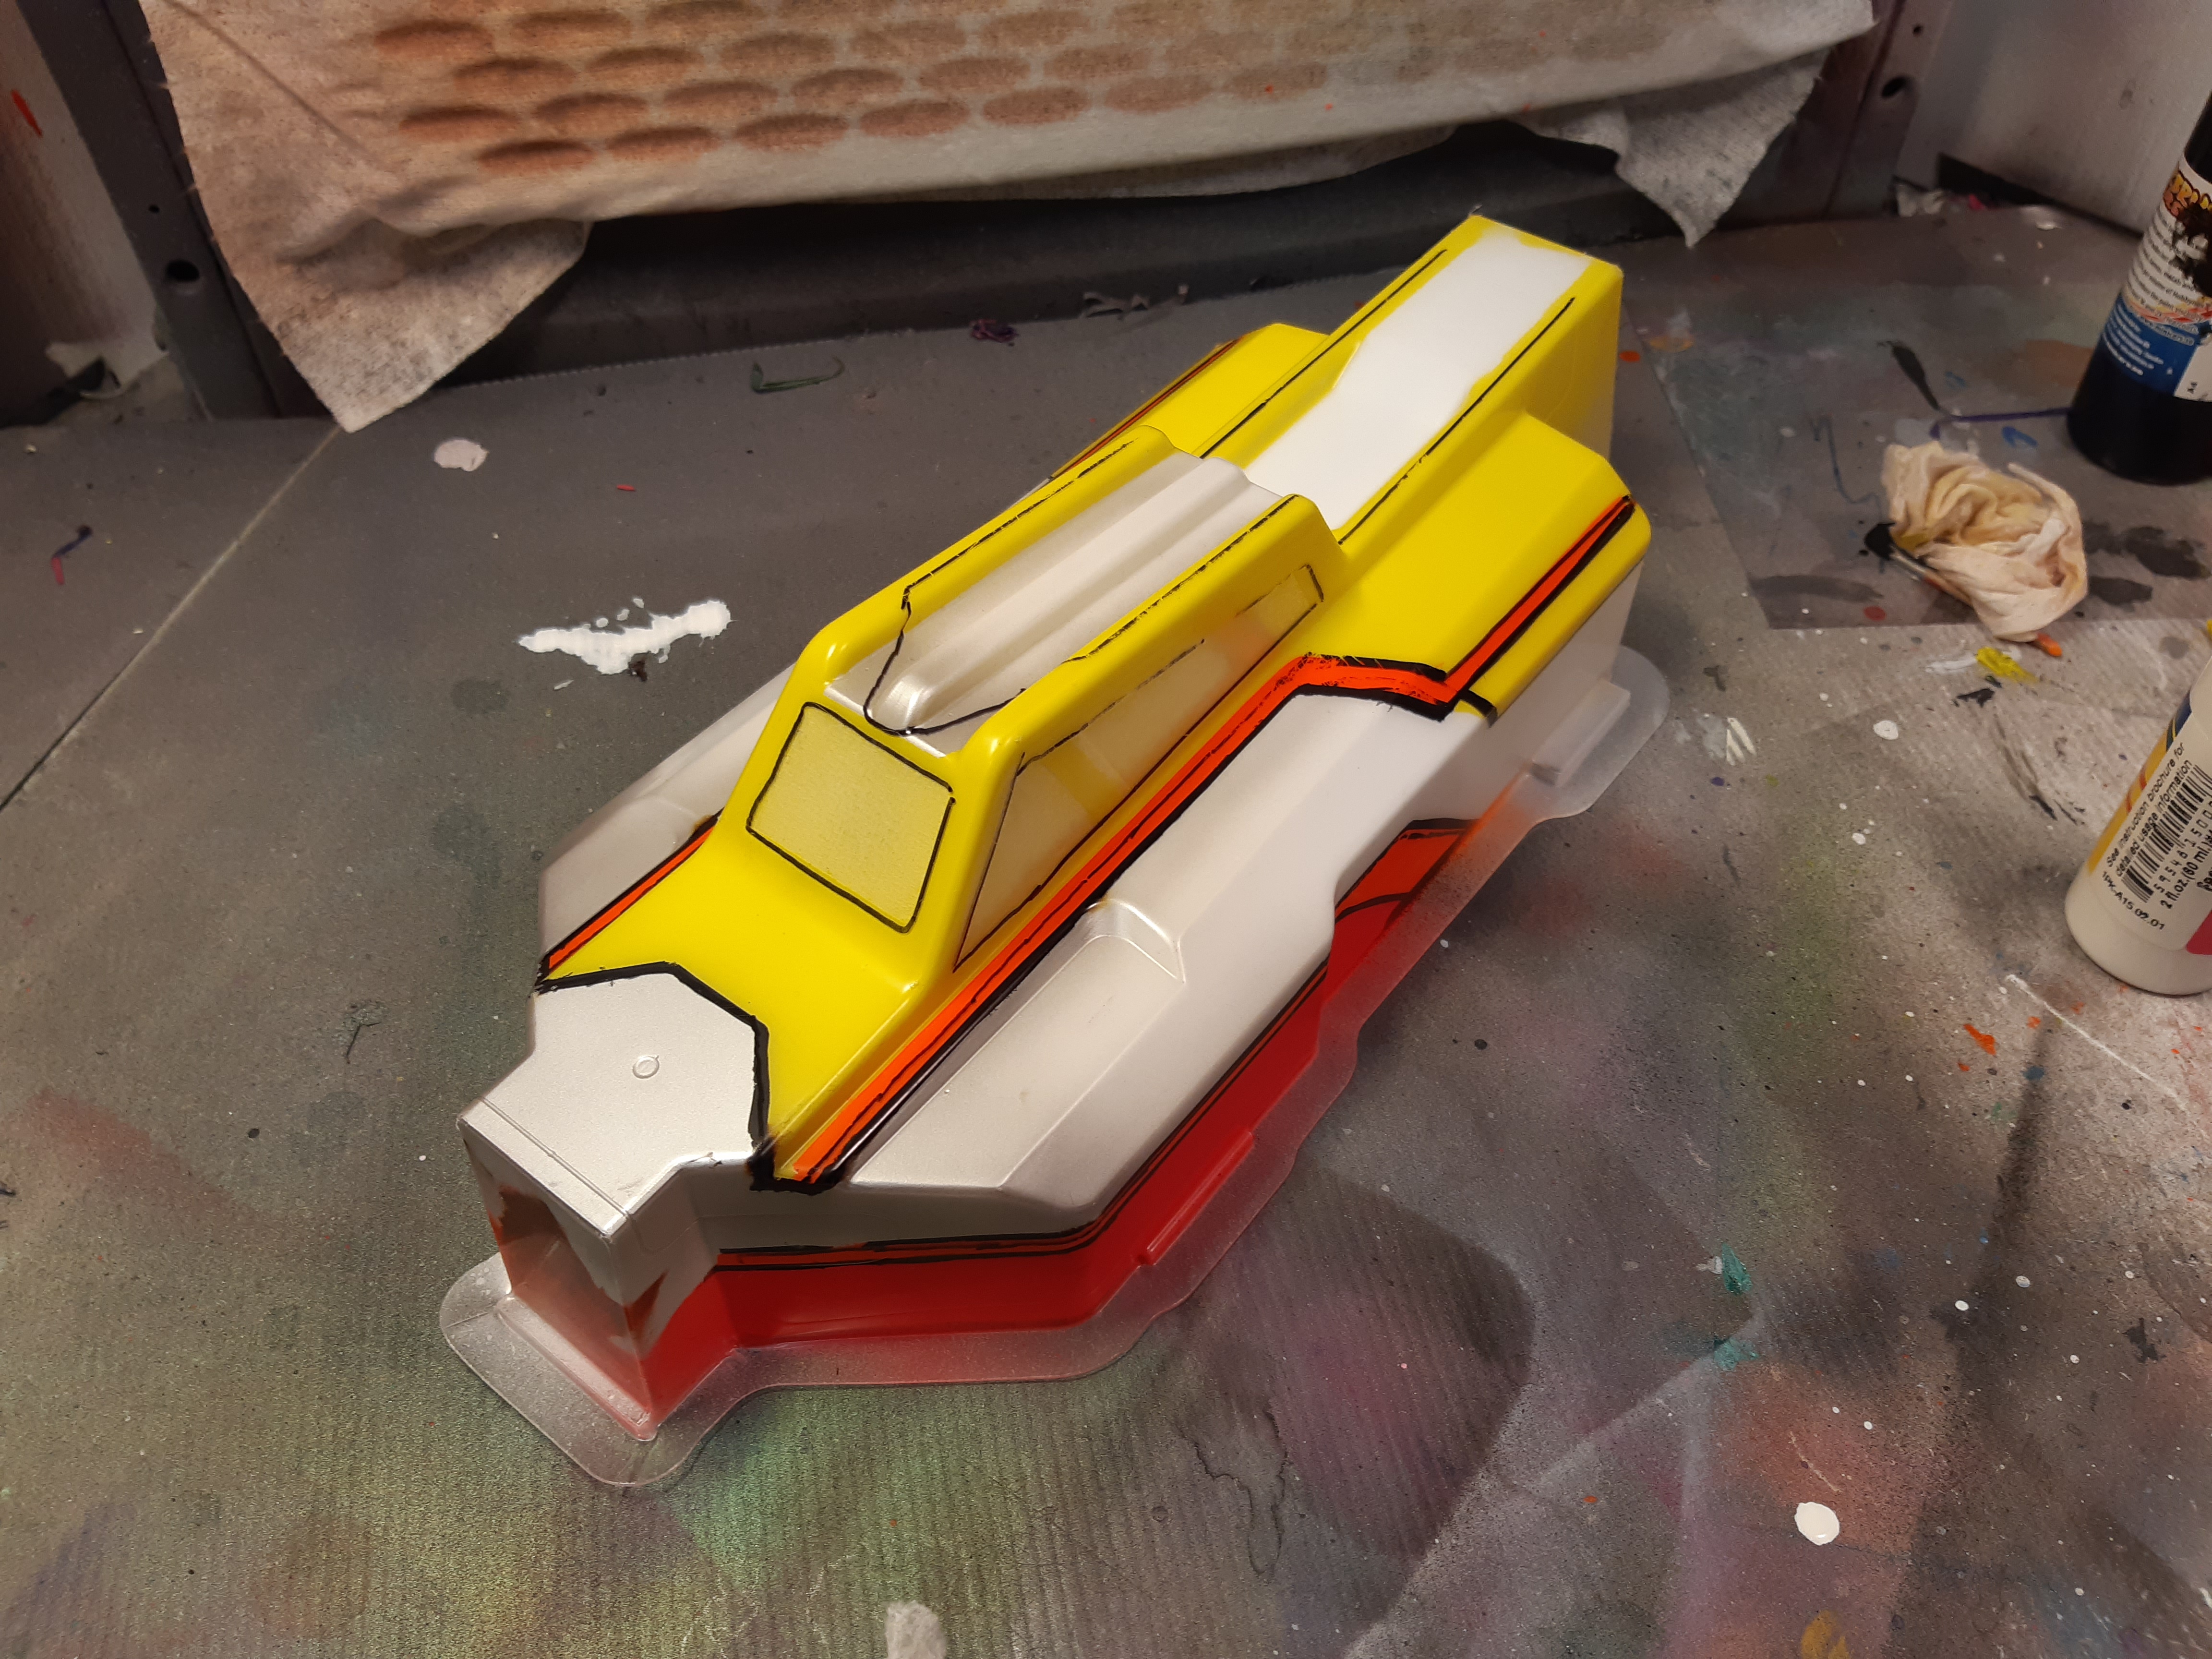
The body
Because my memories were so strong I wanted the paint design to be some kind of retro-ish looking. To ensure the authentic look I chose to go with masking tape instead of liquid mask which I normally use. With masking tape I ensured leaks and rough lines 😀 The result looks like young me did it with wobbly rough lines and some overspray leaks. Almost perfect.


Conclusion
Now when the kit is done, it is clear that the SBX-410 is not a full high-tech 4wd buggy like Xray XB4 or AE B74. I have to point out that this is also quite a bit cheaper than these dominant kits which are priced (list price) over 550€ when SBX-410 is priced more than 100€ less being 440€. This kit has a simpler design in many areas which is well thought out and has less adjustability than the high-tech ones, so I would say that the targeted market segment is different. Xray and AE are clearly searching their customers mainly in the pro racer segment while Corally targets hobbyists and racers starting their career.
The SBX-410 Kit is well made, materials are descent and parts fit nicely during assembly. The diffs are a little rough compared to for example Xray’s diffs but at this point the diffs feel ok. The kit has less adjustability than AE or Xray for sure, but it also makes it easier for the driver to pull out the best performance of the kit without having to mess with all the tuning setup options. My opinion is based on this build and it is that SBX-410 still gives great value for the money. You will get a lot of car for this price but is it the right kit for your purpose is the real question. For someone like me who does not race (or may have planned to start racing) but demands quality from the kit and wants it to perform well, this seems quite a spot on kit for my use.
I will include here the ”base line” setup which I chose. It is not ideal for everywhere but I hope it will help those who are building their first kit.
Pros and cons
+ Good build quality – Parts fit well together
+ Good materials – aluminium, steel, carbon fiber …
+ Clear instruction manual (a couple steps may lack some information)
+ Good value for the money
+ Good choice for the demanding hobbyist or racer who is beginning his (or her) racing career
-&+ Not as many options for tuning. Makes things easier for a beginner but not enough for experienced drivers
– Tight body -> Can’t use velcro since there is no gap between body and chassis and paint gets scratched easily from rubbing against chassis
– No factory setup sheet or setup provided
– Kit did not include oils or pinion
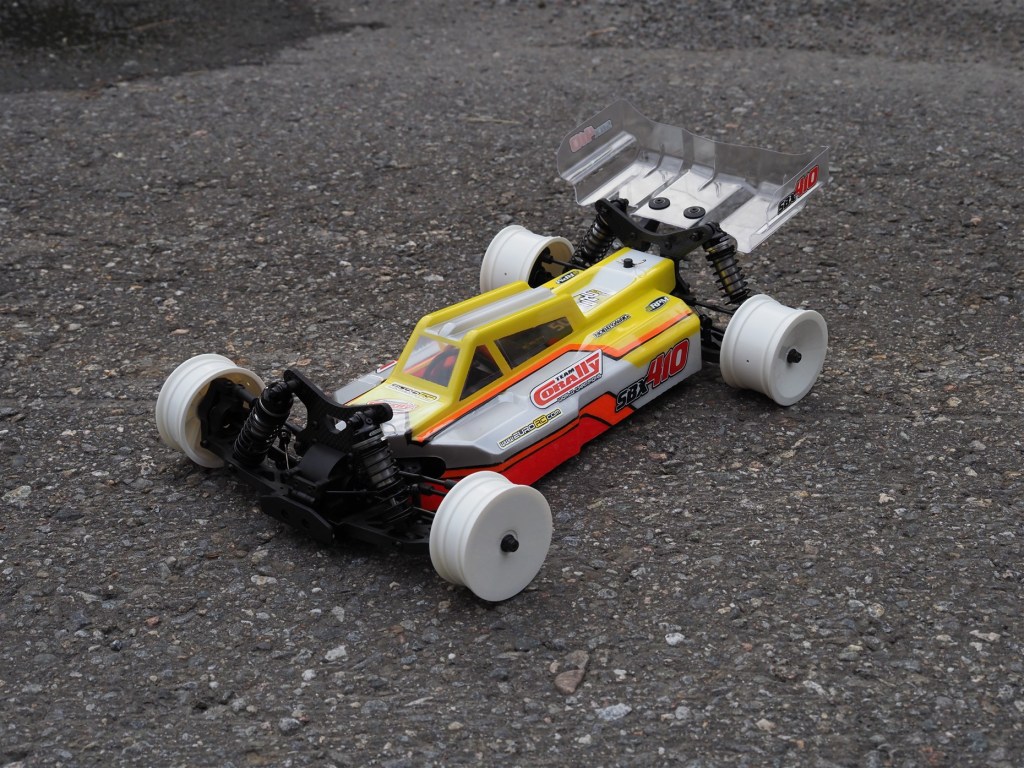
Complete paint scheme 
Complete paint scheme 
Front 
Rear 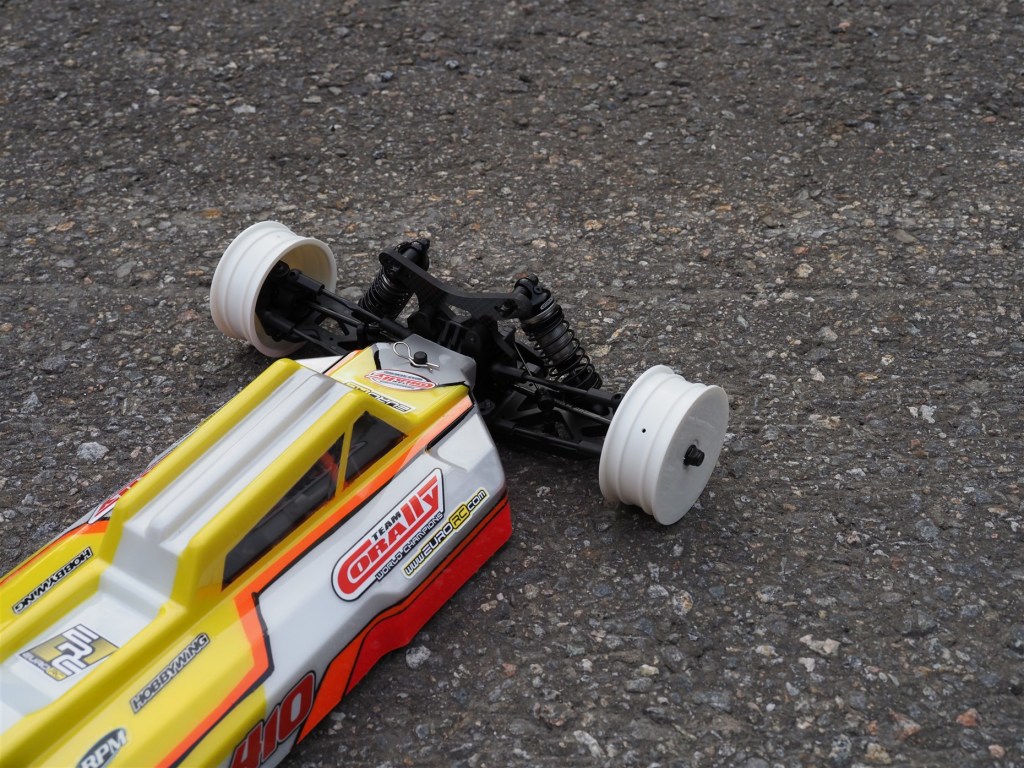
Steering 
Bare chassis 1 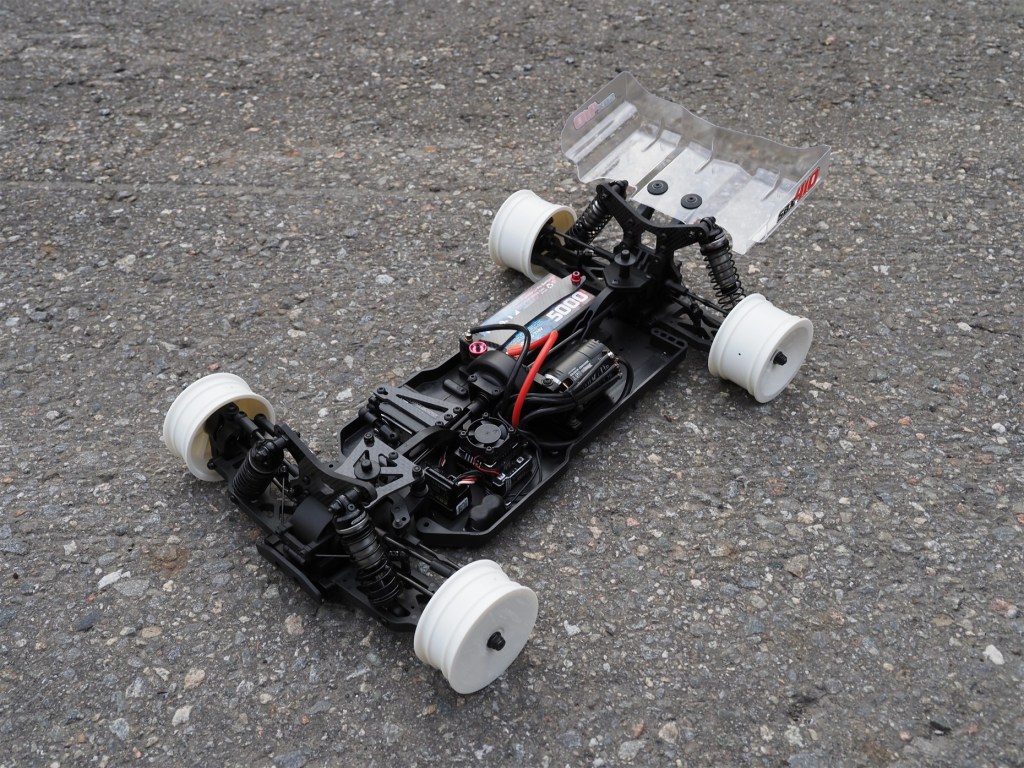
Bare chassis 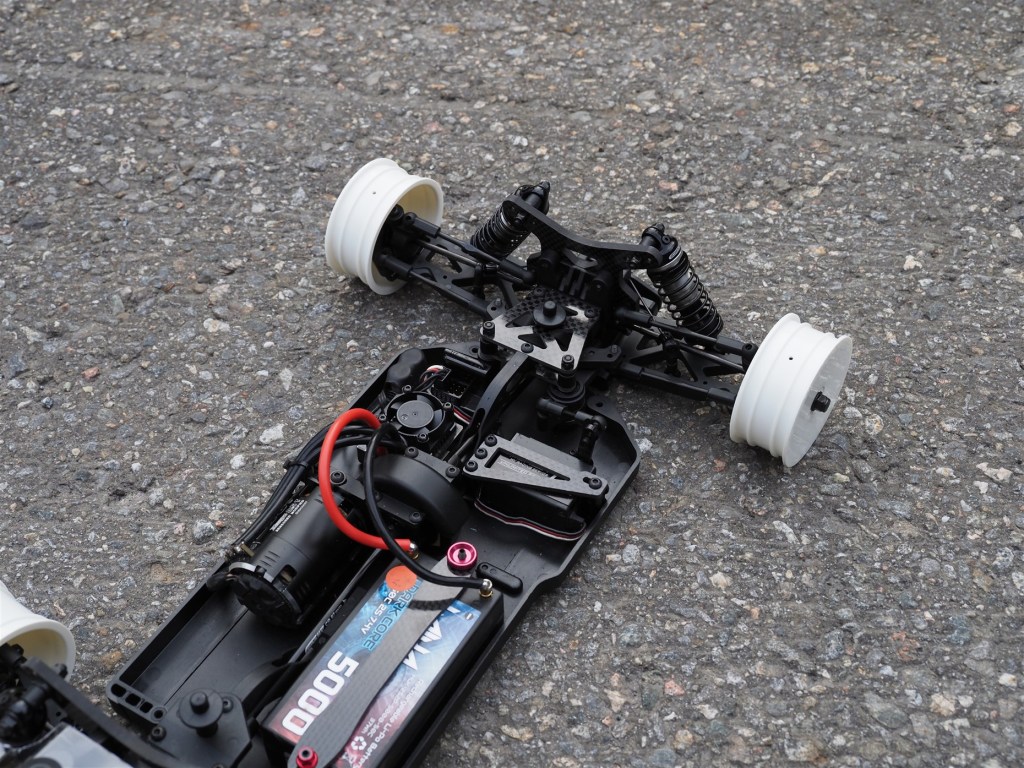
Bare chassis 3 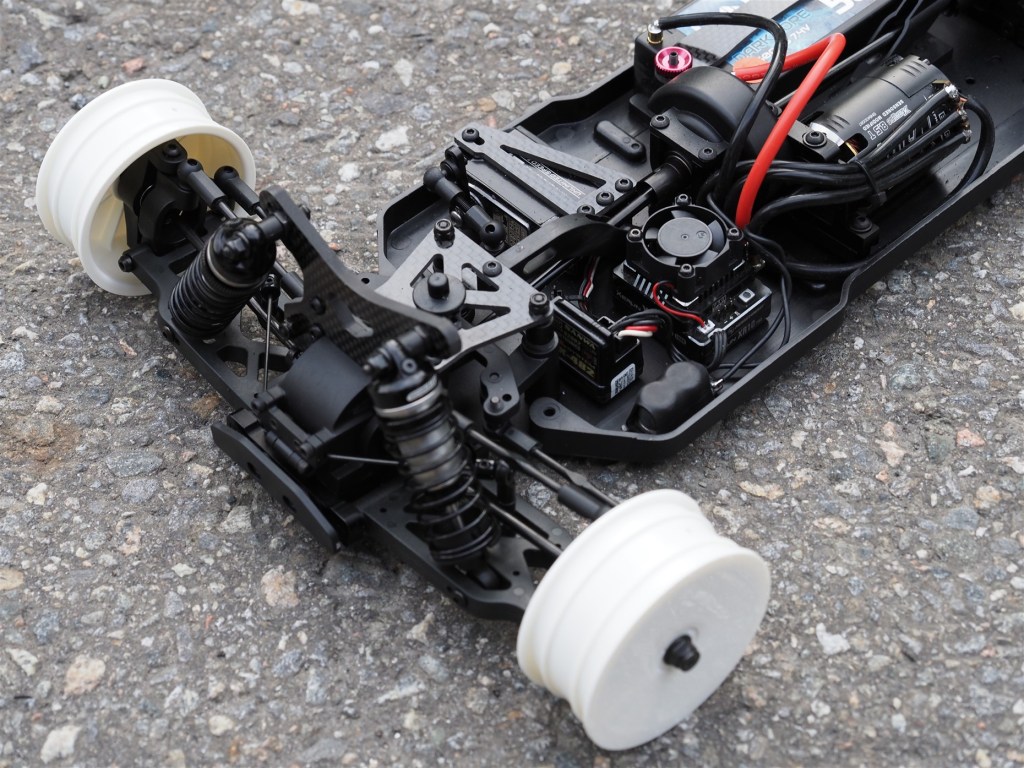
Bare chassis 4
This was my first complete build article (in this English ”rallye” language) and I hope it was not too boring. I also hope that some of you found it interesting and maybe even helpful or useful. I will post a new article about the first impression when I have managed to take this out to a track and got some idea of what kind of a kit this is to drive.
See you soon!
Edit 14-5-21 Just published the article about first impressions. Read it here.
Edit 17-6-21 Read the new post about my thoughts of driving this indoors HERE

12 toukokuun, 2021 at 8:40 pm
Thanks so much for taking the time to write this article. How has your experience been running the SBX? I am in Canada and looking at buying one.
Regards
Greg
TykkääTykkää
12 toukokuun, 2021 at 9:20 pm
Hi Greg.
First big thanks for your intrest on my article.
I did run the SBX at our local clay track which which is more on the slippery side. I liked the handling and grip on the SBX. It is easy to jump and turns well.
Main issue on the kit is the diff’s inner shimms of the internal satelite gears. They need some shimming (thinner shimms than stock) to make the diffs run smooth but it is very easy to drive as it is.
For the price this car has a lot to give
Regards
Moti
TykkääTykkää